Inleiding
Use this guide to remove a broken or defective LCD & Digitizer in your Huawei Honor 8.
Due to the phone’s design, you must remove the lithium-ion battery in order to access the display cables. Do not re-use the battery once it is removed, as doing so is a potential safety hazard.
Before disassembling your phone, discharge the battery below 25%. The battery can catch fire and/or explode if accidentally punctured, but the chances of that happening are much lower if discharged.
Note: This guide instructs you to replace only the screen while leaving the original frame and motherboard in place. However, some replacement screens for this phone come pre-installed in a new frame (a.k.a. chassis), which requires a very different procedure. Make sure you have the correct part before starting this guide.
You’ll need replacement adhesive to reattach components when reassembling the device.
Wat je nodig hebt
-
-
Before you begin, switch off your phone.
-
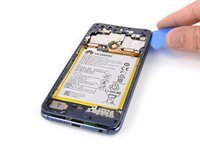
Apply a heated iOpener to the back of the phone to loosen the adhesive beneath the rear glass. Apply the iOpener for at least two minutes.
-
-
-
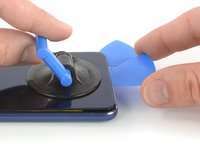
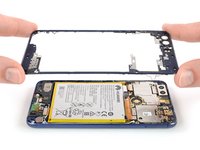
Remove these Phillips #00 screws securing the midframe bezel:
-
Eight screws with 3.5 mm length
-
Eight screws with 2.9 mm length
-
Some screws might be covered with a tamper proof sticker.
-
-
-
Gereedschap gebruikt in deze stap:Tweezers$4.99
-
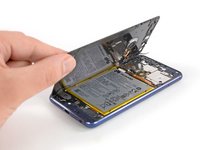
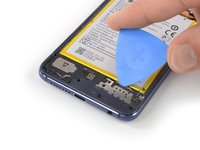
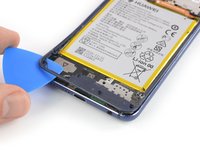
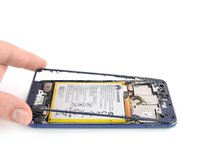
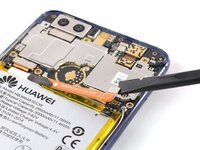
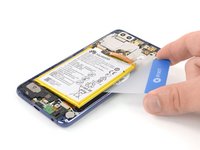
Use a pair of tweezers to lift the black adhesive pull tab off of the top right corner of the battery.
-
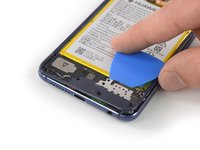
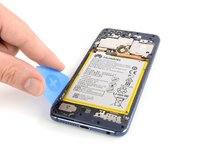
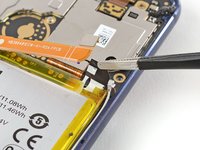
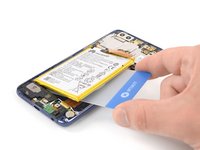
Use a pair of tweezers to pull out the adhesive strip.
-
-
-
Apply a heated iOpener to the screen for at least two minutes to loosen the adhesive beneath the battery.
-
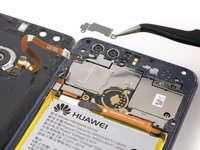
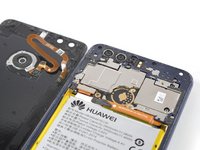
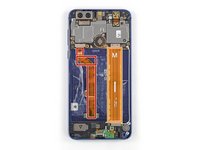
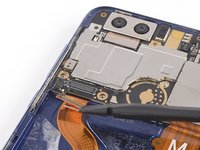
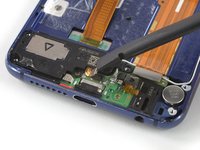
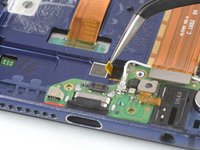
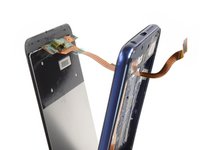
Display flex cable
-
Interconnect flex cable
-
-
Gereedschap gebruikt in deze stap:Plastic Cards$2.99
-
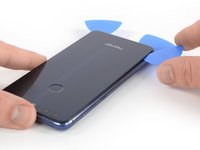
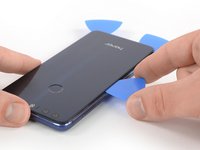
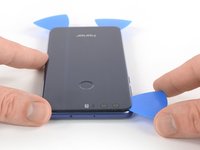
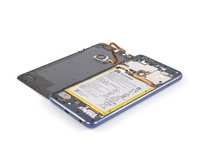
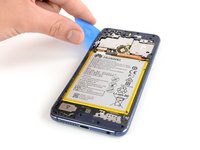
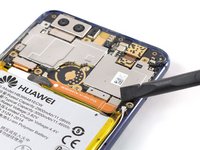
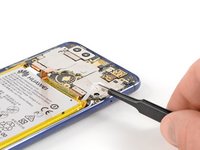
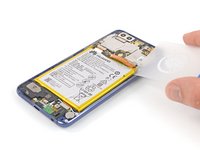
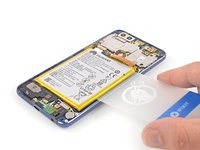
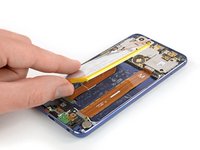
Insert an opening pick or a plastic card under the battery where the adhesive strip was located.
-
Slide along the right side of the battery to cut the remaining adhesive.
-
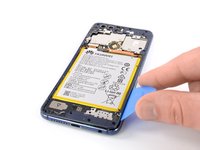
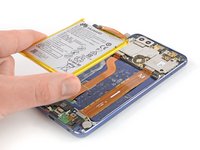
Carefully pry up the right side of the battery to loosen the adhesive.
-
-
-
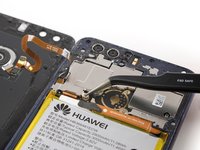
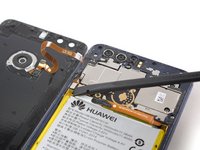
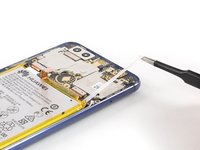
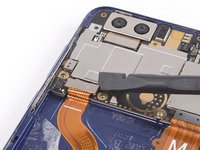
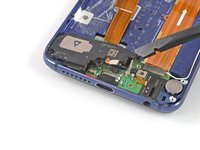
Use a spudger to pry up and disconnect the display flex cable from its motherboard socket.
-
-
-
Apply a heated iOpener to the display for two minutes to loosen the adhesive beneath.
-
-
-
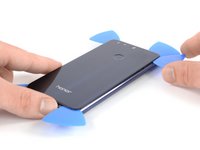
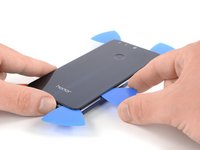
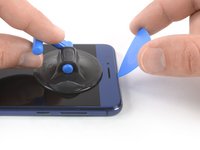
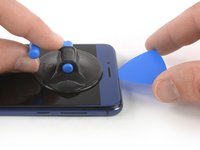
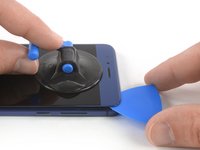
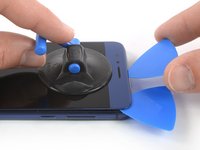
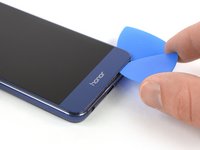
Once the screen is warm to the touch, apply a suction cup near the top edge of the phone right under the earpiece speaker.
-
Pull up the suction cup to create a gap between the screen and the display bezel.
-
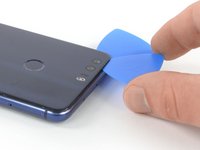
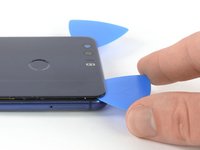
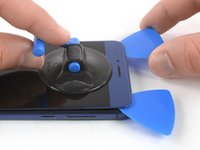
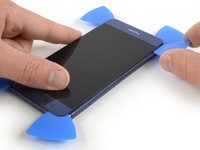
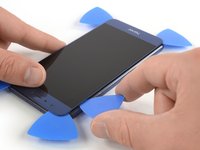
Insert the tip of an opening pick in the gap you created and slide it to top right corner of the phone. Leave it there to prevent the adhesive from resealing.
-


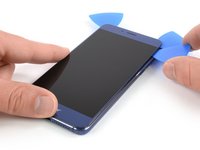

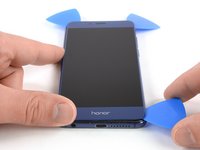


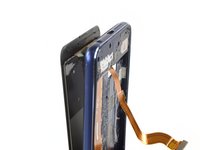
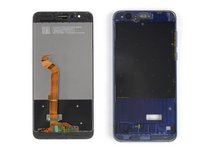
The best way to secure the new screen is with a sheet of custom-cut double-sided tape. Apply the tape to the back of the screen, then carefully feed the display cable through the frame. Align the screen and press it into place.
If possible, turn on your phone and test your repair before installing new adhesive and resealing the phone.
To reassemble your device, follow these instructions in reverse order.
Take your e-waste to an R2 or e-Stewards certified recycler.
Repair didn’t go as planned? Check out our Answers community for troubleshooting help.
Annuleren: ik heb deze handleiding niet afgemaakt.
11 andere personen hebben deze handleiding voltooid.


6 opmerkingen
WARNING !!!
Stop following the tutorial from step 27! There is a front midframe bezel similar to the one on the back, this tutorial removes the screen with the bezel still attached to it.
The fact is that Honor 8 screens are not sold with the bezel ! So don’t remove the bezel and just go for the sreen the same way you removed the back glass. This also makes the process easier since there will not be any bumps blocking the way. (step 28)
Dear Mike Le,
this is completely correct and we adjusted the guide to only remove the screen without the screen bezel and to go with the replacement part. Thank you!
Ive had an honor 8s in for repair, there seem to be two different models. every screen ive ordered has the wrong lcd connector on it.
Ive had an honor 8s in for repair, there seem to be two different models. every screen ive ordered has the wrong lcd connector on it. there seems to be a KSE-LX9 and KSA-LX9