Inleiding
Use this guide to replace the back cover adhesive on your Samsung Galaxy S22 or S22+.
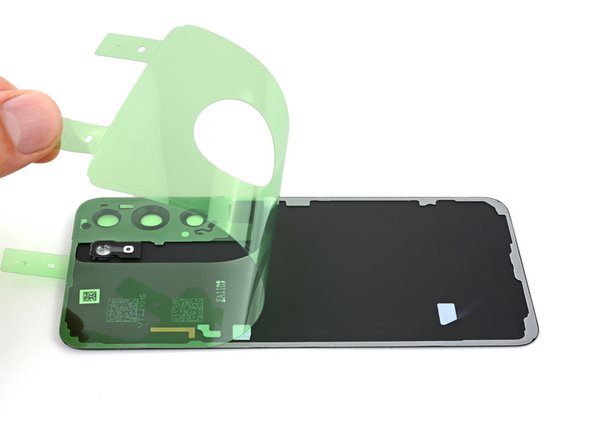
The back cover has a three-piece design, with the adhesive layered between the camera bezel and metal cover.
Note: This guide is only applicable if you're reusing your back cover. Back cover replacements come with new adhesive pre-installed.
Wat je nodig hebt
-
-
Apply a heated iOpener to the camera bezel on the back cover for two minutes.
-
-
-
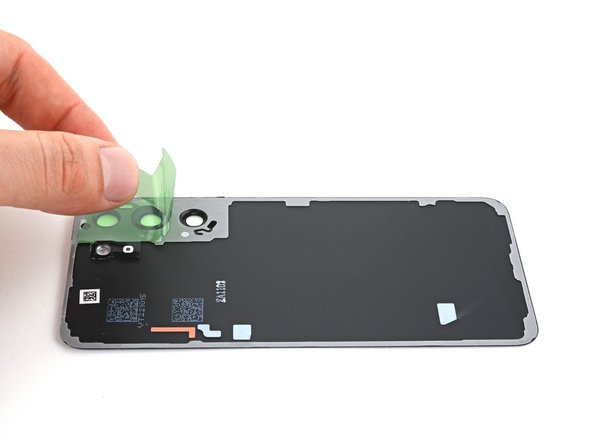
Pull the camera bezel away from the back cover to separate it.
-
-
-
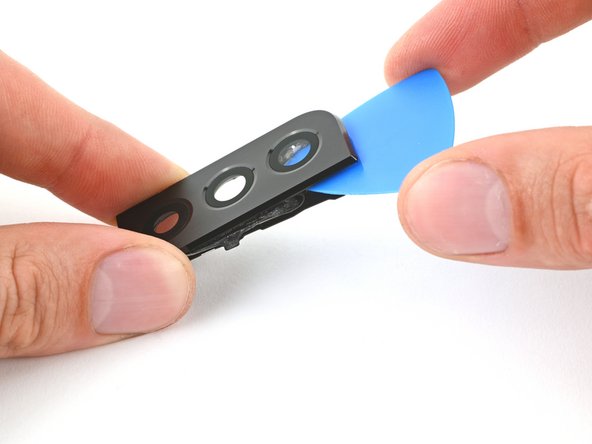
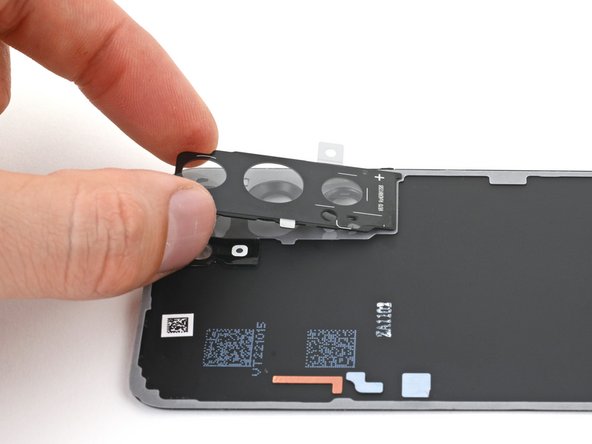
Insert an opening pick between the camera bezel and its metal cover.
-
Slide your pick between the bezel and the cover to slice the adhesive.
-
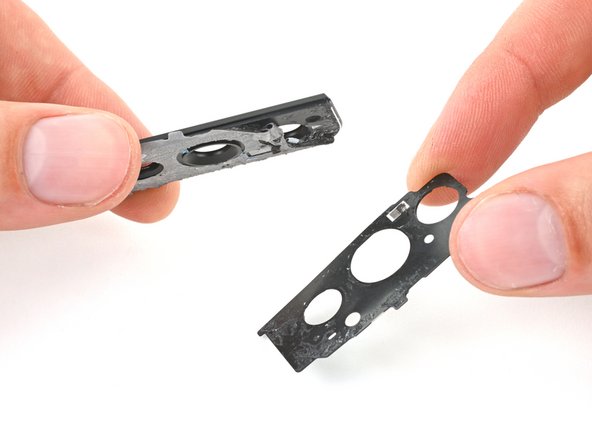
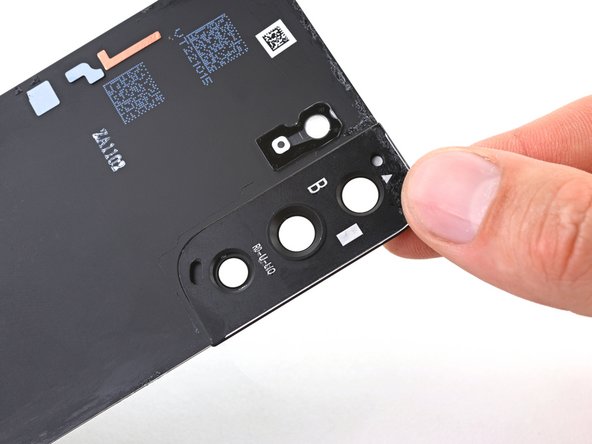
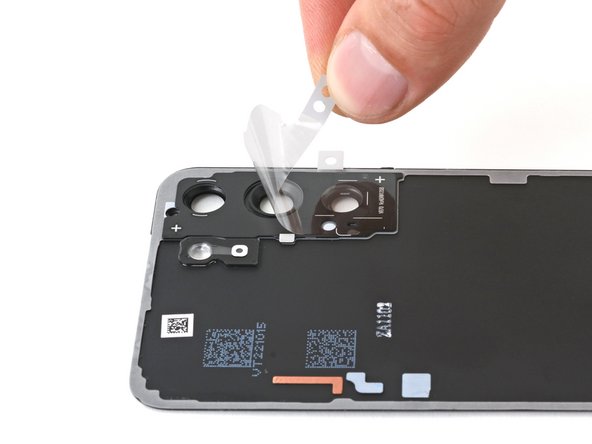
Remove the metal cover from the camera bezel.
-
-
-
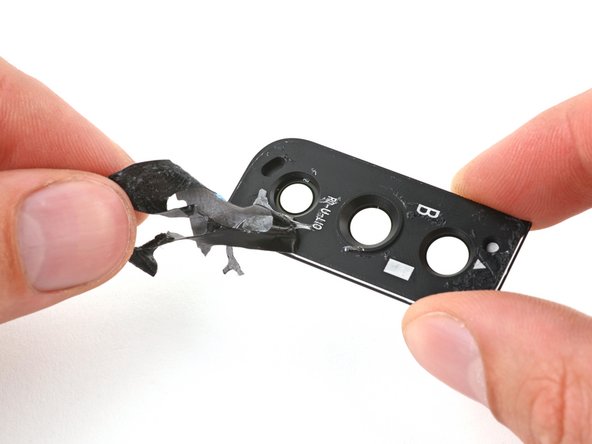
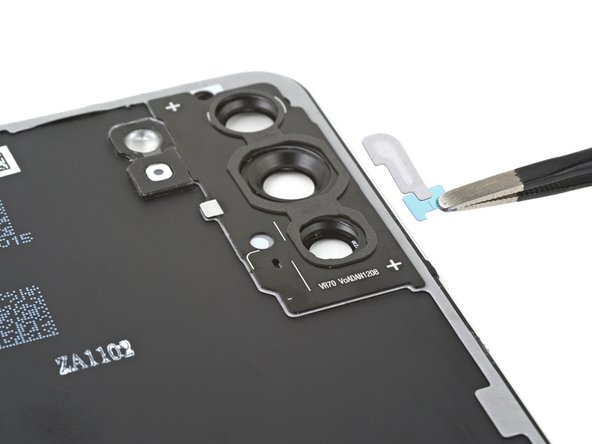
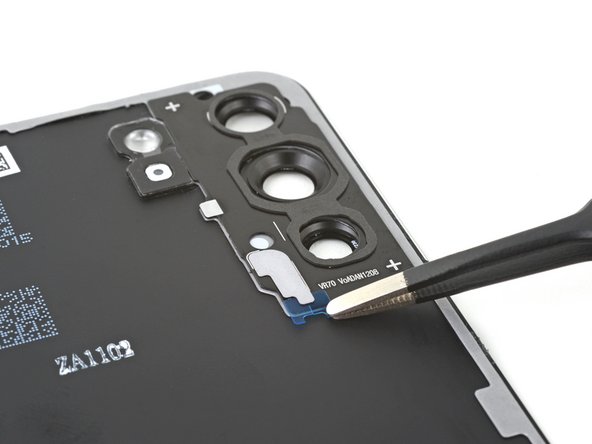
Use blunt nose tweezers or your fingers to remove the remaining adhesive from the camera bezel.
-
-
-
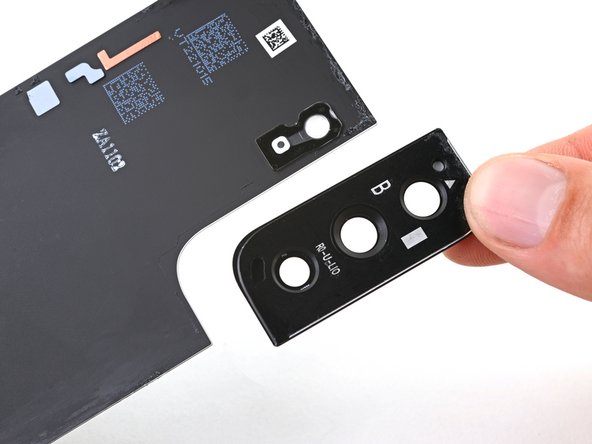
Line up the camera bezel with the back cover, making sure the arrow is pointing toward the top of the cover.
-
Lay the back cover and bezel together on a flat surface, with the inside of the cover facing upward.
-
-
-
-
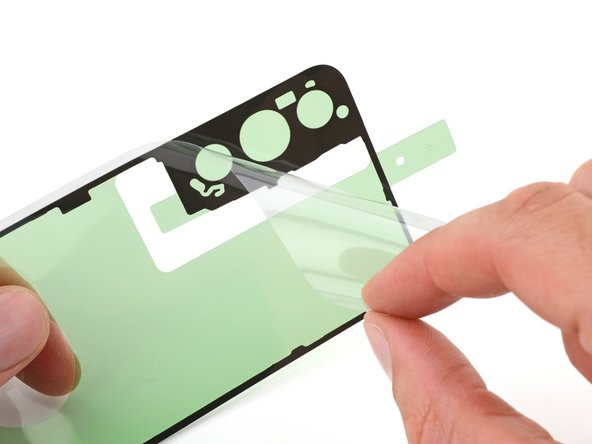
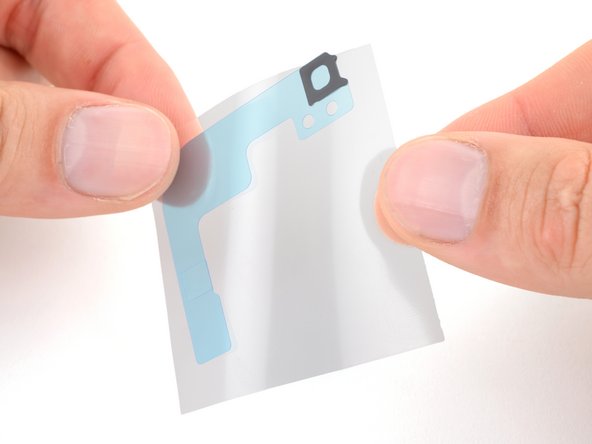
Grab your new adhesive by its pull tabs and align it over the back cover and camera bezel.
-
Place the adhesive on the back cover.
-
Press firmly along the perimeter of the adhesive to adhere it.
-
-
-
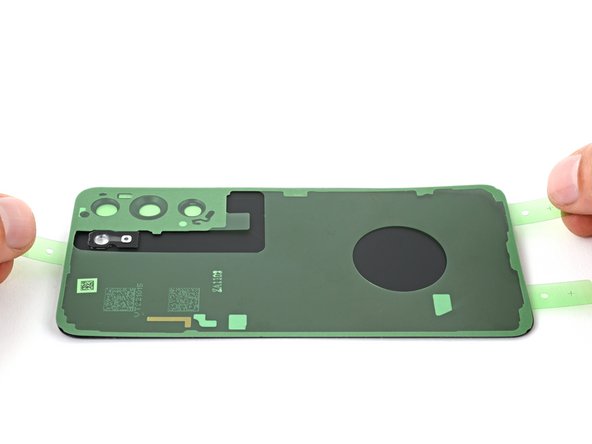
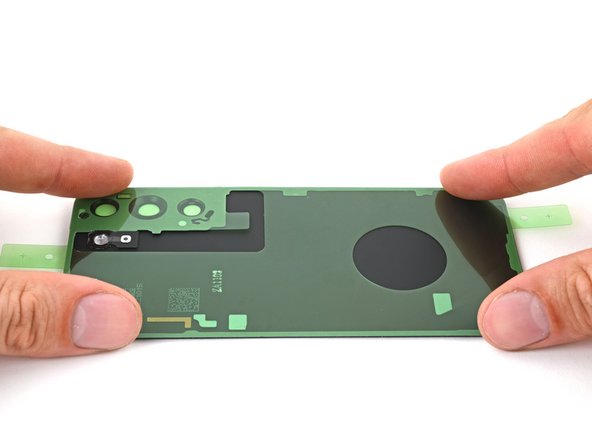
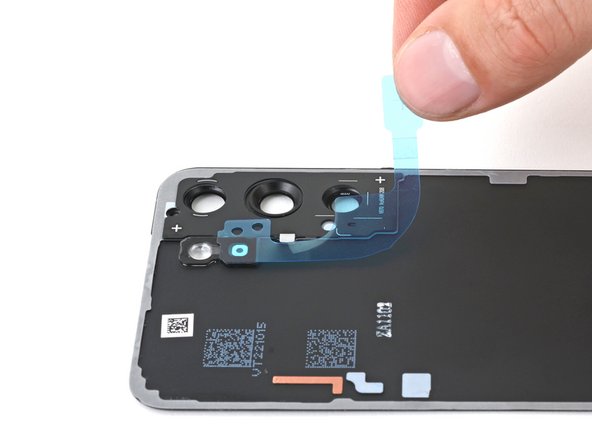
Remove the main adhesive liner from the back cover using the pull tabs on the top and bottom edges.
-
Remove the secondary adhesive liner from the camera bezel using the pull tab on the bottom of the bezel.
-
-
-
Remove the main liner from your new metal cover using the black pull tabs.
-
-
-
Orient the new metal cover so the white text is along the bottom of the camera bezel and the crosses are in the upper left and lower right corners.
-
Place the cover onto the camera bezel and apply pressure to adhere it.
-
Remove the secondary liner using the white pull tabs.
-
-
-
On the motherboard cover, remove the old adhesive from the microphone hole under the flash unit.
-
Remove the clear liner from the large L-shaped adhesive piece.
-
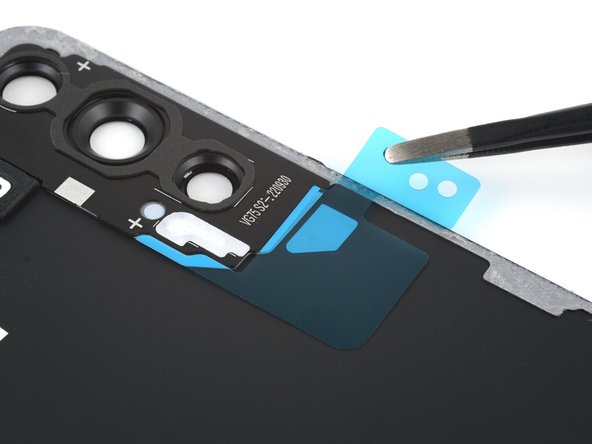
Place the square piece of adhesive over the back cover's microphone cutout under the flash unit, with the blue liner tab facing right.
-
Remove the blue liner.
-
-
-
Remove the clear liner from the camera foam adhesive.
-
Orient your adhesive over the camera cutouts with the circular section toward the top.
-
Place the adhesive onto the metal cover, making sure to use the markings around the camera cutouts to align it.
-
Remove the green liner from the adhesive.
-
-
-
Remove the clear liner from the air vent adhesive.
-
Place the adhesive onto the metal cover with the fuzzy side facing upward and the blue tab toward the bottom of the cover.
-
Use the markings on the cover to align the adhesive.
-
Remove the blue tab from under the adhesive.
-
-
-
Remove the clear liner from the large two-piece adhesive sheet.
-
Align the adhesive over the notches in the bottom left of the metal cover.
-
Place the adhesive and apply pressure to adhere it.
-
Remove the blue liner.
-


Annuleren: ik heb deze handleiding niet afgemaakt.
3 andere personen hebben deze handleiding voltooid.


4 opmerkingen
Where do I get the adhesive
Hi Isaac! This guide was written for the back cover adhesive included in the Samsung Fix Kits. Note that only the S22 and S22+ require this guide's procedure (the S22 Ultra has a different, yet much simpler, replacement procedure). If you only need the adhesive, check other online shops for the back cover adhesive replacement.
I'm planning to get the adhesive from iFixit here, are microphone/camera foam/air vent adhesive a part of this part? Or do I need to try and find them somewhere else?
Hi Stephen! The exact part you linked to just comes with the sheet of display adhesive. This adhesive is for a repair we haven't written a guide for, but you can find a similar guide in the Galaxy S21 page. If you wish to use this guide to reassembly your S22 or S22+, you'll need the screen and battery kit. Or, if you only need the back cover adhesive to seal it up, this sheet of adhesive.
Feel free to reply here if you have any questions or if I didn't understand your question fully.