Deze vertaling geeft mogelijk niet de meest recente updates van de bronhandleiding weer. Help ons met het updaten van de vertaling of bekijk de bronhandleiding.
Inleiding
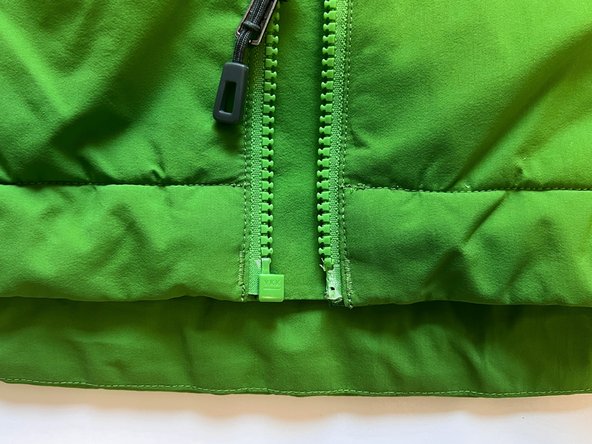
In deze handleiding zetten we de meest voorkomende problemen bij ritsen met plastic tanden (Vision®) op een rijtje en zie je of het gerepareerd kan worden door de sluiter te vervangen of dat je de gehele rits moet vervangen.
Het vaststellen van het probleem is de tweede stap in het reparatieproces van Patagonia-ritsen. Patagonia-onderdelen kunnen worden verkregen door te bellen of een bericht te sturen naar de klantenservice van Patagonia.
De drie stadia van het repareren van een Patagonia-ritssluiting
- Identificeer het type rits
- Diagnosticeer het probleem
- Probleemdiagnose bij een spiraalrits
- Probleemdiagnose bij een rits met plastic tanden
- Repareer de ritssluiter
-
-
Sluiter
-
Trekker of lip van de sluiter
-
Bovenste stoppers
-
Onderste stopper en pin
-
Tanden
-
Ritsband
-
-
-
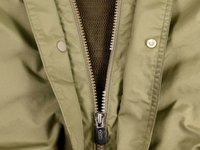
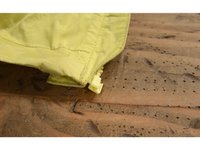
Een sluiter die loszit houdt de tanden niet voldoende bij elkaar waardoor de rits weer opent als de sluiter er voorbij is (afbeelding 1).
-
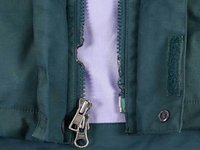
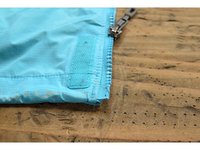
Een te strakke sluiter is lastig om überhaupt omhoog te trekken (afbeelding 2).
-
Als een van deze twee problemen het geval is, of als de sluiter in z'n geheel ontbreekt, kun je het probleem hoogstwaarschijnlijk wel met deze handleiding oplossen.
-
-
-
-
In deze handleiding zie je hoe je dit probleem tijdelijk op kunt lossen.
-
-
-
In deze handleiding zie je hoe je dit probleem tijdelijk op kunt lossen.
-
-
-
In deze handleiding zie je hoe je dit probleem tijdelijk op kunt lossen.
-




Annuleren: ik heb deze handleiding niet afgemaakt.
9 andere personen hebben deze handleiding voltooid.
Met dank aan deze vertalers:
91%

Thomas Keulemans helpt ons de wereld te repareren! Doe je mee?
Begin met vertalen ›



6Gids Commentaar
What if there's no reason other than one side of the slider came off?
What about if the zipper zips up but the teeth do not keep closed. I.e. zip up the jacket, part of the teeth stay interlocked but from one point on the teeth become undone and do not lock.
That's an issue with the zipper slider itself and I have experience fixing it. It's difficult to maneuver the tool because of fabric in the way and it's in a generally awkward spot but possible. Take needle pliers and squeeze down *a little bit* on the back of the zipper slider itself. Doesn't need too much of an adjustment, so squeeze a little and check, and squeeze a little and check. It's the small end of the zipper slider.
Malm -
I have the same problem as Juan Umana: one tooth at the bottom (beginning) of the zipper is broken off, so the teeth won’t mesh properly and the zipper teeth stay apart. Ideas welcome.
Robin Cunningham
