Ga door naar hoofdinhoud
Word lid van de reparatiegemeenschap - Account aanmaken

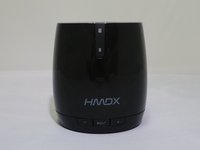
HMDX Chill Charging Port Replacement

Wat je nodig hebt

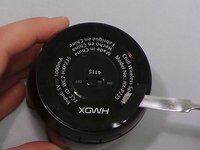
    1. HMDX Chill Charging Port Replacement, Remove Rubber Base: stap 1, afbeelding 1 van 3 HMDX Chill Charging Port Replacement, Remove Rubber Base: stap 1, afbeelding 2 van 3 HMDX Chill Charging Port Replacement, Remove Rubber Base: stap 1, afbeelding 3 van 3
      • Insert a metal spudger under the rubber base.

      • Pry the rubber base off.

      Vraag FixBot

      Voeg opmerking toe

    2. HMDX Chill Charging Port Replacement: stap 2, afbeelding 1 van 1
      • Use a Phillips #1 screwdriver to remove four 9 mm screws from the base of the device.

      Vraag FixBot

      Voeg opmerking toe

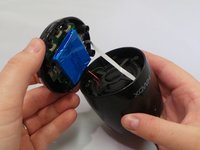
    3. HMDX Chill Charging Port Replacement: stap 3, afbeelding 1 van 2 HMDX Chill Charging Port Replacement: stap 3, afbeelding 2 van 2
      • Grip the base of the HMDX Chill.

      • Pull the base upwards.

      Vraag FixBot

      Voeg opmerking toe

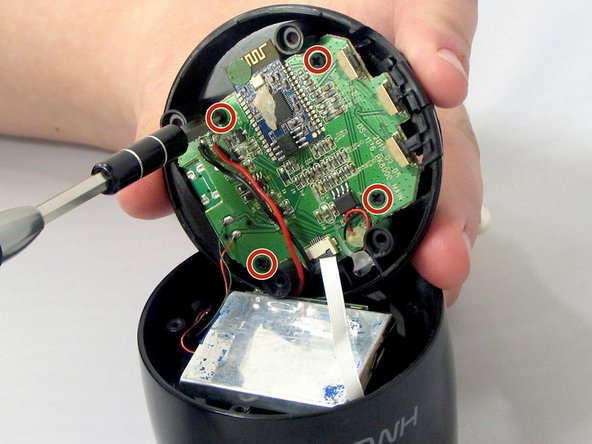
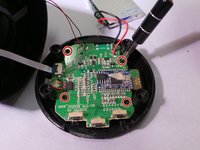
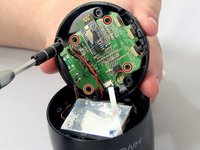
    1. HMDX Chill Charging Port Replacement, Motherboard: stap 4, afbeelding 1 van 3 HMDX Chill Charging Port Replacement, Motherboard: stap 4, afbeelding 2 van 3 HMDX Chill Charging Port Replacement, Motherboard: stap 4, afbeelding 3 van 3
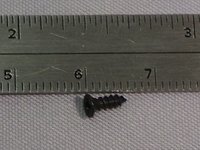
      • Use a Phillips #1 screwdriver to remove the four 6 mm screws that secure the motherboard to the base of the device.

      Vraag FixBot

      Voeg opmerking toe

    2. HMDX Chill Charging Port Replacement: stap 5, afbeelding 1 van 1
      • Pull the motherboard away from the base gently.

      • Do not pull too hard on the motherboard. It is still attached to the base by wires.

      Vraag FixBot

      Voeg opmerking toe

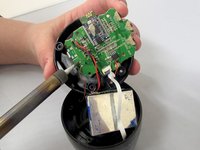
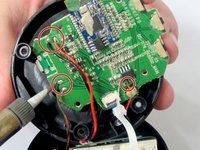
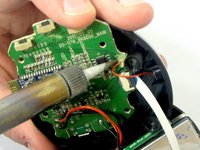
    3. HMDX Chill Charging Port Replacement: stap 6, afbeelding 1 van 3 HMDX Chill Charging Port Replacement: stap 6, afbeelding 2 van 3 HMDX Chill Charging Port Replacement: stap 6, afbeelding 3 van 3
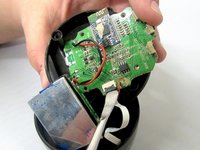
      • Use a soldering iron to desolder the wires connecting the motherboard to the case.

      Vraag FixBot

      Voeg opmerking toe

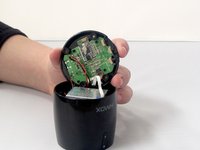
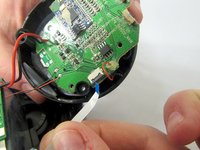
    4. HMDX Chill Charging Port Replacement: stap 7, afbeelding 1 van 2 HMDX Chill Charging Port Replacement: stap 7, afbeelding 2 van 2
      • Insert the spudger between the case and the wire and move the spudger upwards.

      • This will cause the case to prop open.

      • The wire behind the motherboard will now be visible. Pull this out from behind.

      Vraag FixBot

      Voeg opmerking toe

    5. HMDX Chill Charging Port Replacement: stap 8, afbeelding 1 van 1
      • Use the soldering iron to desolder the wires connecting the motherboard to the base of the HMDX Chill.

      Vraag FixBot

      Voeg opmerking toe

    1. HMDX Chill Charging Port Replacement, Desolder the Charging Port: stap 9, afbeelding 1 van 2 HMDX Chill Charging Port Replacement, Desolder the Charging Port: stap 9, afbeelding 2 van 2
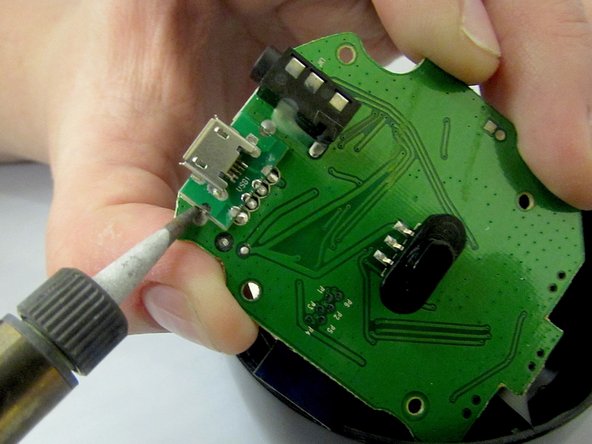
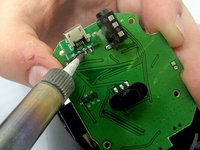
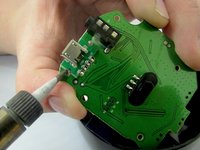
      • Using a soldering tool, desolder the charging port from the motherboard.

      Vraag FixBot

      Voeg opmerking toe

Conclusie

To reassemble your device, follow these instructions in reverse order.

Annuleren: ik heb deze handleiding niet afgemaakt.

Jourdan Holubasch

Lid sinds: 03/31/16

759 Reputatie

7 handleidingen geschreven

Team

EWU-Giguere-S16S1G1 Lid van EWU-Giguere-S16S1G1

Community

4 Leden

14 handleidingen geschreven

1Gids Commentaar

I have the charging port removed. Where do I find a replacement??

Aaron Hughes - Antwoord Deel

Voeg opmerking toe

Weergavestatistieken:

Afgelopen 24 uren: 0

Afgelopen 7 dagen: 3

Afgelopen 30 dagen: 23

Altijd: 769