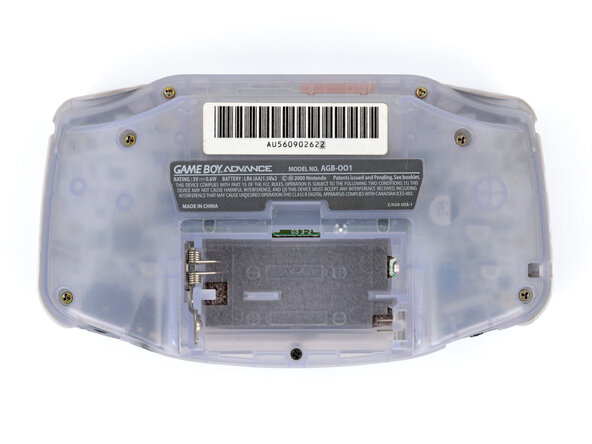
Inleiding
Gebruik deze reparatiehandleiding wanneer de aan/uit-schakelaar schoongemaakt moet worden of wanneer deze vervangen moet worden.
Wat je nodig hebt
-
-
-
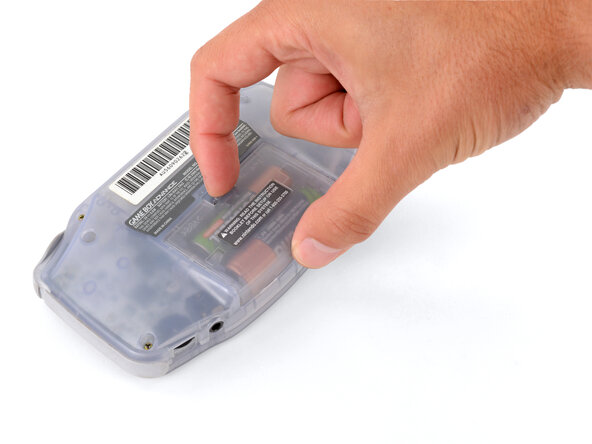
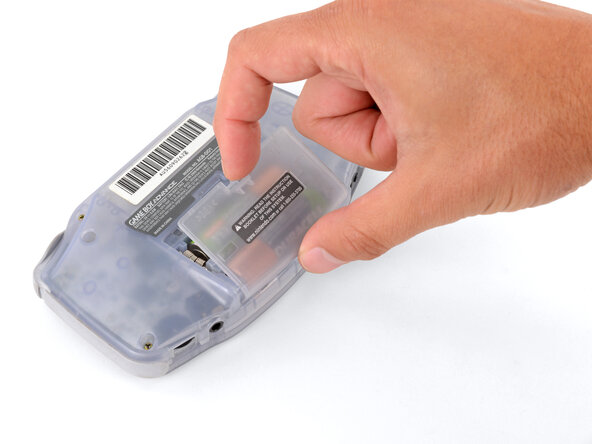
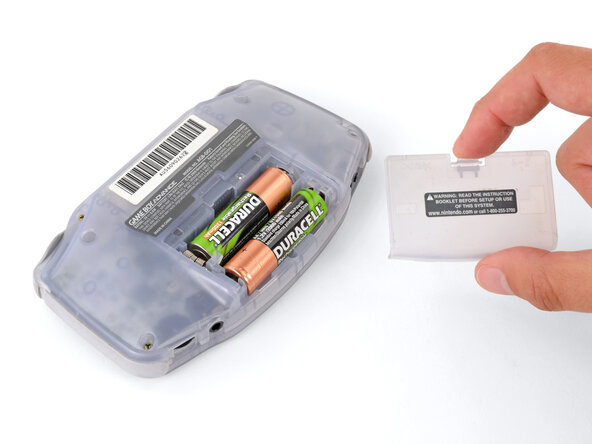
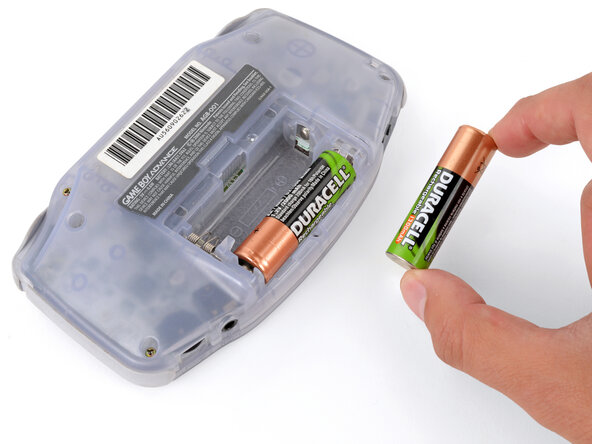
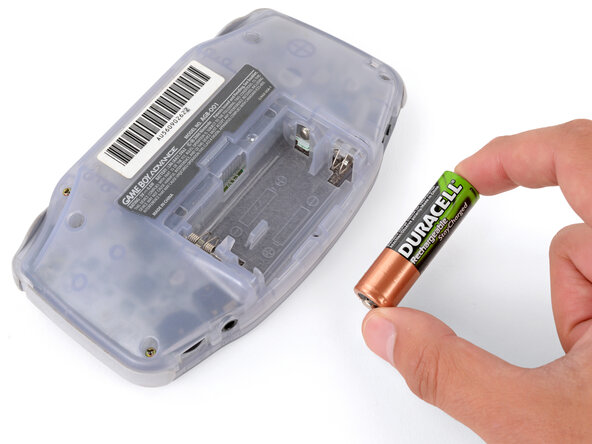
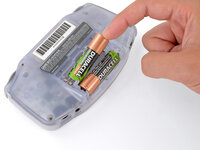
Maak het lipje van het batterijklepje los met je vinger en draai het klepje van je Game Boy af om het te verwijderen.
 Vraag FixBot
-
-
-
-
-
-
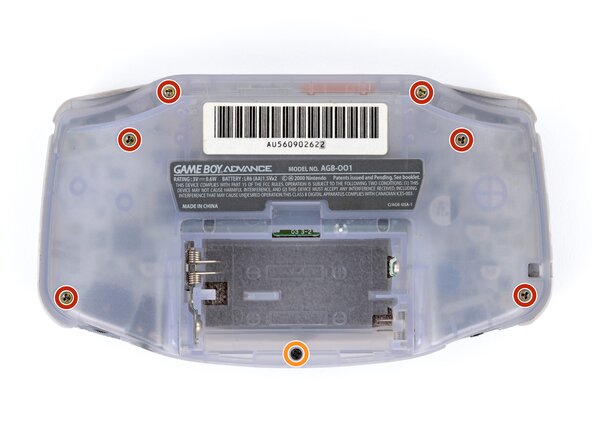
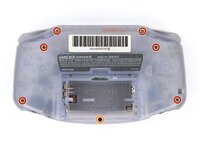
Verwijder de zeven schroeven waarmee de achterbehuizing is vastgezet:
-
Zes 9,4 mm lange tri-point Y0-schroeven
-
Eén 8,5 mm lange JIS 1-schroef
-
-
-
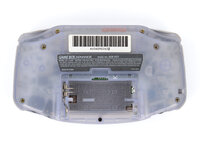
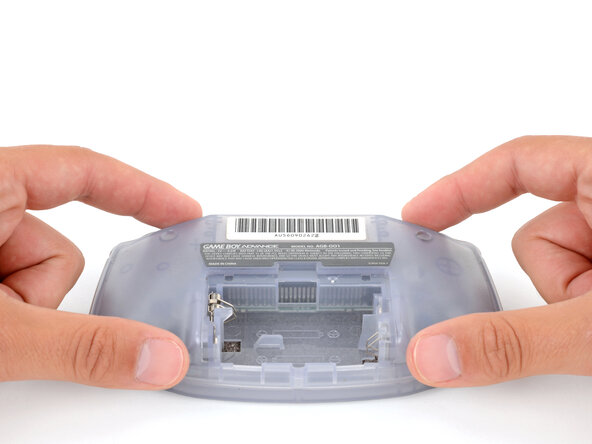
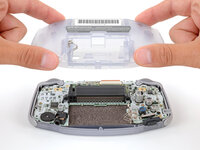
Til de achterkant recht omhoog en verwijder deze.
-
-
-
-
-
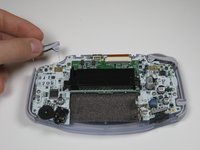
Verwijder de linker- en rechtertriggers door ze op te tillen en van het systeem af te trekken.
-
Doe hetzelfde voor de zijpanelen.
-
-
-
-
-
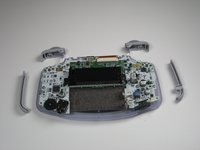
Verwijder de grijze aan/uit-schakelaar door deze omhoog en van het apparaat af te trekken. Vervang indien nodig door een andere schakelaar.
-
-


Volg deze instructies in omgekeerde volgorde om je apparaat weer in elkaar te zetten.
Annuleren: ik heb deze handleiding niet afgemaakt.
6 andere personen hebben deze handleiding voltooid.
Met dank aan deze vertalers:
100%

Translation Bot helpt ons de wereld te repareren! Doe je mee?
Begin met vertalen ›
Team

Cal Poly, Team 16-29, Maness Winter 2010 Lid van Cal Poly, Team 16-29, Maness Winter 2010
CPSU-MANESS-W10S16G29
5 Leden
145 handleidingen geschreven