Ga door naar hoofdinhoud
Word lid van de reparatiegemeenschap - Account aanmaken

Fujifilm X-M1 Disassembly

Wat je nodig hebt

  1. Fujifilm X-M1 Disassembly, Fujifilm X-M1 Disassembly: stap 1, afbeelding 1 van 1
    • If you haven't done so already, remove the lens from the camera.

    • Remove the six 2.5 mm Phillips screws from the bottom of the camera.

    Vraag FixBot
  2. Fujifilm X-M1 Disassembly: stap 2, afbeelding 1 van 1
    Gereedschap gebruikt in deze stap:
    Tweezers
    $4.99
    • Use tweezers or a finger nail to peel back the rubber cover on the left handgrip.

    • Remove the 3.4 mm Phillips screw.

    • Remove the 3.7 mm screw.

    Vraag FixBot
  3. Fujifilm X-M1 Disassembly: stap 3, afbeelding 1 van 1
    • Use tweezers or a fingernail to peel back the rubber cover on the right handgrip.

    • Remove the 3.2 mm Phillips screw.

    • Remove the 3.8 mm Phillips screw.

    • Remove the 2.8 mm Phillips screw.

    Vraag FixBot
  4. Fujifilm X-M1 Disassembly: stap 4, afbeelding 1 van 3 Fujifilm X-M1 Disassembly: stap 4, afbeelding 2 van 3 Fujifilm X-M1 Disassembly: stap 4, afbeelding 3 van 3
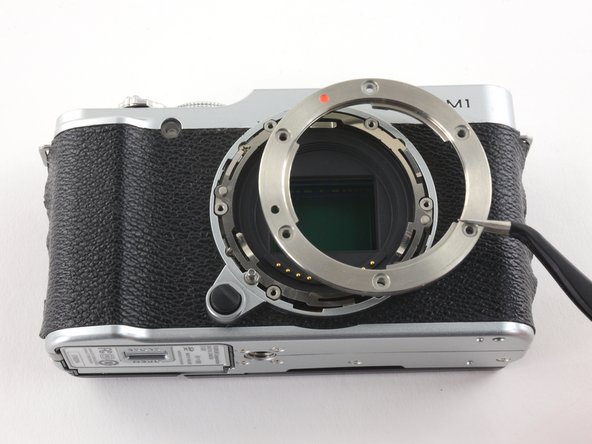
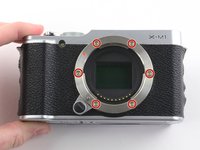
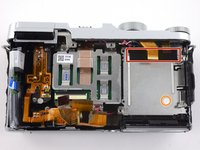
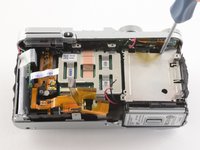
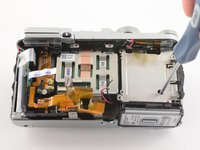
    • Remove the six 6.5 mm Phillips screws from the lens mount.

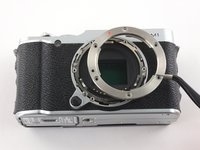
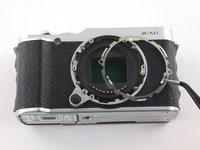
    • Use tweezers to remove the top metal ring and the thin metal ring below it .

    Vraag FixBot
  5. Fujifilm X-M1 Disassembly: stap 5, afbeelding 1 van 1
    • Remove the four 4.3 mm screws securing the sensor to the front case.

    Vraag FixBot
  6. Fujifilm X-M1 Disassembly: stap 6, afbeelding 1 van 2 Fujifilm X-M1 Disassembly: stap 6, afbeelding 2 van 2
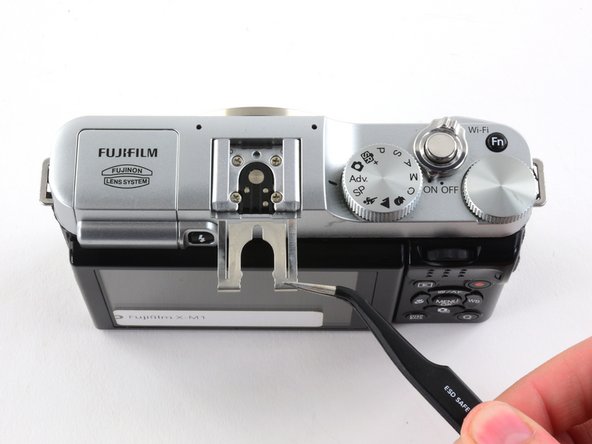
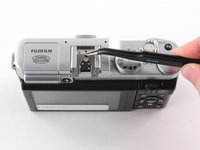
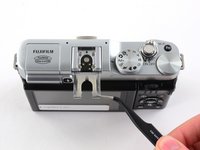
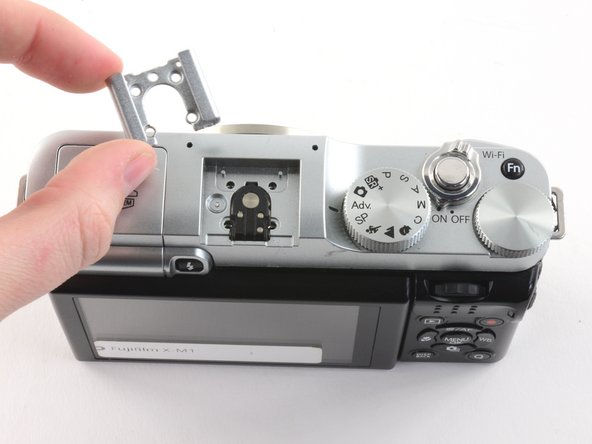
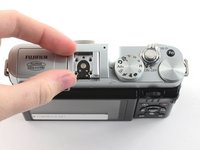
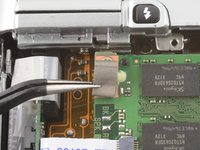
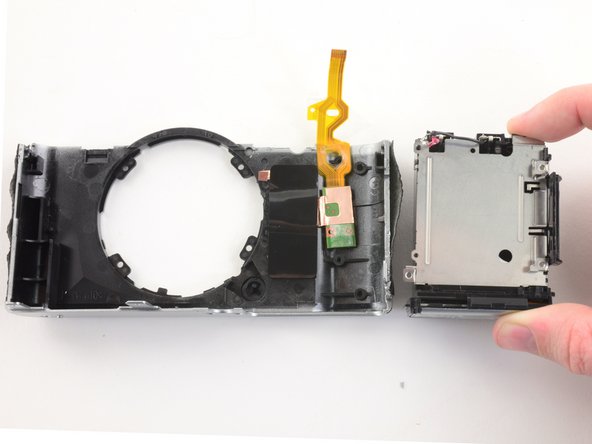
    • Use tweezers to slide the metal shield straight out of the external flash mount.

    Vraag FixBot
  7. Fujifilm X-M1 Disassembly: stap 7, afbeelding 1 van 3 Fujifilm X-M1 Disassembly: stap 7, afbeelding 2 van 3 Fujifilm X-M1 Disassembly: stap 7, afbeelding 3 van 3
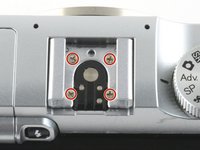
    • Remove the four 4.6 mm Phillips screws from the external flash mount.

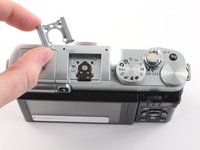
    • Use tweezers or two fingers to remove the mount clip.

    Vraag FixBot
  8. Fujifilm X-M1 Disassembly: stap 8, afbeelding 1 van 1
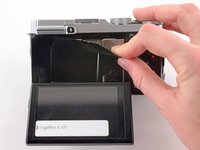
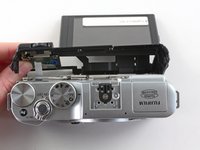
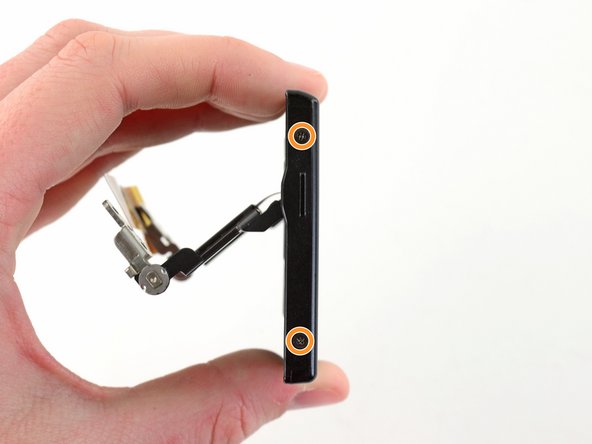
    • Extend the LCD.

    • Remove the two black 4.3 mm Phillips screws from the back case.

    Vraag FixBot
  9. Fujifilm X-M1 Disassembly: stap 9, afbeelding 1 van 2 Fujifilm X-M1 Disassembly: stap 9, afbeelding 2 van 2
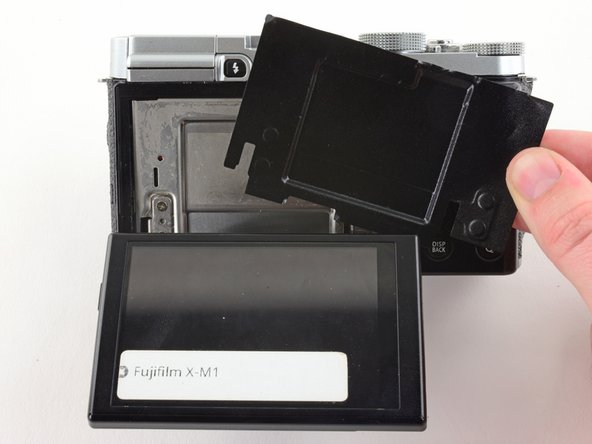
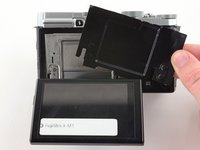
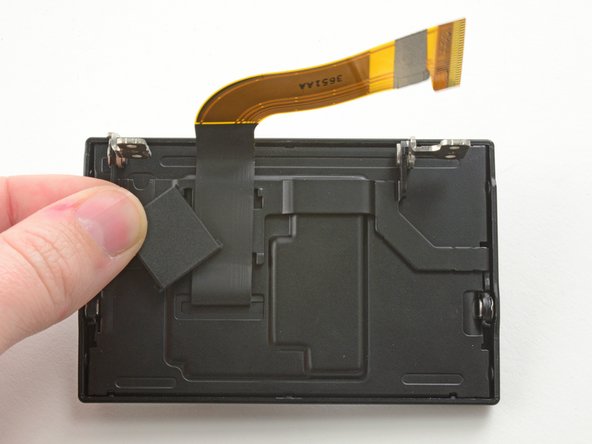
    • Use two fingers to peel back and remove the black plastic cover from behind the LCD.

    Vraag FixBot
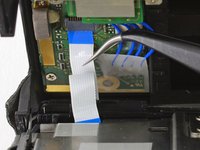
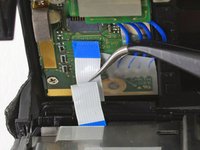
  10. Fujifilm X-M1 Disassembly: stap 10, afbeelding 1 van 3 Fujifilm X-M1 Disassembly: stap 10, afbeelding 2 van 3 Fujifilm X-M1 Disassembly: stap 10, afbeelding 3 van 3
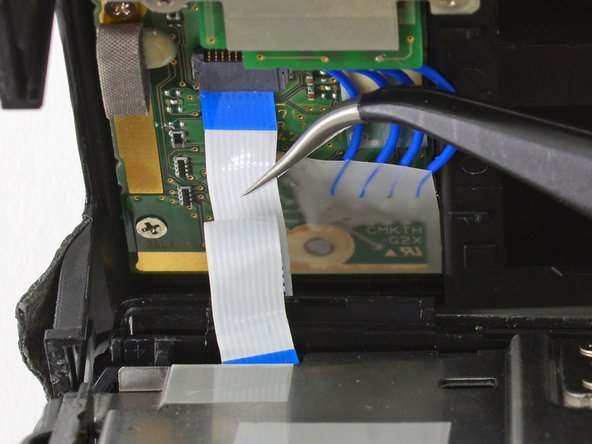
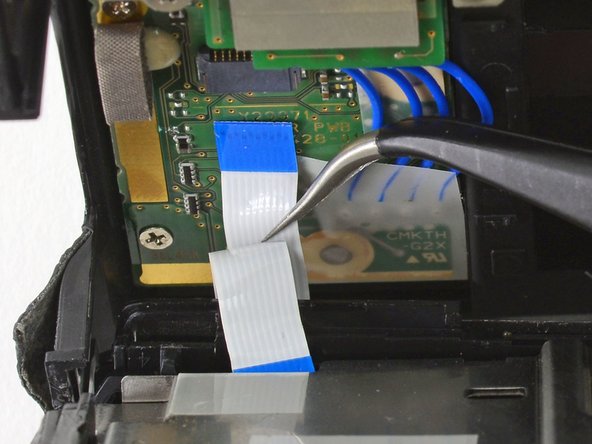
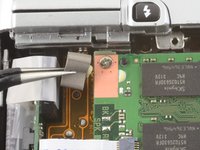
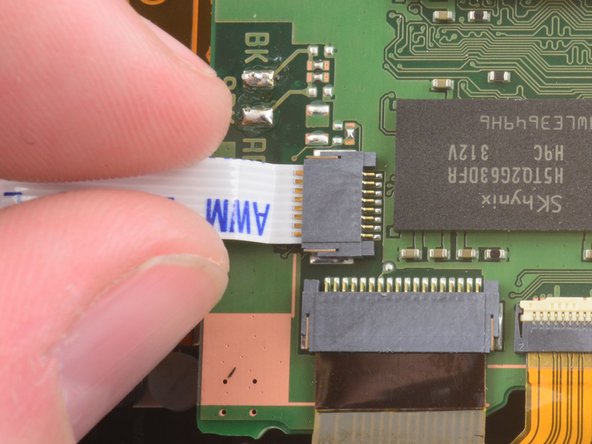
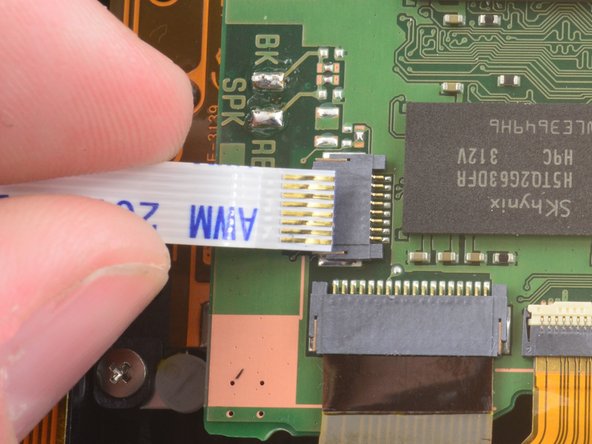
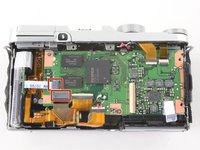
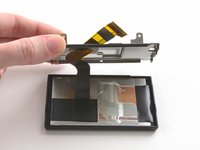
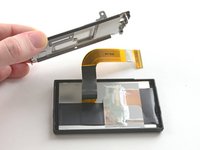
    • Slowly pull the back frame away from the camera.

    • Do not attempt to remove the frame, as it is attached to the camera by a ribbon cable.

    • Use tweezers to pull the white and blue ribbon cable out of the connector.

    Vraag FixBot
  11. Fujifilm X-M1 Disassembly: stap 11, afbeelding 1 van 1
    • Slide the frame around the LCD to remove it from the camera.

    Vraag FixBot
  12. Fujifilm X-M1 Disassembly: stap 12, afbeelding 1 van 1
    • Remove the two 2.6 mm Phillips screws from the right side of the metal frame.

    Vraag FixBot
  13. Fujifilm X-M1 Disassembly: stap 13, afbeelding 1 van 2 Fujifilm X-M1 Disassembly: stap 13, afbeelding 2 van 2
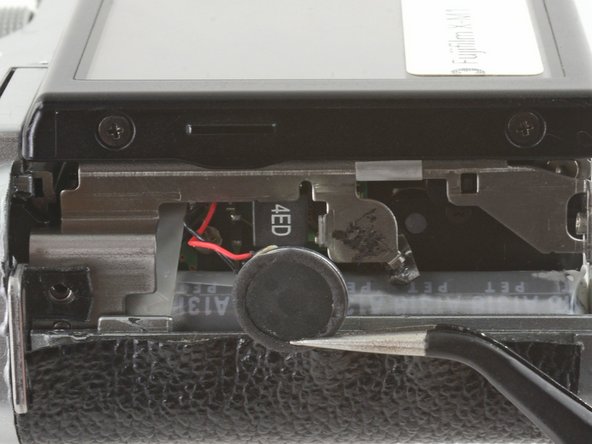
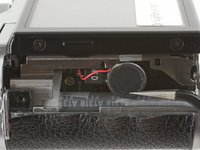
    • Use tweezers to unhook the speaker near the left handgrip.

    Vraag FixBot
  14. Fujifilm X-M1 Disassembly: stap 14, afbeelding 1 van 2 Fujifilm X-M1 Disassembly: stap 14, afbeelding 2 van 2
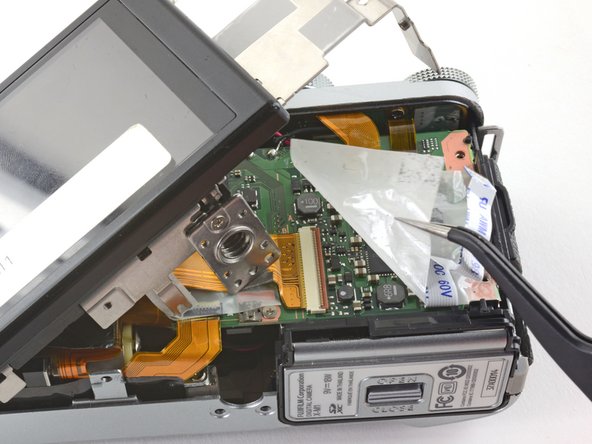
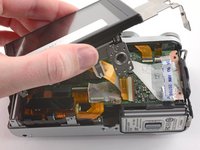
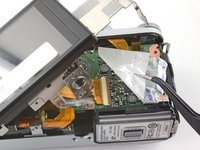
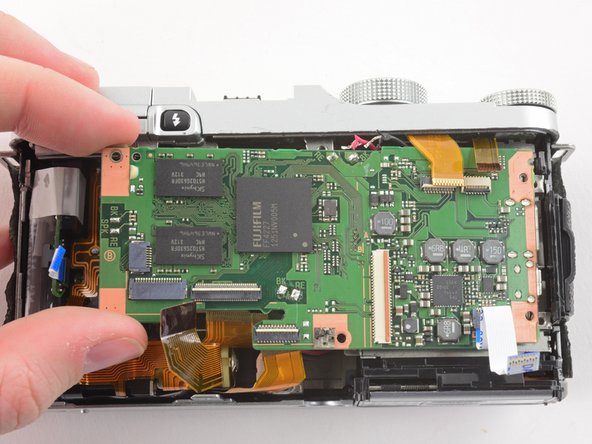
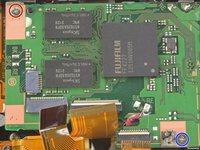
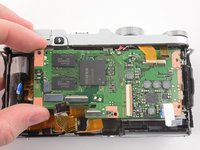
    • Slowly lift the metal frame away from the motherboard.

    • Do not attempt to remove the frame, as it is attached to the motherboard by a large ribbon cable.

    • Use tweezers to remove the plastic covering the motherboard.

    Vraag FixBot
  15. Fujifilm X-M1 Disassembly: stap 15, afbeelding 1 van 3 Fujifilm X-M1 Disassembly: stap 15, afbeelding 2 van 3 Fujifilm X-M1 Disassembly: stap 15, afbeelding 3 van 3
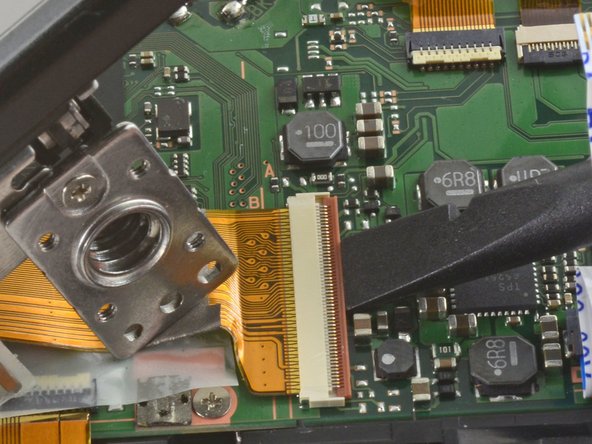
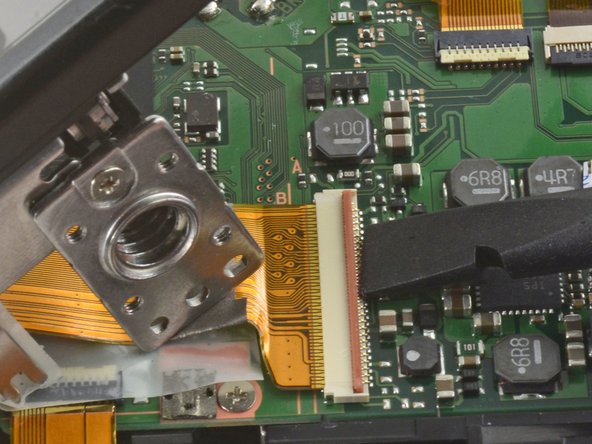
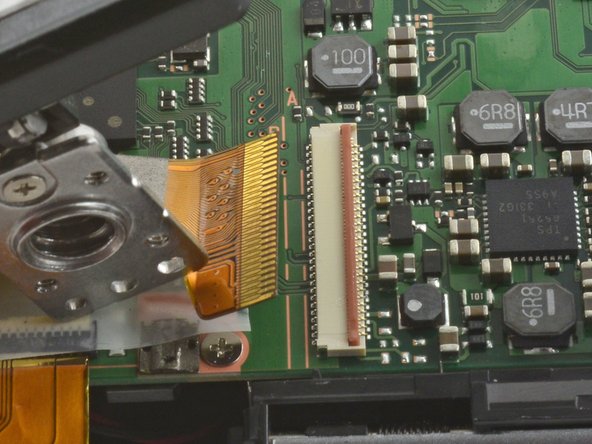
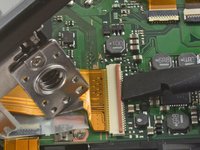
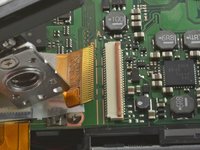
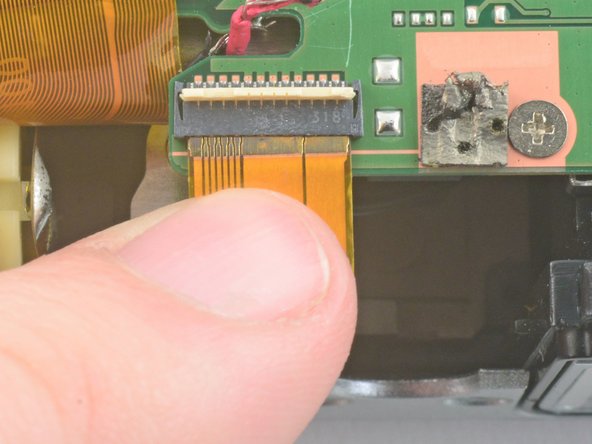
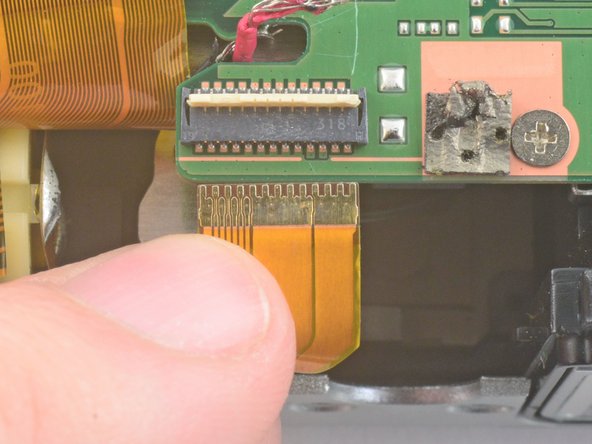
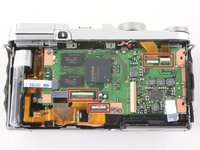
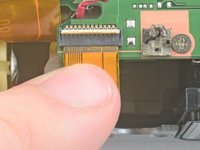
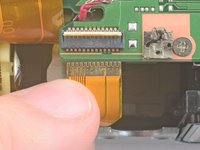
    • To remove the ribbon cable, flip back the orange lock on the large ZIF connector with the flat end of a spudger.

    • If the ribbon cable does not pop out on its own, use tweezers to pull it out of the connector.

    Vraag FixBot
  16. Fujifilm X-M1 Disassembly: stap 16, afbeelding 1 van 1
    • Use tweezers to remove the three pieces of tape covering the components of the motherboard.

    Vraag FixBot
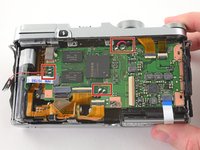
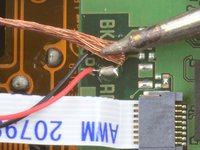
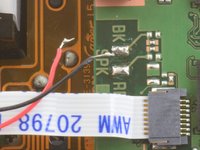
  17. Fujifilm X-M1 Disassembly: stap 17, afbeelding 1 van 3 Fujifilm X-M1 Disassembly: stap 17, afbeelding 2 van 3 Fujifilm X-M1 Disassembly: stap 17, afbeelding 3 van 3
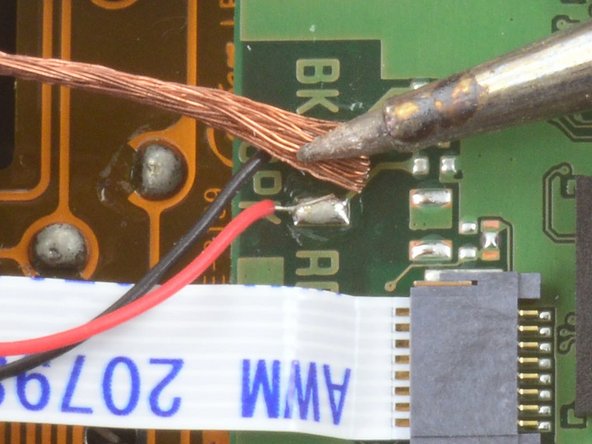
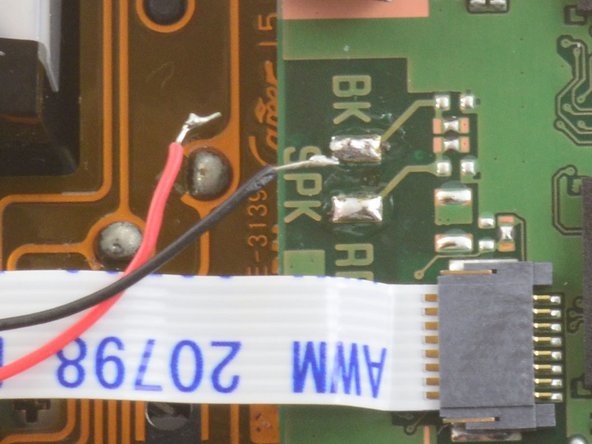
    • Desolder the three pairs of red and black wires attached to the mother board.

    • Learn more about desoldering wires here.

    Vraag FixBot
  18. Fujifilm X-M1 Disassembly: stap 18, afbeelding 1 van 2 Fujifilm X-M1 Disassembly: stap 18, afbeelding 2 van 2
    • Use tweezers to remove the grey cushion located below the flash button.

    Vraag FixBot
  19. Fujifilm X-M1 Disassembly: stap 19, afbeelding 1 van 3 Fujifilm X-M1 Disassembly: stap 19, afbeelding 2 van 3 Fujifilm X-M1 Disassembly: stap 19, afbeelding 3 van 3
    • Use two fingers to remove the two ribbon cables in the bottom left corner of the motherboard.

    Vraag FixBot
  20. Fujifilm X-M1 Disassembly: stap 20, afbeelding 1 van 3 Fujifilm X-M1 Disassembly: stap 20, afbeelding 2 van 3 Fujifilm X-M1 Disassembly: stap 20, afbeelding 3 van 3
    • Use the flat end of a spudger to unlock the four indicated ZIF connectors.

    • Use two fingers to pull the ribbon cables out of the connectors.

    Vraag FixBot
  21. Fujifilm X-M1 Disassembly: stap 21, afbeelding 1 van 2 Fujifilm X-M1 Disassembly: stap 21, afbeelding 2 van 2
    • Remove the 3.3 mm Phillips screw from the upper left corner of the motherboard.

    • Remove the 2.4 mm Phillips screw in the bottom right corner of the motherboard.

    • Use two fingers to remove the motherboard from the front case.

    Vraag FixBot
  22. Fujifilm X-M1 Disassembly: stap 22, afbeelding 1 van 3 Fujifilm X-M1 Disassembly: stap 22, afbeelding 2 van 3 Fujifilm X-M1 Disassembly: stap 22, afbeelding 3 van 3
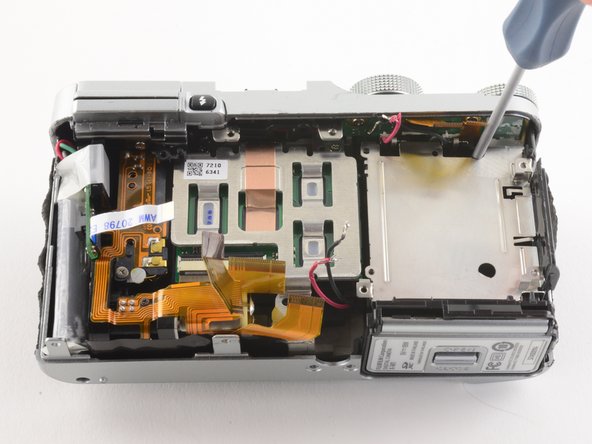
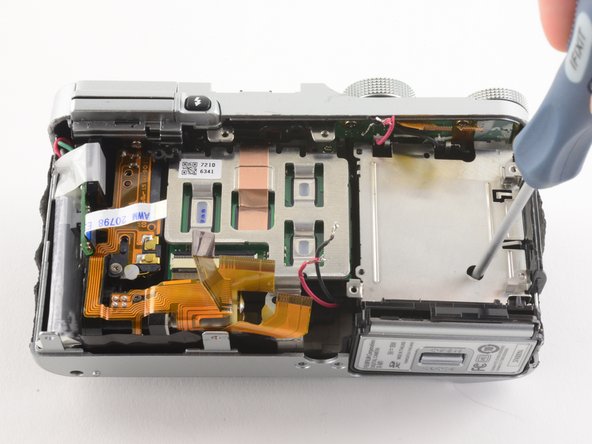
    • Use tweezers to remove the black plastic tape at the top of the battery compartment.

    • Insert a Phillips #00 screwdriver through the hole beneath the black tape to remove a 4.8 mm screw.

    • Insert a Phillips #00 screwdriver through the white tamper evident sticker to remove a second 4.8 mm screw.

    Vraag FixBot
  23. Fujifilm X-M1 Disassembly: stap 23, afbeelding 1 van 1
    • Remove the 3.7 mm Phillips screw from the bottom of the sensor mount.

    • Remove the 4.2 mm Phillips screw from the bottom of the sensor mount.

    • Remove the 6.2 mm Phillips screw hiding between the sensor mount and the battery compartment.

    Vraag FixBot
  24. Fujifilm X-M1 Disassembly: stap 24, afbeelding 1 van 2 Fujifilm X-M1 Disassembly: stap 24, afbeelding 2 van 2
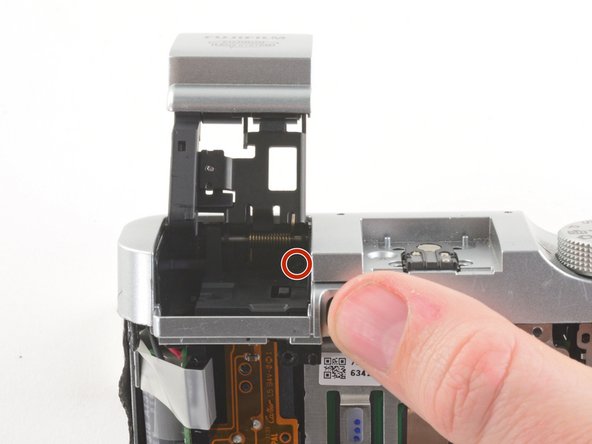
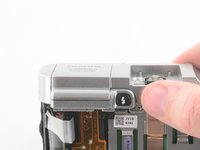
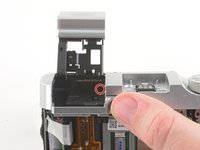
    • Press the flash button to release the flash assembly.

    • Remove the 3.4 mm Phillips screw in the back of the flash compartment.

    Vraag FixBot
  25. Fujifilm X-M1 Disassembly: stap 25, afbeelding 1 van 2 Fujifilm X-M1 Disassembly: stap 25, afbeelding 2 van 2
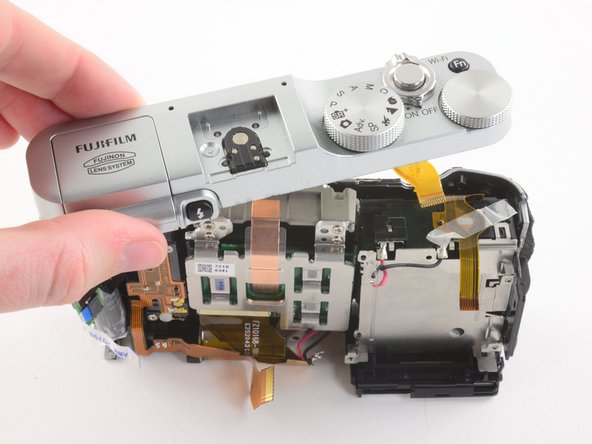
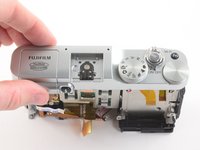
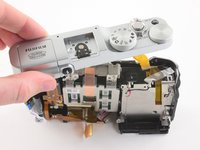
    • Remove the top plate.

    Vraag FixBot
  26. Fujifilm X-M1 Disassembly: stap 26, afbeelding 1 van 1
    • Remove the sensor assembly.

    Vraag FixBot
  27. Fujifilm X-M1 Disassembly: stap 27, afbeelding 1 van 2 Fujifilm X-M1 Disassembly: stap 27, afbeelding 2 van 2
    • Remove the battery compartment.

    Vraag FixBot
  28. Fujifilm X-M1 Disassembly: stap 28, afbeelding 1 van 2 Fujifilm X-M1 Disassembly: stap 28, afbeelding 2 van 2
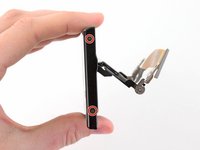
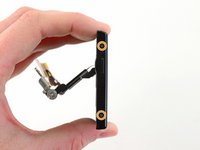
    • Remove the four 2.6 mm Phillips screws from the LCD hinges.

    • Tilt the LCD away from the metal frame.

    • Do not attempt to remove the LCD, as it is attached to the metal frame by a ribbon cable.

    Vraag FixBot
  29. Fujifilm X-M1 Disassembly: stap 29, afbeelding 1 van 2 Fujifilm X-M1 Disassembly: stap 29, afbeelding 2 van 2
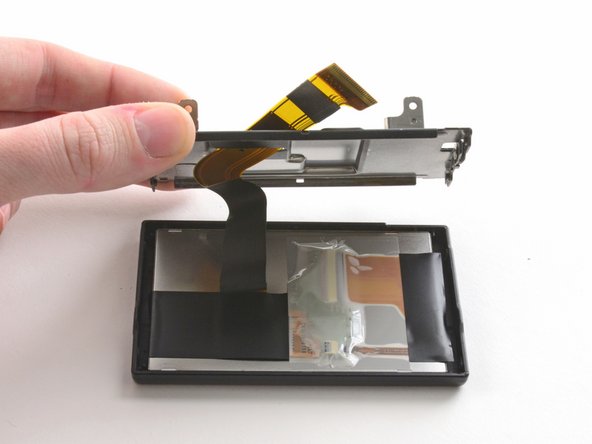
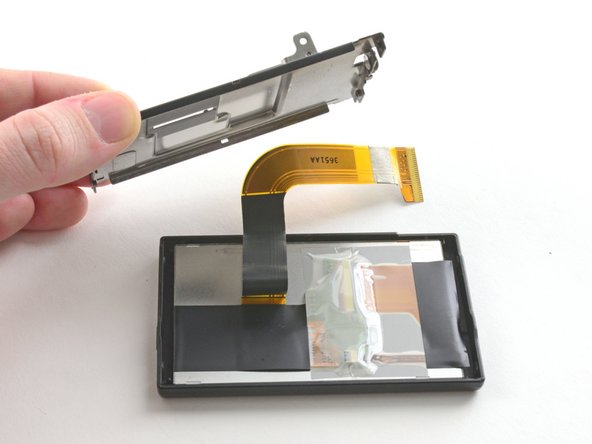
    • Use two fingers to pull the ribbon through the hole in the metal frame.

    • Remove the LCD from the metal frame.

    Vraag FixBot
  30. Fujifilm X-M1 Disassembly: stap 30, afbeelding 1 van 2 Fujifilm X-M1 Disassembly: stap 30, afbeelding 2 van 2
    • Use the pointed end of a spudger to remove the ribbon cover on the back of the LCD.

    Vraag FixBot
  31. Fujifilm X-M1 Disassembly: stap 31, afbeelding 1 van 2 Fujifilm X-M1 Disassembly: stap 31, afbeelding 2 van 2
    • Remove the two 2.6 mm Phillips screws from the right hand side of the LCD screen.

    • Remove the two 2.6 mm Phillips screws from the left hand side of the LCD screen.

    Vraag FixBot
  32. Fujifilm X-M1 Disassembly: stap 32, afbeelding 1 van 3 Fujifilm X-M1 Disassembly: stap 32, afbeelding 2 van 3 Fujifilm X-M1 Disassembly: stap 32, afbeelding 3 van 3
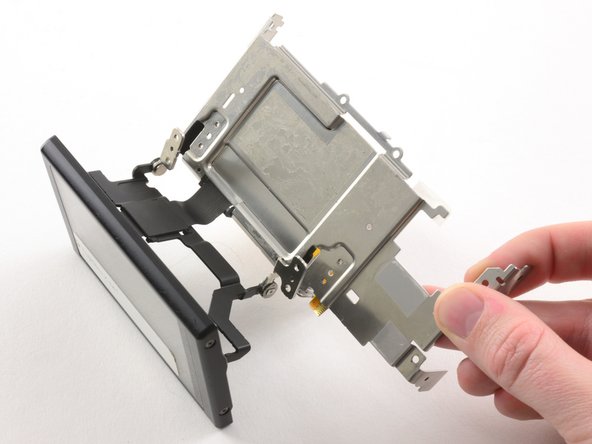
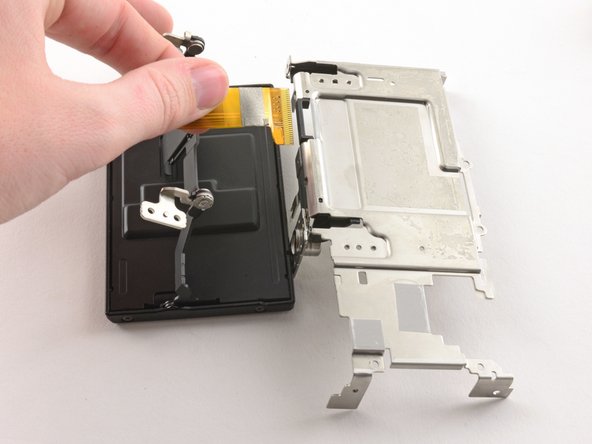
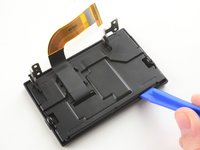
    • Use a plastic opening tool to pry the LCD case open.

    • Once the case is open, pull the ribbon through the hole on the back case.

    Vraag FixBot
  33. Fujifilm X-M1 Disassembly: stap 33, afbeelding 1 van 1
    • Remove the LCD from the screen cover.

    Vraag FixBot
  34. Fujifilm X-M1 Disassembly: stap 34, afbeelding 1 van 1
    • You have successfully disassembled the Fujifilm X-M1!

    Vraag FixBot
Conclusie

To reassemble your device, follow these instructions in reverse order.

10 andere personen hebben deze handleiding voltooid.

Kelsea Weber

Lid sinds: 11/12/15

21.286 Reputatie

32 handleidingen geschreven

7Gids Commentaar

what about the top plate??? no one apparently knows how to remove the rotary switches from the upper assembly. Still looking for someone to show how those things are assembled

Juan Paz - Antwoord Deel
Hi, I have disassembled in more detail the whole camera and collected in reverse order to every detail , I can send you my photos for a complete collection of disassembly of the camera, my email: tyapa141465@mail.ru

Felus Felus - Antwoord Deel

Great article.

I have disassembled mine in order to clean dust inside sensor assembly, i took apart #26 using top 2 screws and the bottom one.

Unfortuntatly in the middle there were spacers, on the bottom 3 of them, on the upper side i have found 5 little metal spacers… without knowing how many were on the left, and on the right. Do you have pictures of this stage? Tya.

Francesco - Antwoord Deel
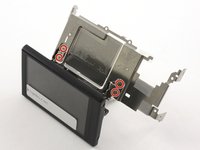
Большое спасибо автору статьи. Благодаря ей разобрали Fuji X-A2 для ремонта (после падения камеры не работала часть функций). После разборки и последующей сборки камера работает как новая. Только черную пленку под LCD пришлось выбросить, потому что она одноразовая

Lena Raigorodskiy - Antwoord Deel
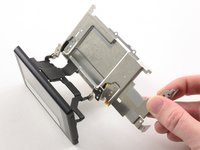
Many thanks to the author of the article. Thanks to her dismantled Fuji X-A2 for repair (after the fall of the camera did not work part of the functions). After disassembly and subsequent Assembly, the camera works as new. Only the black film under the LCD had to be thrown away, because it is disposable

Lena Raigorodskiy - Antwoord Deel

Voeg opmerking toe

Weergavestatistieken:

Afgelopen 24 uren: 7

Afgelopen 7 dagen: 38

Afgelopen 30 dagen: 195

Altijd: 15,969