Inleiding
If the alarm on your Equity Alarm Clock 13014 is not going off, use this guide to replace the alarm switch.
The alarm switch is a small lever that is flipped, at the set time of the alarm, to activate an internal circuit which in response triggers the alarm to sound. A faulty alarm switch will not activate the internal circuit therefore, never triggering the sound.
Step 5 requires knowledge of basic soldering to detach a wire.
Here is a helpful video on basic soldering: Hoe moet je (de-)solderen?
Wat je nodig hebt
-
-
-
Remove the battery door using your finger nail or an opening tool.
 Vraag FixBot
-
-
-
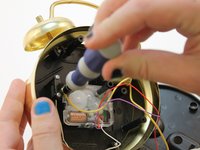
Use a Phillips #1 screwdriver to remove the 3 screws on the back cover.
-
-
-
-
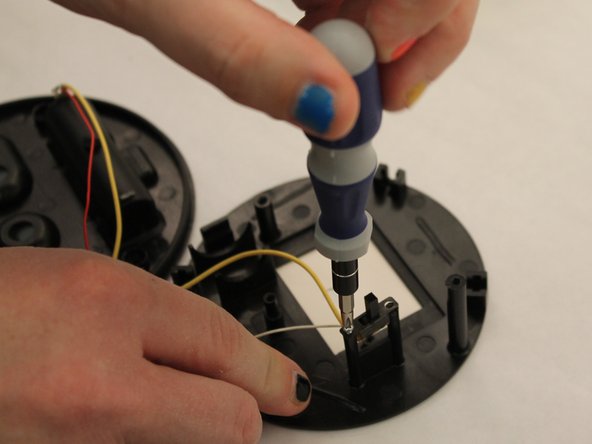
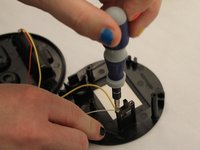
Use a Phillips #1 screwdriver to remove the small screw located above the alarm switch.
-
Remove the small screw located below the alarm switch as well.
-
-
-
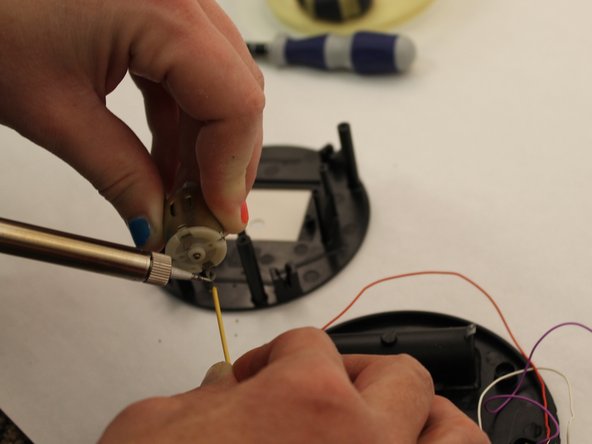
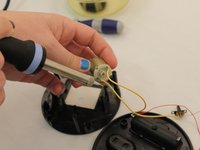
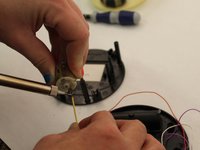
Place the end of the soldering iron on the end of the wire connected to the copper cylinder to detach the wire.
-
To replace the alarm switch, attach one end of new alarm switch wire to the copper cylinder.
-
Use a Phillips #1 screwdriver to reinstall the switch screws.
-
-



To reassemble your device, follow these instructions in reverse order.
Annuleren: ik heb deze handleiding niet afgemaakt.
3 andere personen hebben deze handleiding voltooid.

Team

Eastern Washington University, Team 1-6, Carnegie Fall 2014 Lid van Eastern Washington University, Team 1-6, Carnegie Fall 2014
EWU-CARNEGIE-F14S1G6
6 Leden
24 handleidingen geschreven
