Ga door naar hoofdinhoud
Word lid van de reparatiegemeenschap - Account aanmaken

DROCON Ninja Motor Replacement

Wat je nodig hebt

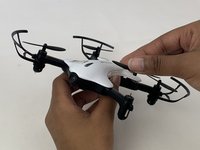
    1. DROCON Ninja Motor Replacement, Battery: stap 1, afbeelding 1 van 3 DROCON Ninja Motor Replacement, Battery: stap 1, afbeelding 2 van 3 DROCON Ninja Motor Replacement, Battery: stap 1, afbeelding 3 van 3
      • Make sure the drone is powered off before beginning the battery replacement.

      • To turn the drone off, press and hold the black button on the top of the drone until all lights are off.

      • Firmly grasp the battery tab between your thumb and index finger.

      • Pull the battery away from the drone's body

      Vraag FixBot

      Voeg opmerking toe

    1. DROCON Ninja Motor Replacement, Casing: stap 2, afbeelding 1 van 3 DROCON Ninja Motor Replacement, Casing: stap 2, afbeelding 2 van 3 DROCON Ninja Motor Replacement, Casing: stap 2, afbeelding 3 van 3
      • Using a Phillips #00 Screwdriver remove the eight 4mm screws on the bottom of the drone.

      Vraag FixBot

      Voeg opmerking toe

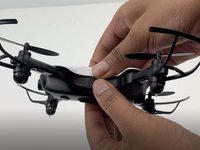
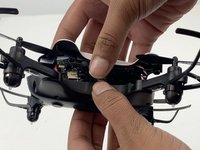
    2. DROCON Ninja Motor Replacement: stap 3, afbeelding 1 van 2 DROCON Ninja Motor Replacement: stap 3, afbeelding 2 van 2
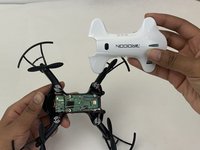
      • Gently pull white casing away from the black bottom casing

      Vraag FixBot

      Voeg opmerking toe

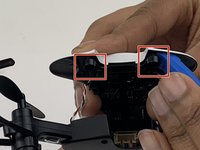
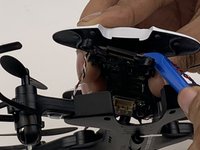
    3. DROCON Ninja Motor Replacement: stap 4, afbeelding 1 van 3 DROCON Ninja Motor Replacement: stap 4, afbeelding 2 van 3 DROCON Ninja Motor Replacement: stap 4, afbeelding 3 van 3
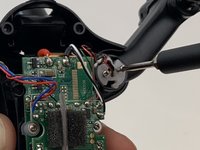
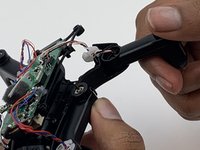
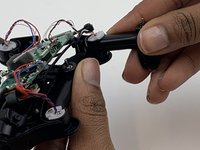
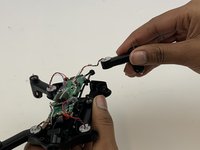
      • Insert the opening tool under one of the black plastic connector slots that connects the circuit-board to the casing.

      • Gently pull the opening tool toward you to disconnect the circuit-board from the plastic casing.

      Vraag FixBot

      Voeg opmerking toe

    1. DROCON Ninja Motor Replacement, Motor: stap 5, afbeelding 1 van 2 DROCON Ninja Motor Replacement, Motor: stap 5, afbeelding 2 van 2
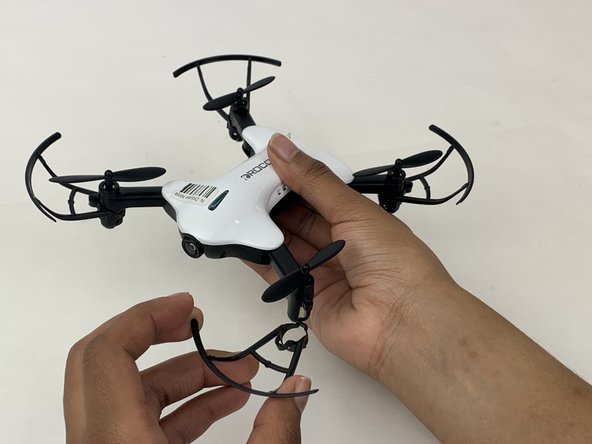
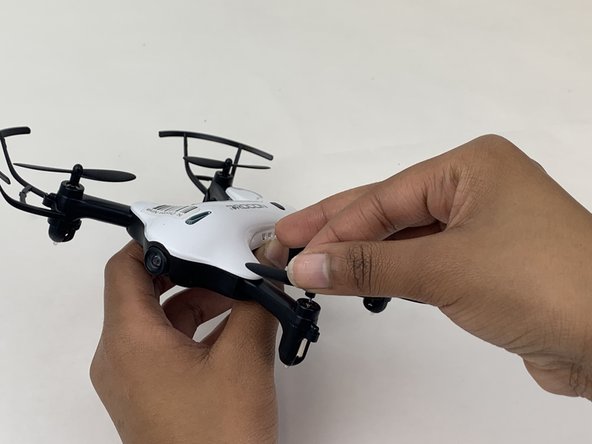
      • Firmly grasp the blade guard from the bottom of the drone

      • Pull the blade guard straight down away from motor.

      Vraag FixBot

      Voeg opmerking toe

    2. DROCON Ninja Motor Replacement: stap 6, afbeelding 1 van 3 DROCON Ninja Motor Replacement: stap 6, afbeelding 2 van 3 DROCON Ninja Motor Replacement: stap 6, afbeelding 3 van 3
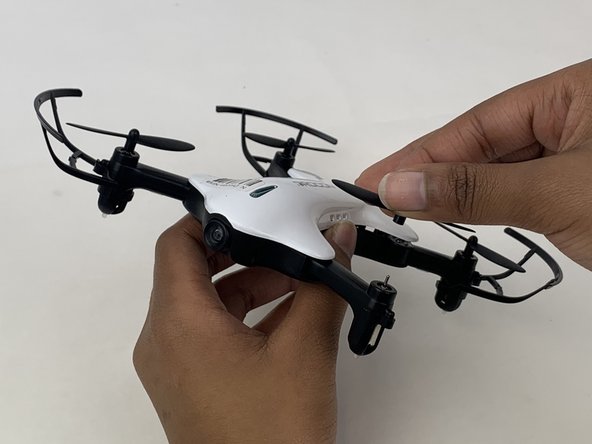
      • Grasp the center of the propeller that needs to be replaced.

      • Pull the propeller directly up and away from the motor.

      Vraag FixBot

      Voeg opmerking toe

    3. DROCON Ninja Motor Replacement: stap 7, afbeelding 1 van 3 DROCON Ninja Motor Replacement: stap 7, afbeelding 2 van 3 DROCON Ninja Motor Replacement: stap 7, afbeelding 3 van 3
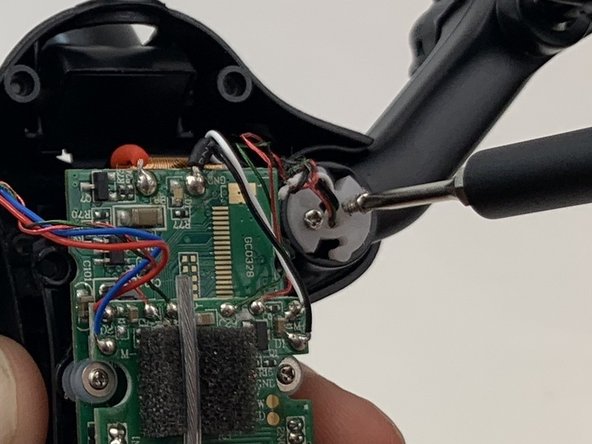
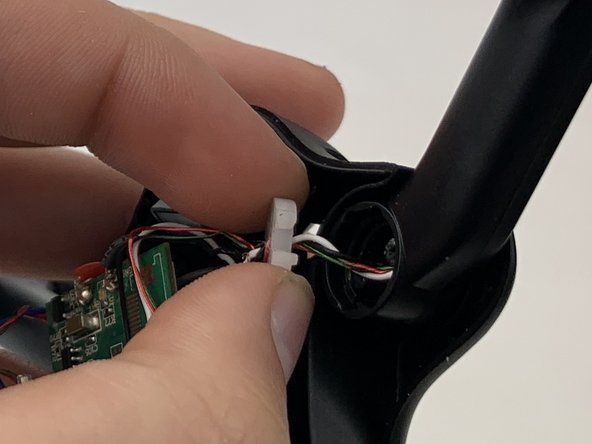
      • Use a Phillips #00 screwdriver to remove the two 5mm screws connecting the motor arm to the drone's body.

      • Use your fingers to gently pull the white plastic disc out of the motor arm.

      Vraag FixBot

      Voeg opmerking toe

    4. DROCON Ninja Motor Replacement: stap 8, afbeelding 1 van 3 DROCON Ninja Motor Replacement: stap 8, afbeelding 2 van 3 DROCON Ninja Motor Replacement: stap 8, afbeelding 3 van 3
      • Grasp the motor arm and pull up and away from the drone's body.

      Vraag FixBot

      Voeg opmerking toe

    5. DROCON Ninja Motor Replacement: stap 9, afbeelding 1 van 3 DROCON Ninja Motor Replacement: stap 9, afbeelding 2 van 3 DROCON Ninja Motor Replacement: stap 9, afbeelding 3 van 3
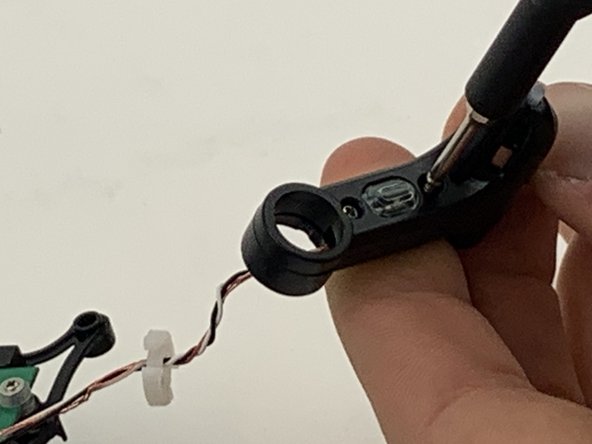
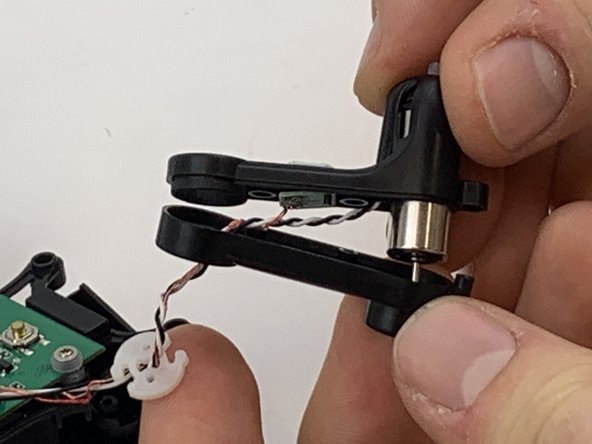
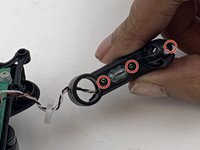
      • Use a Phillips #00 screwdriver to remove the three 4mm screws on the plate of the motor arm.

      • Using your fingers, pull apart the top and bottom pieces of the casing.

      Vraag FixBot

      Voeg opmerking toe

    6. DROCON Ninja Motor Replacement: stap 10, afbeelding 1 van 3 DROCON Ninja Motor Replacement: stap 10, afbeelding 2 van 3 DROCON Ninja Motor Replacement: stap 10, afbeelding 3 van 3
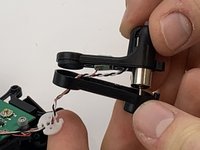
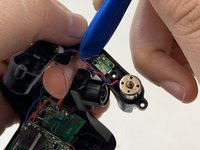
      • Use the opening tool to remove the small circuit board from the motor arm.

      Vraag FixBot

      Voeg opmerking toe

    7. DROCON Ninja Motor Replacement: stap 11, afbeelding 1 van 3 DROCON Ninja Motor Replacement: stap 11, afbeelding 2 van 3 DROCON Ninja Motor Replacement: stap 11, afbeelding 3 van 3
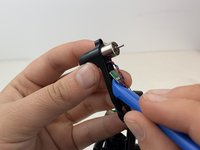
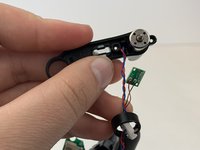
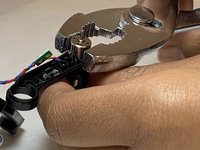
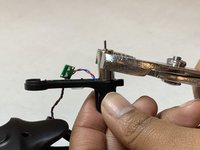
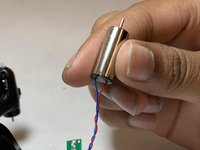
      • Use a pair of pliers to remove the motor by pulling up and away from the propeller arm.

      Vraag FixBot

      Voeg opmerking toe

Conclusie

To reassemble your device, follow these instructions in reverse order.

Annuleren: ik heb deze handleiding niet afgemaakt.

3 andere personen hebben deze handleiding voltooid.

1Gids Commentaar

I’ve got the motor out. Thank you! Now to find a suitable replacement. Do you know the specs of the motor or a source for a working one?

Tinkerer - Antwoord Deel
Voeg opmerking toe

Weergavestatistieken:

Afgelopen 24 uren: 0

Afgelopen 7 dagen: 7

Afgelopen 30 dagen: 28

Altijd: 1,363