Ga door naar hoofdinhoud
Word lid van de reparatiegemeenschap - Account aanmaken

Conair Infiniti Pro Model 259NP On/Off Button Replacement

Wat je nodig hebt

    1. Conair Infiniti Pro Model 259NP On/Off Button Replacement, Back Panel: stap 1, afbeelding 1 van 1
      • Caution: Unplug the hair dryer before attempting this guide. Leaving the device plugged in may result in electrocution and damage to the device.

      • Hold the hair dryer by the handle so that the back panel faces up.

      Vraag FixBot

      Voeg opmerking toe

    2. Conair Infiniti Pro Model 259NP On/Off Button Replacement: stap 2, afbeelding 1 van 2 Conair Infiniti Pro Model 259NP On/Off Button Replacement: stap 2, afbeelding 2 van 2
      • Remove the two 15.875 mm Phillips #2 screws from the back panel.

      Vraag FixBot

      Voeg opmerking toe

    3. Conair Infiniti Pro Model 259NP On/Off Button Replacement: stap 3, afbeelding 1 van 3 Conair Infiniti Pro Model 259NP On/Off Button Replacement: stap 3, afbeelding 2 van 3 Conair Infiniti Pro Model 259NP On/Off Button Replacement: stap 3, afbeelding 3 van 3
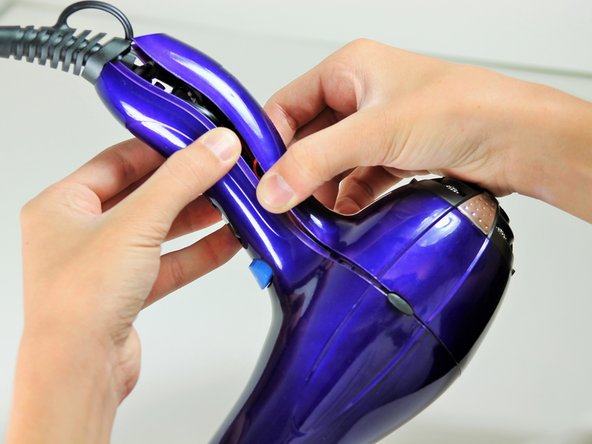
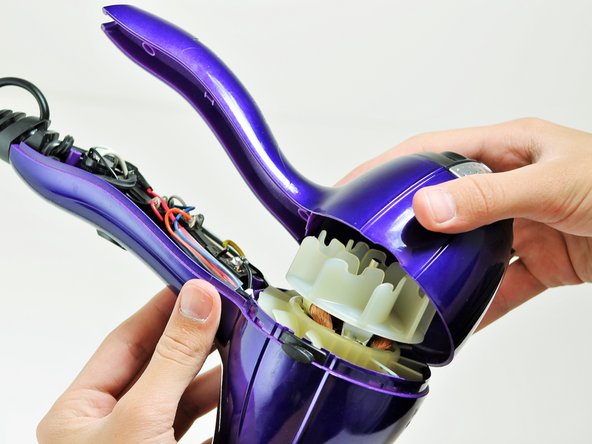
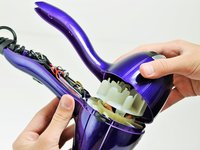
      • Starting from where the cord attaches to the handle, pull apart the two plastic panels.

      • Continue separating the back panel, working along the seam.

      • With moderate force, completely remove the back panel from the hair dryer.

      Vraag FixBot

      Voeg opmerking toe

    1. Conair Infiniti Pro Model 259NP On/Off Button Replacement, Fan Motor Assembly: stap 4, afbeelding 1 van 2 Conair Infiniti Pro Model 259NP On/Off Button Replacement, Fan Motor Assembly: stap 4, afbeelding 2 van 2
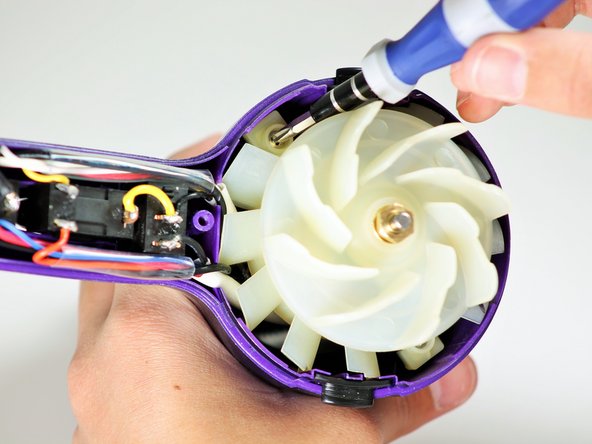
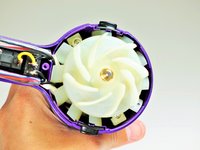
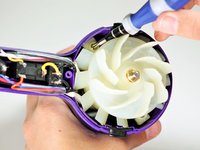
      • Hold the hair dryer by the nozzle so that the handle points to the left.

      • Remove the two 1-inch Phillips #2 screws from the back of the fan motor.

      Vraag FixBot

      Voeg opmerking toe

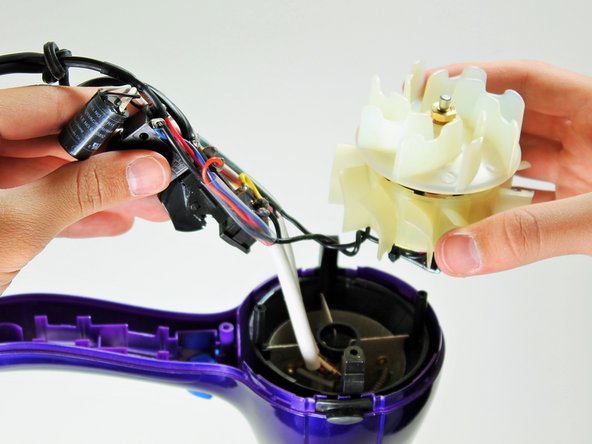
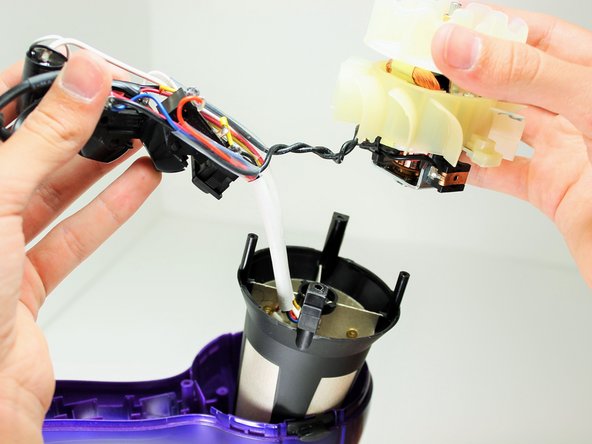
    2. Conair Infiniti Pro Model 259NP On/Off Button Replacement: stap 5, afbeelding 1 van 3 Conair Infiniti Pro Model 259NP On/Off Button Replacement: stap 5, afbeelding 2 van 3 Conair Infiniti Pro Model 259NP On/Off Button Replacement: stap 5, afbeelding 3 van 3
      • Caution: If you recently used the hair dryer, wait at least 10 minutes before attempting this step. The heating element may still be very hot and can cause serious burns.

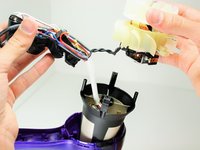
      • Pull on the back of the fan motor to gently lift the motor out of the hair dryer.

      • Lift the attached electrical wiring and heat shield completely out of the hair dryer.

      Vraag FixBot

      Voeg opmerking toe

    1. Conair Infiniti Pro Model 259NP On/Off Button Replacement, On/Off Button: stap 6, afbeelding 1 van 1
      • Caution: Do not attempt to open or tamper with the capacitor. You may suffer severe electrical shocks.

      • Hold the electrical switches so that the wires are facing upwards.

      Vraag FixBot

      Voeg opmerking toe

    2. Conair Infiniti Pro Model 259NP On/Off Button Replacement: stap 7, afbeelding 1 van 1
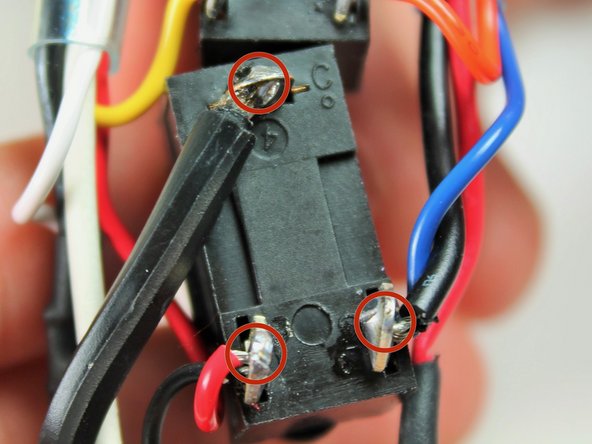
      • Focus on the button directly next to the cylindrical capacitor.

      • Desolder the button at the circled locations.

      • New line.

      Vraag FixBot

      Voeg opmerking toe

Conclusie

To reassemble your device, follow these instructions in reverse order.

Annuleren: ik heb deze handleiding niet afgemaakt.

3 andere personen hebben deze handleiding voltooid.

Timothy Lo

Lid sinds: 04/22/14

1.214 Reputatie

7 handleidingen geschreven

Team

Cal Poly, Team 10-58, Amido Spring 2014 Lid van Cal Poly, Team 10-58, Amido Spring 2014

CPSU-AMIDO-S14S10G58

4 Leden

14 handleidingen geschreven

0Gids Commentaar

Voeg opmerking toe

Weergavestatistieken:

Afgelopen 24 uren: 1

Afgelopen 7 dagen: 8

Afgelopen 30 dagen: 47

Altijd: 9,180