Ga door naar hoofdinhoud
Word lid van de reparatiegemeenschap - Account aanmaken

Canon Pixma MP480 Data Port Replacement

Wat je nodig hebt

    1. Canon Pixma MP480 Data Port Replacement, Rear and Side Panel: stap 1, afbeelding 1 van 2 Canon Pixma MP480 Data Port Replacement, Rear and Side Panel: stap 1, afbeelding 2 van 2
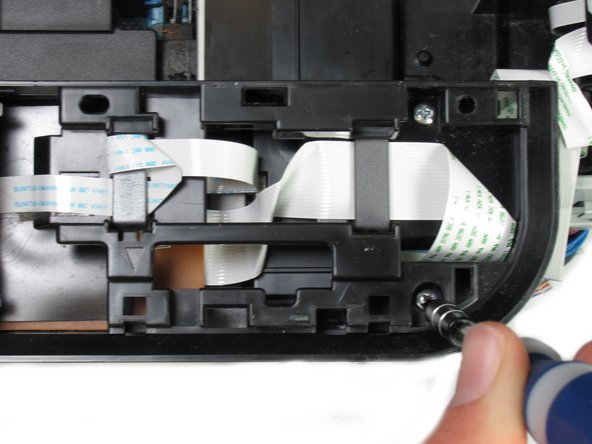
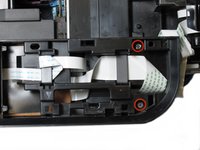
      • Remove the two 7.9 mm screws using a Phillips #1 screwdriver.

      Vraag FixBot

      Voeg opmerking toe

    2. Canon Pixma MP480 Data Port Replacement: stap 2, afbeelding 1 van 1
      • Lift up the back cover to remove it.

      • You may need to lift firmly as it requires quite a bit of force.

      Vraag FixBot

      Voeg opmerking toe

    3. Canon Pixma MP480 Data Port Replacement: stap 3, afbeelding 1 van 1
      • Open the front tray.

      Vraag FixBot

      Voeg opmerking toe

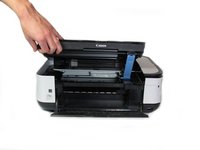
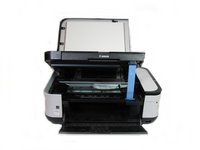
    4. Canon Pixma MP480 Data Port Replacement: stap 4, afbeelding 1 van 2 Canon Pixma MP480 Data Port Replacement: stap 4, afbeelding 2 van 2
      • Open the scanner compartment.

      • Make sure the blue lever locks into place to keep the compartment open.

      Vraag FixBot

      Voeg opmerking toe

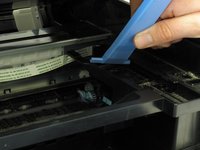
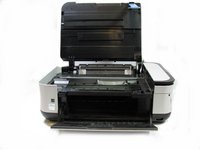
    5. Canon Pixma MP480 Data Port Replacement: stap 5, afbeelding 1 van 2 Canon Pixma MP480 Data Port Replacement: stap 5, afbeelding 2 van 2
      • Remove the blue lever from its slot by pushing it back and twisting clockwise.

      • Close the scanner compartment and cover.

      Vraag FixBot

      Voeg opmerking toe

    6. Canon Pixma MP480 Data Port Replacement: stap 6, afbeelding 1 van 2 Canon Pixma MP480 Data Port Replacement: stap 6, afbeelding 2 van 2
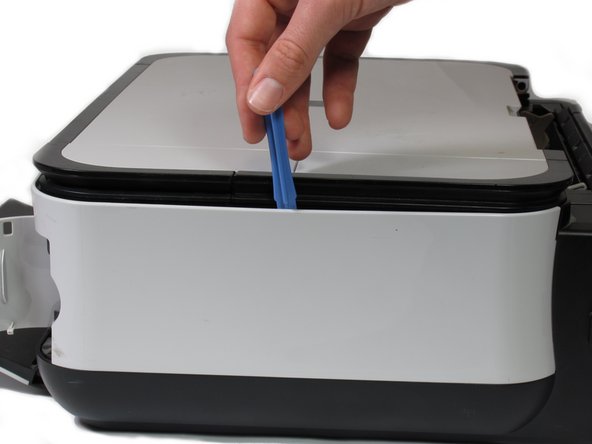
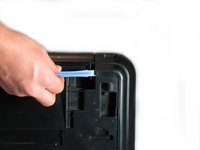
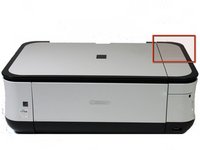
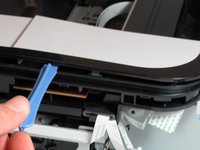
      • Pry open the side cover with the plastic opening tool.

      Vraag FixBot

      Voeg opmerking toe

    7. Canon Pixma MP480 Data Port Replacement: stap 7, afbeelding 1 van 2 Canon Pixma MP480 Data Port Replacement: stap 7, afbeelding 2 van 2
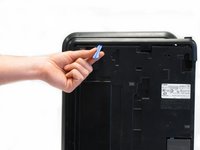
      • Flip the printer over so that the bottom of the printer is facing you.

      • Use the plastic opening tool to remove the corner of the side panel from the plastic pin.

      Vraag FixBot

      Voeg opmerking toe

    8. Canon Pixma MP480 Data Port Replacement: stap 8, afbeelding 1 van 2 Canon Pixma MP480 Data Port Replacement: stap 8, afbeelding 2 van 2
      • Use the plastic opening tool to loosen the side panel from the bottom of the printer.

      Vraag FixBot

      Voeg opmerking toe

    1. Canon Pixma MP480 Data Port Replacement, LCD: stap 9, afbeelding 1 van 2 Canon Pixma MP480 Data Port Replacement, LCD: stap 9, afbeelding 2 van 2
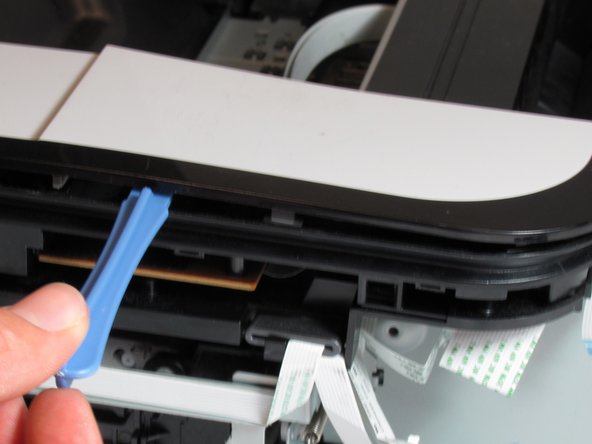
      • Using the plastic opening tool, pry off the top cover of the LCD assembly.

      • Pry around the front and side edges for the easiest removal.

      Vraag FixBot

      Voeg opmerking toe

    2. Canon Pixma MP480 Data Port Replacement: stap 10, afbeelding 1 van 1
      • After removing the top cover of the LCD assembly, remove the LCD using the plastic opening tool.

      Vraag FixBot

      Voeg opmerking toe

    3. Canon Pixma MP480 Data Port Replacement: stap 11, afbeelding 1 van 1
      • Gently pull the ribbon cable to remove the LCD completely.

      Vraag FixBot

      Voeg opmerking toe

    1. Canon Pixma MP480 Data Port Replacement, Buttons: stap 12, afbeelding 1 van 1
      • Locate the buttons on the top of the printer.

      Vraag FixBot

      Voeg opmerking toe

    2. Canon Pixma MP480 Data Port Replacement: stap 13, afbeelding 1 van 1
      • Using the plastic opening tool, gently pry under the button cover to remove it from its fixture.

      Vraag FixBot

      Voeg opmerking toe

    3. Canon Pixma MP480 Data Port Replacement: stap 14, afbeelding 1 van 2 Canon Pixma MP480 Data Port Replacement: stap 14, afbeelding 2 van 2
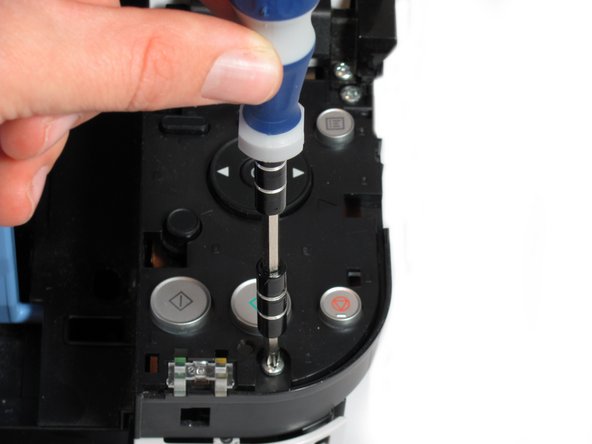
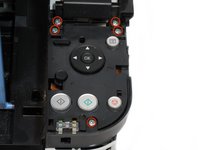
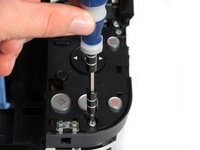
      • Remove the five 7.7 mm screws using a Phillips #1 screwdriver.

      Vraag FixBot

      Voeg opmerking toe

    4. Canon Pixma MP480 Data Port Replacement: stap 15, afbeelding 1 van 2 Canon Pixma MP480 Data Port Replacement: stap 15, afbeelding 2 van 2
      • Using the plastic opening tool, gently pry around the cover behind the LCD screen to remove it from its fixture.

      Vraag FixBot

      Voeg opmerking toe

    5. Canon Pixma MP480 Data Port Replacement: stap 16, afbeelding 1 van 2 Canon Pixma MP480 Data Port Replacement: stap 16, afbeelding 2 van 2
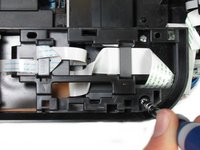
      • Remove the two 7.8 mm screws using a Phillips #1 screwdriver.

      Vraag FixBot

      Voeg opmerking toe

    6. Canon Pixma MP480 Data Port Replacement: stap 17, afbeelding 1 van 1
      • Gently pull the LCD screen up to remove it from its fixture.

      Vraag FixBot

      Voeg opmerking toe

    7. Canon Pixma MP480 Data Port Replacement: stap 18, afbeelding 1 van 1
      • Use the plastic opening tool to pry off the plastic button assembly.

      Vraag FixBot

      Voeg opmerking toe

    8. Canon Pixma MP480 Data Port Replacement: stap 19, afbeelding 1 van 1
      • Gently pull the plastic button assembly up to remove it.

      • The plastic button assembly has a ribbon cable connected on the bottom, so be careful pulling it.

      Vraag FixBot

      Voeg opmerking toe

    9. Canon Pixma MP480 Data Port Replacement: stap 20, afbeelding 1 van 1
      • Remove the ribbon cable connected to the backside of the plastic button assembly.

      Vraag FixBot

      Voeg opmerking toe

    10. Canon Pixma MP480 Data Port Replacement: stap 21, afbeelding 1 van 2 Canon Pixma MP480 Data Port Replacement: stap 21, afbeelding 2 van 2
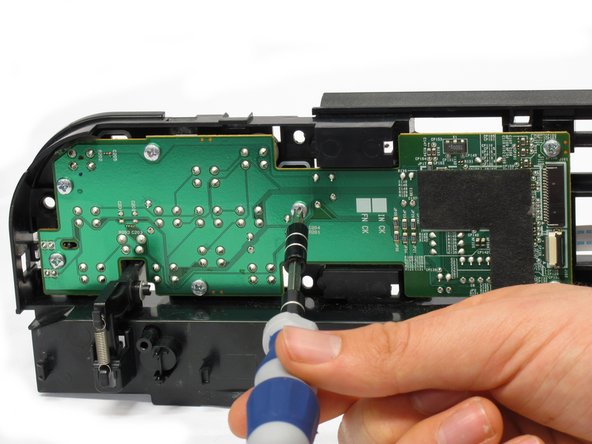
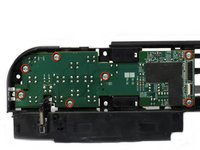
      • Remove the seven 8.7 mm screws using the Phillips #1 screwdriver.

      Vraag FixBot

      Voeg opmerking toe

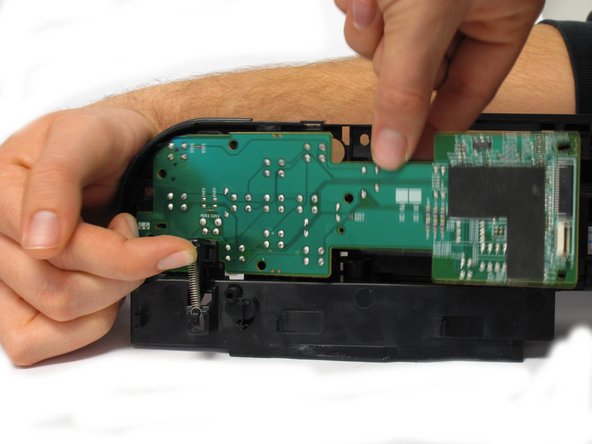
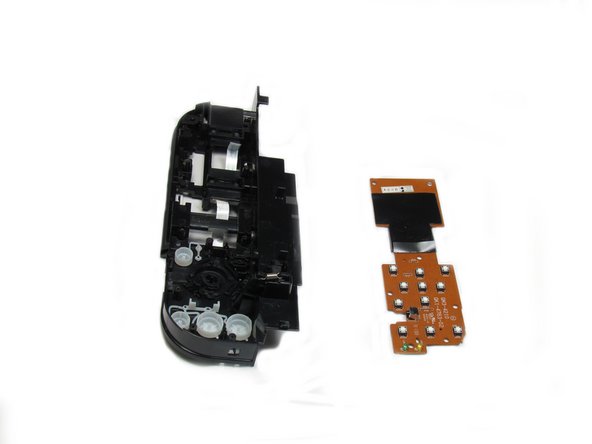
    11. Canon Pixma MP480 Data Port Replacement: stap 22, afbeelding 1 van 3 Canon Pixma MP480 Data Port Replacement: stap 22, afbeelding 2 van 3 Canon Pixma MP480 Data Port Replacement: stap 22, afbeelding 3 van 3
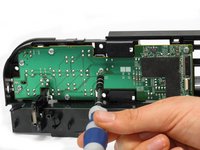
      • Locate the spring that holds the PCB in place on the bottom left of the plastic button assembly.

      • Gently lift the spring and pull the board out of its plastic button assembly.

      Vraag FixBot

      Voeg opmerking toe

    12. Canon Pixma MP480 Data Port Replacement: stap 23, afbeelding 1 van 1
      • Remove the buttons from the plastic button assembly.

      Vraag FixBot

      Voeg opmerking toe

    1. Canon Pixma MP480 Data Port Replacement, Data Port: stap 24, afbeelding 1 van 2 Canon Pixma MP480 Data Port Replacement, Data Port: stap 24, afbeelding 2 van 2
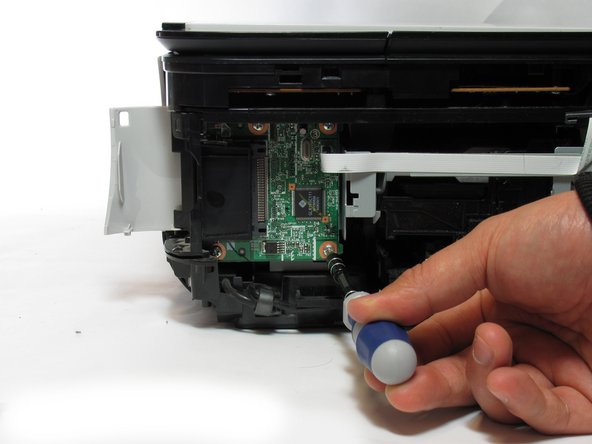
      • Remove the 7.5 mm screw using the Phillips #1 screwdriver.

      Vraag FixBot

      Voeg opmerking toe

    2. Canon Pixma MP480 Data Port Replacement: stap 25, afbeelding 1 van 2 Canon Pixma MP480 Data Port Replacement: stap 25, afbeelding 2 van 2
      • Remove the five 3.5 mm screws using the Phillips #1 screwdriver.

      Vraag FixBot

      Voeg opmerking toe

    3. Canon Pixma MP480 Data Port Replacement: stap 26, afbeelding 1 van 1
      • Remove the small plastic clip using the spudger.

      Vraag FixBot

      Voeg opmerking toe

    4. Canon Pixma MP480 Data Port Replacement: stap 27, afbeelding 1 van 1
      • Pull the plastic inserts out of the holes in the top and bottom.

      Vraag FixBot

      Voeg opmerking toe

    5. Canon Pixma MP480 Data Port Replacement: stap 28, afbeelding 1 van 1
      • Remove the board from the printer by pulling the board towards the back of the printer.

      • This requires effort and time as the board comes out slowly.

      Vraag FixBot

      Voeg opmerking toe

Conclusie

To reassemble your device, follow these instructions in reverse order.

Annuleren: ik heb deze handleiding niet afgemaakt.

Steven MacLean

Lid sinds: 01/14/13

86 Reputatie

2 handleidingen geschreven

Team

Cal Poly, Team 19-41, Regan Winter 2013 Lid van Cal Poly, Team 19-41, Regan Winter 2013

CPSU-REGAN-W13S19G41

4 Leden

6 handleidingen geschreven

0Gids Commentaar

Voeg opmerking toe

Weergavestatistieken:

Afgelopen 24 uren: 3

Afgelopen 7 dagen: 11

Afgelopen 30 dagen: 44

Altijd: 2,738