Deze handleiding heeft recentere wijzigingen. Schakel over naar de nieuwste niet-geverifieerde versie.
Inleiding
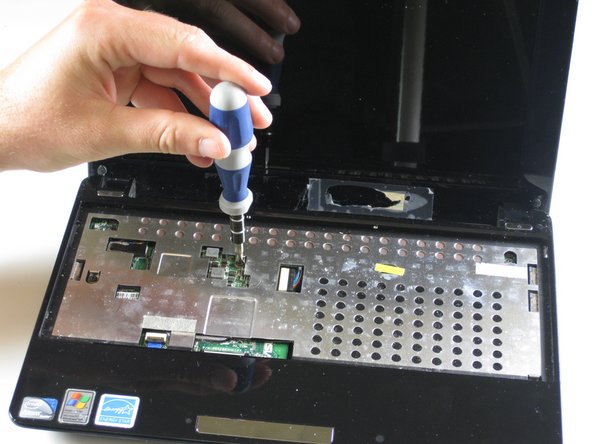
This guide is fairly long, but if you follow all the instructions closely and pay attention to the sensitive parts of the machine, it should be a mostly simple process. There are some fragile pieces exposed during this process: the touch pad ribbon, the LEDs at the top of the casing under the keyboard, the WiFi antenna, and the motherboard. With some base level of care these components should be fine, they're meant to be moved around. Take it slow, it's easier than it looks!
This guide goes through the process of removing both the fan and the WiFi antenna, so if you're looking to replace either this will help. It also accesses the hard drive and SD card module, so it may help if you're looking to replace your hard drive or ensure your SD card module is working.
Wat je nodig hebt
-
-
-
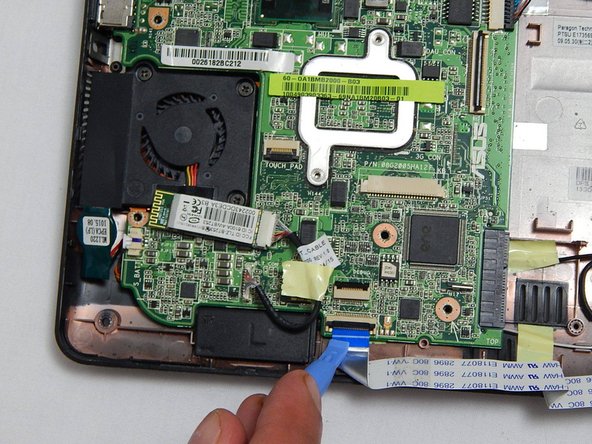
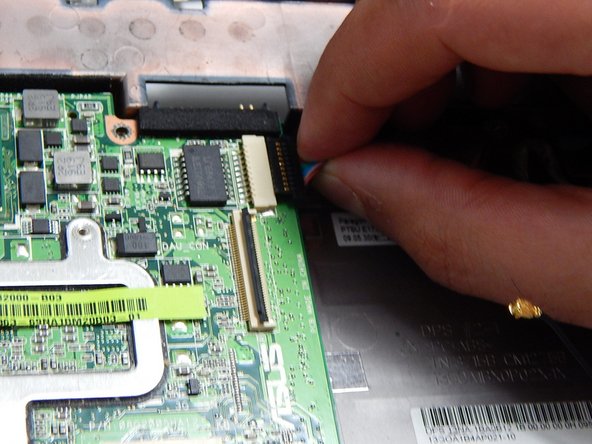
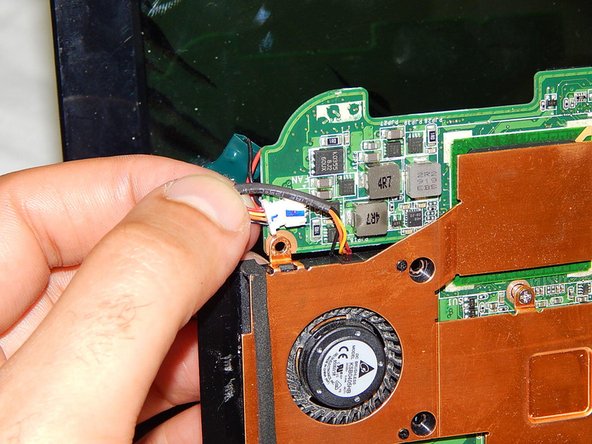
Detach the ribbon cable that connects the SD card module and the motherboard by lifting the black clips using the plastic opening tool.
-


To reassemble your device, follow these instructions in reverse order.
To reassemble your device, follow these instructions in reverse order.
Annuleren: ik heb deze handleiding niet afgemaakt.
4 andere personen hebben deze handleiding voltooid.
Team

University of Maryland, Team 3-4, Calaway Spring 2014 Lid van University of Maryland, Team 3-4, Calaway Spring 2014
UMD-CALAWAY-S14S3G4
1 Lid
8 handleidingen geschreven