Ga door naar hoofdinhoud

Wat je nodig hebt

Deze demontage is geen reparatiehandleiding. Om je Rogue G10 te repareren, gebruik onze reparatiehandleidingen.

  1. Rogue G10 Teardown, Rogue G10 Teardown: stap 1, afbeelding 1 van 3 Rogue G10 Teardown, Rogue G10 Teardown: stap 1, afbeelding 2 van 3 Rogue G10 Teardown, Rogue G10 Teardown: stap 1, afbeelding 3 van 3
    • Here is the front view of the Rogue G10 amp.

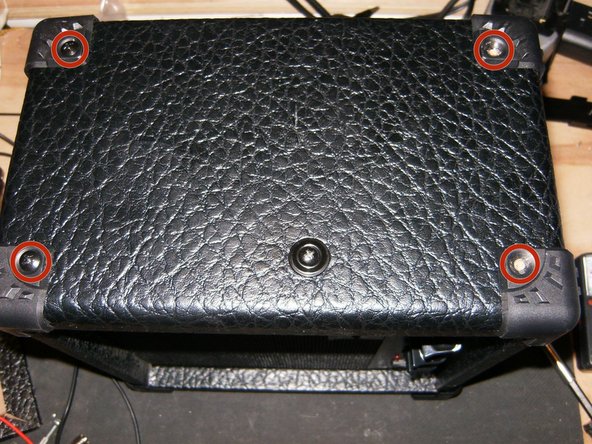
    • Back side shows 4 Phillips head screws that need to be removed.

    • Here are the 4 #6x1" screws

  2. Rogue G10 Teardown: stap 2, afbeelding 1 van 3 Rogue G10 Teardown: stap 2, afbeelding 2 van 3 Rogue G10 Teardown: stap 2, afbeelding 3 van 3
    • Use a small screwdriver or other small suitable prying instrument to remove the back cover.

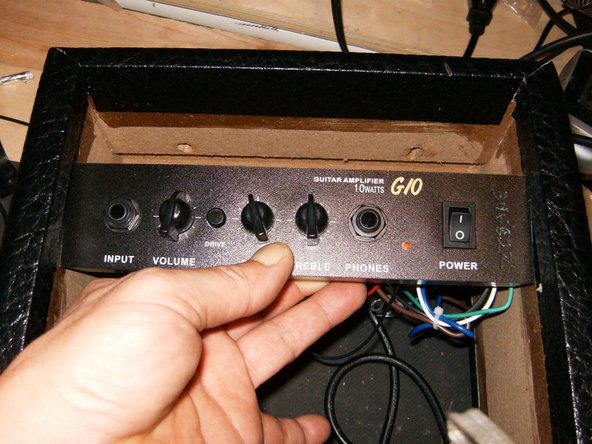
    • With the back cover removed the speaker and amp become visible.

    • Remove the 2 Phillips head screws from the carrying handle. These two screws also attach the amp to the onside of the case.

  3. Rogue G10 Teardown: stap 3, afbeelding 1 van 3 Rogue G10 Teardown: stap 3, afbeelding 2 van 3 Rogue G10 Teardown: stap 3, afbeelding 3 van 3
    • Here are the two screws from the handle. They are 1/8"x1 1/4"

    • Remove the 16 screws from the plastic corners. These corners serve no purpose other than decoration.

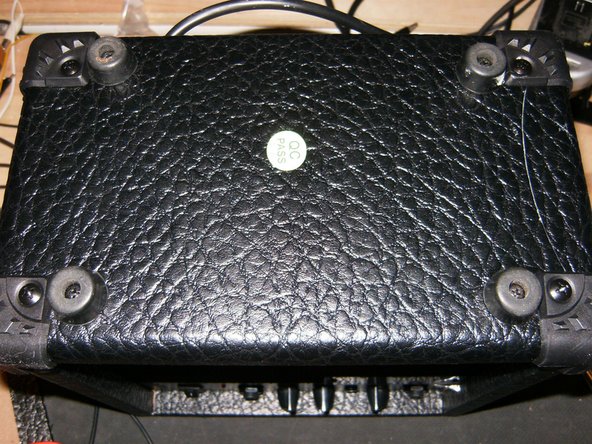
    • There are 4 rubber feet on the bottom of the amp.

  4. Rogue G10 Teardown: stap 4, afbeelding 1 van 3 Rogue G10 Teardown: stap 4, afbeelding 2 van 3 Rogue G10 Teardown: stap 4, afbeelding 3 van 3
    • This shows the corners with the screws removed.

    • Remove the rubber feet by removing the Phillips head screws.

    • On the left and right side of the amp is a Phillips head screw, located 1/3 down from the top and to the front. These two screws hold the front panel to which the speaker is attached. Remove those.

  5. Rogue G10 Teardown: stap 5, afbeelding 1 van 3 Rogue G10 Teardown: stap 5, afbeelding 2 van 3 Rogue G10 Teardown: stap 5, afbeelding 3 van 3
    • Here is the one on the right side, same location.

    • Remove it as well

    • With those two screws removed, the front panel which houses the speaker, can be simply removed

  6. Rogue G10 Teardown: stap 6, afbeelding 1 van 3 Rogue G10 Teardown: stap 6, afbeelding 2 van 3 Rogue G10 Teardown: stap 6, afbeelding 3 van 3
    • remove the front panel and place aside.

    • With the front panel removed, the amp will now simply lift out as well

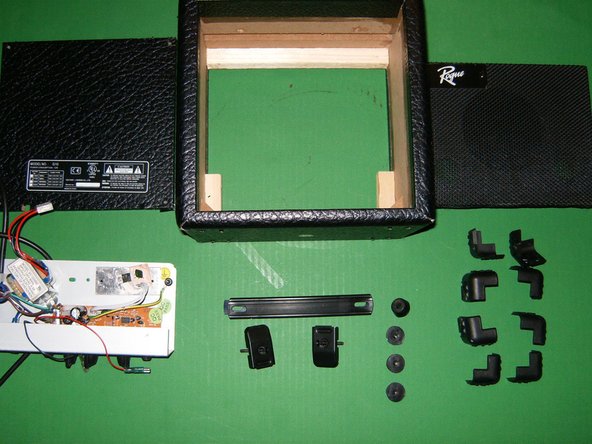
    • Here is the amp totally disassembled. Straight forward job. No glue, no hidden screws.

oldturkey03

Lid sinds: 09/29/10

776.901 Reputatie

118 handleidingen geschreven

Team

Global Fixers Lid van Global Fixers

Community

30 Leden

517 handleidingen geschreven

4 opmerkingen

Do these models have tubes in them?

Camron Buxton - Antwoord

No, they do not. Strictly solid state

oldturkey03 -

Thank you so much

Camron Buxton - Antwoord

What may be causing the scratchy sound only when playing on my G10? Tried multiple cables and cleaned the input with electrical contact cleaner and there was no change. If I run a cable from the Phones jack to my computer input then the noise is not there.

Brian Day - Antwoord

Voeg opmerking toe

Weergavestatistieken:

Afgelopen 24 uren: 1

Afgelopen 7 dagen: 3

Afgelopen 30 dagen: 15

Altijd: 3,108