Ga door naar hoofdinhoud

why! WDi7SSD Fan replacement

  1. why! WDi7SSD Fan replacement, Fan: stap 1, afbeelding 1 van 3 why! WDi7SSD Fan replacement, Fan: stap 1, afbeelding 2 van 3 why! WDi7SSD Fan replacement, Fan: stap 1, afbeelding 3 van 3
    • Make sure the computer is disconnected from the power source.

    • Turn the computer over.

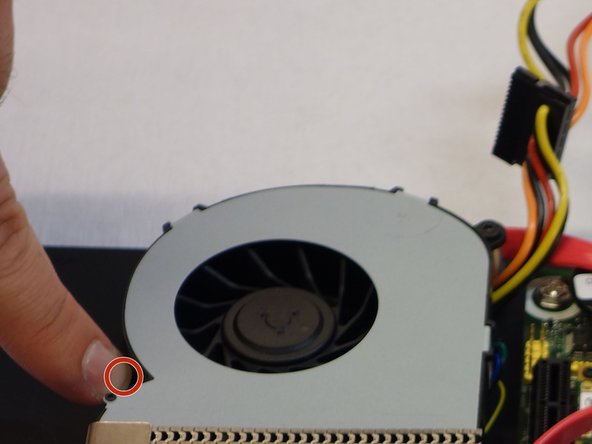
    • Remove the 6 screws with a 2mm Allen key.

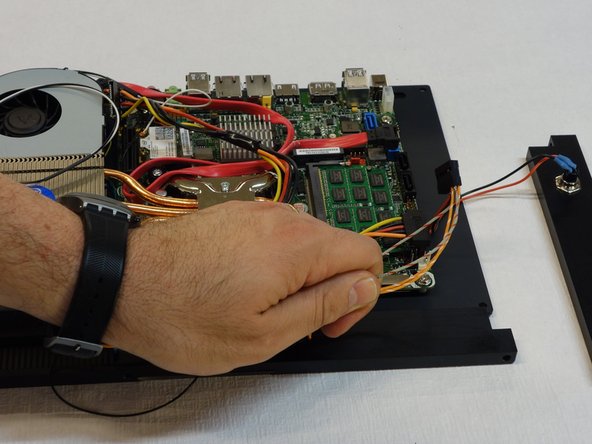
    • Carefully remove the left and right rear panels.

  2. why! WDi7SSD Fan replacement: stap 2, afbeelding 1 van 1
    • Now open the bottom of the case, to which all the components are attached.

  3. why! WDi7SSD Fan replacement: stap 3, afbeelding 1 van 2 why! WDi7SSD Fan replacement: stap 3, afbeelding 2 van 2
    • Remove the two Phillips PH2 screws holding the fan.

  4. why! WDi7SSD Fan replacement: stap 4, afbeelding 1 van 2 why! WDi7SSD Fan replacement: stap 4, afbeelding 2 van 2
    • Disconnect the cable connecting the front part (with the LEDs) to the power source.

    • Remove the part with the cable.

  5. why! WDi7SSD Fan replacement: stap 5, afbeelding 1 van 3 why! WDi7SSD Fan replacement: stap 5, afbeelding 2 van 3 why! WDi7SSD Fan replacement: stap 5, afbeelding 3 van 3
    • Remove the four screws on the heat sink with a Phillips PH2 screwdriver.

    • Remove the heat sink and lay it to the side.

  6. why! WDi7SSD Fan replacement: stap 6, afbeelding 1 van 2 why! WDi7SSD Fan replacement: stap 6, afbeelding 2 van 2
    • Carefully remove the fan together with its case.

    • Carefully remove the plug connecting the fan to the power source.

Conclusie

In order to reassemble your device, follow the steps of this guide in reverse order.

Met dank aan deze vertalers:

de en

100%

Deze vertalers helpen ons de wereld te repareren! Wil je bijdragen?
Begin met vertalen ›

Felice Suglia

Lid sinds: 06/15/13

31.100 Reputatie

264 handleidingen geschreven

0 opmerkingen

Voeg opmerking toe

Weergavestatistieken:

Afgelopen 24 uren: 0

Afgelopen 7 dagen: 0

Afgelopen 30 dagen: 2

Altijd: 184