Ga door naar hoofdinhoud

iPhone 6s Plus Rear Case Replacement

Engels
Nederlands
Stap 8
iPhone 6s Plus Rear Case Replacement: stap 0, afbeelding 1 van 2 iPhone 6s Plus Rear Case Replacement: stap 0, afbeelding 2 van 2
  • If you successfully removed all three adhesive strips, move on to the next step. Otherwise, you will need to pry the battery from the rear case.

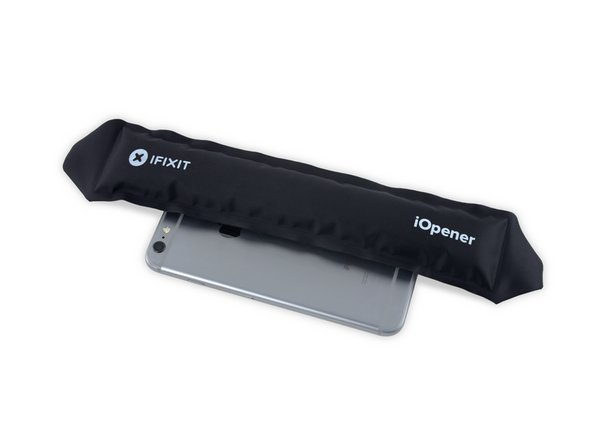
  • Prepare an iOpener and apply it to the back of the rear case, directly over the battery. Alternatively, you can apply heat using a heat gun or hair dryer.

  • After about a minute, flip the phone over and use a plastic card to tear through any remaining adhesive.

Vertaling hier toevoegen

Vertaling hier toevoegen

Vertaling hier toevoegen

Je bijdragen zijn gelicentieerd onder de open source Creative Commons-licentie.