Ga door naar hoofdinhoud

Mini Digital Oszilloskop Lötbausatz

Stap 37
Mini Digital Oscilloscope DIY Soldering Kit Assembly, Solder the first adjustable resistor: stap 0, afbeelding 1 van 3 Mini Digital Oscilloscope DIY Soldering Kit Assembly, Solder the first adjustable resistor: stap 0, afbeelding 2 van 3 Mini Digital Oscilloscope DIY Soldering Kit Assembly, Solder the first adjustable resistor: stap 0, afbeelding 3 van 3
Solder the first adjustable resistor
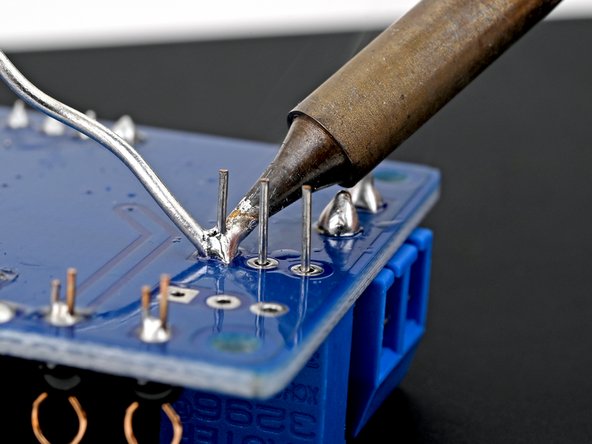
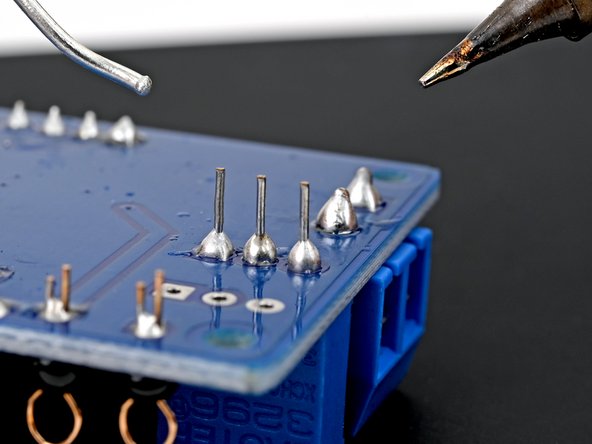
  • Flip the board over so the resistor's pins are facing up.

  • Solder the first adjustable resistor to the board.

Drehe die Leiterplatte um, so dass die Kontakte nach oben zeigen.

Löte den ersten regelbaren Widerstand fest.

Je bijdragen zijn gelicentieerd onder de open source Creative Commons-licentie.