Waarschuwing: Je bewerkt een vooraf vereiste handleiding. Alle wijzigingen die je hierin maakt, beïnvloeden de handleiding die deze stap bevat.
Stap 8 vertalen


-
Remove any tape or liners from the back of the screen—check the screen cable and front facing camera cutout.
-
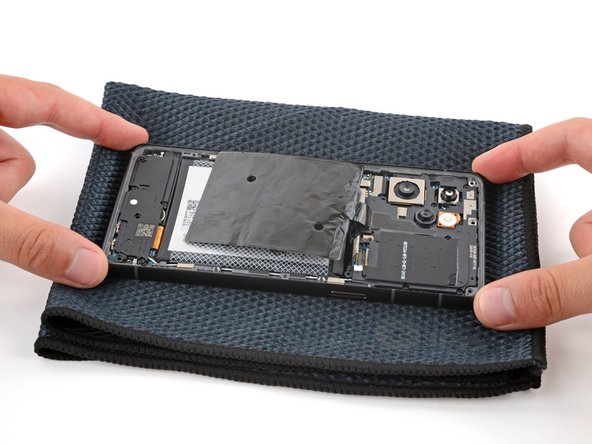
Hold the frame in one hand and your replacement screen in the other.
-
Thread the screen cable through its cutout on the front of the frame and press the screen into place so it's flush in the frame.
-
Lay your phone screen side down on a soft cloth, making sure the screen doesn't detach from the frame.
-
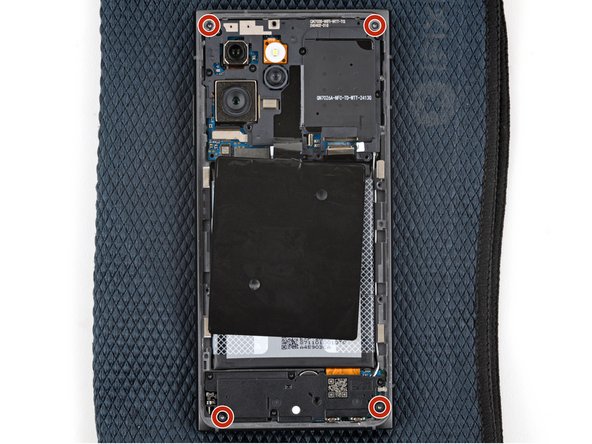
Simultaneously press down on all four corners of your phone to fully seat the screen in the frame.
-
Use a T3 Torx screwdriver to install four screen screws in the corners of the frame—this ensures that the screen doesn't detach from the frame during reassembly.
| [title] Reassembly information | |
| - | [* icon_reminder] |
| + | [* icon_reminder] During reassembly: |
| [* black] Remove any tape or liners from the back of the screen—check the [link|https://guide-images.cdn.ifixit.com/igi/3DenrnDqrkA53HbN.full|screen cable and front facing camera cutout|new_window=true]. | |
| [* black] Hold the frame in one hand and your replacement screen in the other. | |
| [* black] Thread the screen cable through its [link|https://guide-images.cdn.ifixit.com/igi/DrxoqFDbrZCBMvI1.full|cutout|new_window=true] on the ''front'' of the frame and press the screen into place so it's flush in the frame. | |
| [* black] Lay your phone screen side down on a soft cloth, making sure the screen doesn't detach from the frame. | |
| [* black] Simultaneously press down on all four corners of your phone to fully seat the screen in the frame. | |
| [* red] Use a T3 Torx screwdriver to install four screen screws in the corners of the frame—this ensures that the screen doesn't detach from the frame during reassembly. | |
| [* icon_note] If the screws aren't catching, double-check that the screen is fully seated. |
Je bijdragen zijn gelicentieerd onder de open source Creative Commons-licentie.