Ga door naar hoofdinhoud

Acer Chromebook 11 C732 Teardown

Engels
Nederlands
Stap 20
Acer Chromebook 11 C732 Teardown: stap 0, afbeelding 1 van 3 Acer Chromebook 11 C732 Teardown: stap 0, afbeelding 2 van 3 Acer Chromebook 11 C732 Teardown: stap 0, afbeelding 3 van 3
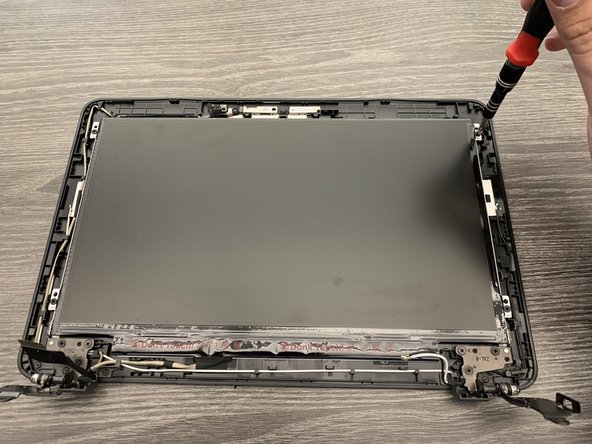
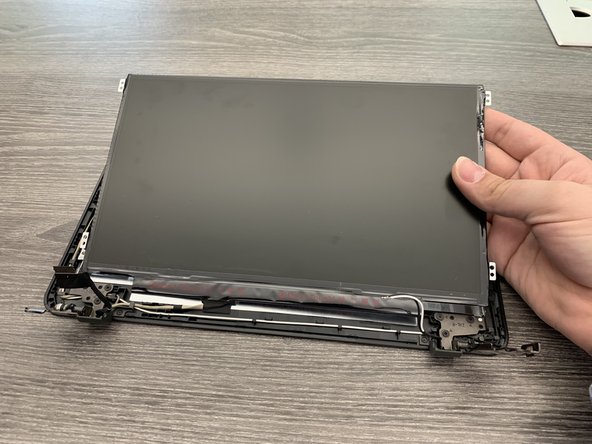
  • With the bezel removed, we can start working on getting our screen out.

  • On this model, there are only 4 Phillips head screws holding the screen in place. Once these screws are taken out, we will need to flip the screen on its front.

  • The screen is still being held in place by the display cable behind the screen.

Vertaling hier toevoegen

Vertaling hier toevoegen

Vertaling hier toevoegen

Je bijdragen zijn gelicentieerd onder de open source Creative Commons-licentie.