Waarschuwing: Je bewerkt een vooraf vereiste handleiding. Alle wijzigingen die je hierin maakt, beïnvloeden alle 2 handleidingen die deze stap bevatten.
Stap 20 vertalen
Stap 20

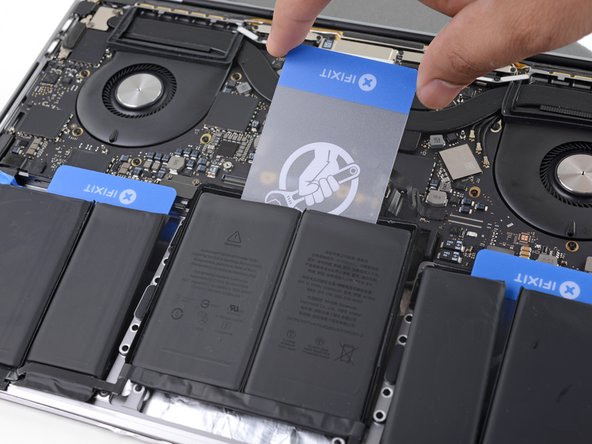


Separate the middle cells
-
Slide the corner of one of your plastic cards underneath the top edge of one of the cells and then work it underneath the other cell.
-
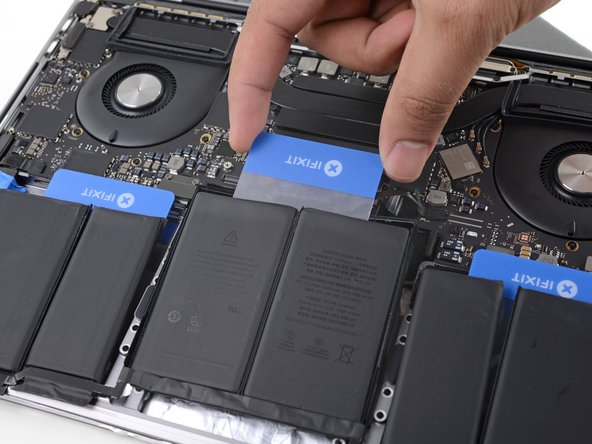
Wiggle the card from side to side and slide it underneath the battery cells to fully separate the adhesive holding them in place.
Je bijdragen zijn gelicentieerd onder de open source Creative Commons-licentie.