Ga door naar hoofdinhoud

Reemplazo de la batería de la MacBook Pro 13" 2018

Waarschuwing: Je bewerkt een vooraf vereiste handleiding. Alle wijzigingen die je hierin maakt, beïnvloeden alle 2 handleidingen die deze stap bevatten.

Stap 8
MacBook Pro 13" Touch Bar 2018 Battery Replacement, Open the adhesive remover: stap 0, afbeelding 1 van 3 MacBook Pro 13" Touch Bar 2018 Battery Replacement, Open the adhesive remover: stap 0, afbeelding 2 van 3 MacBook Pro 13" Touch Bar 2018 Battery Replacement, Open the adhesive remover: stap 0, afbeelding 3 van 3
Open the adhesive remover
  • Pull off the black rubber stopper from your bottle of adhesive remover.

  • Twist to loosen or remove the bottle cap before you cut the applicator tip.

  • This unseals the bottle and allows the pressure to equalize before you cut the applicator tip. If you skip this step, the adhesive remover may spray out unexpectedly when the tip is cut.

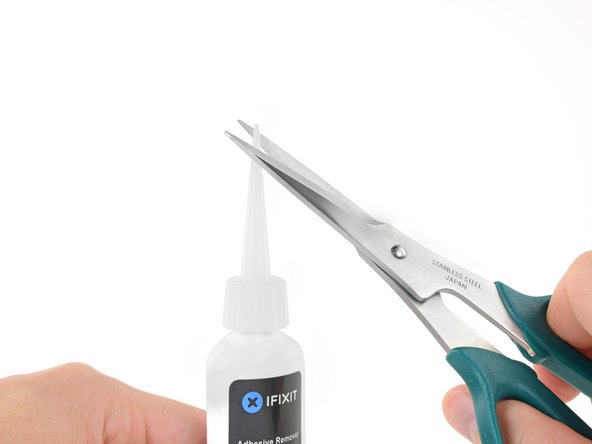
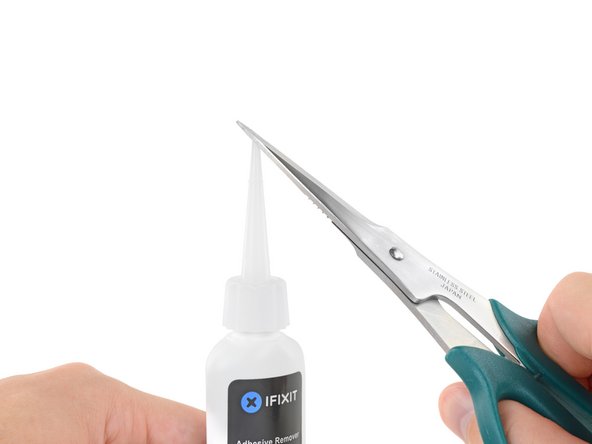
  • Use scissors to cut off the sealed tip of the applicator.

  • Cutting close to the narrow tip will give you better control so you can apply the adhesive remover in small amounts.

  • Twist and close the bottle cap securely before you proceed further.

Quita el tapón de goma negra de tu botella de removedor de adhesivos.

Gira para aflojar o quitar la tapa de la botella antes de cortar la punta del aplicador.

Insertar traducción aquí

Esto desbloquea la botella y permite que la presión se iguale antes de cortar la punta del aplicador. Si omites este paso, el removedor de adhesivo puede salpicar inesperadamente cuando se corta la punta.

Usa tijeras para cortar la punta sellada del aplicador.

Cortar cerca de la punta estrecha te dará un mejor control para que pueda aplicar el removedor de adhesivo en pequeñas cantidades.

Gira y cierra bien la tapa de la botella antes de seguir adelante.

Je bijdragen zijn gelicentieerd onder de open source Creative Commons-licentie.