Waarschuwing: Je bewerkt een vooraf vereiste handleiding. Alle wijzigingen die je hierin maakt, beïnvloeden alle 2 handleidingen die deze stap bevatten.
Stap 5 vertalen
Stap 5

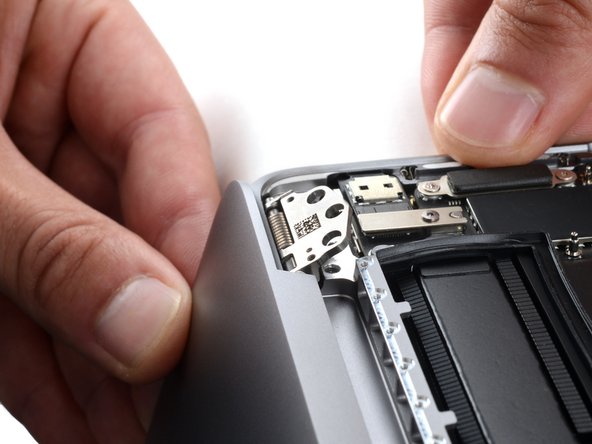
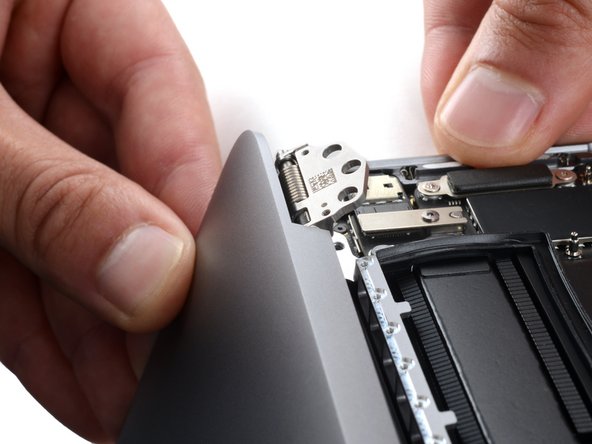


Free the left hinge
-
Firmly secure the main body of your MacBook with one hand.
-
With your free hand, push the left side of the screen up and towards the bottom of your laptop to free the left hinge.
| + | [title] Free the left hinge |
|---|---|
| + | [* icon_note] Keep the screen supported ***constantly*** during the next two steps. |
| + | [* black] Firmly secure the main body of your MacBook with one hand. |
| + | [* black] With your free hand, push the left side of the screen up and towards the bottom of your laptop to free the left hinge. |
| + | [* icon_caution] ***Be very careful not to damage the [link|https://guide-images.cdn.ifixit.com/igi/Yn4HMtadD2CyiiUr.full|Touch Bar connector|new_window=true] when moving the left hinge***. It can be easily crushed, resulting in an inoperable Touch Bar. |
Je bijdragen zijn gelicentieerd onder de open source Creative Commons-licentie.