Stap 6 vertalen
Stap 6

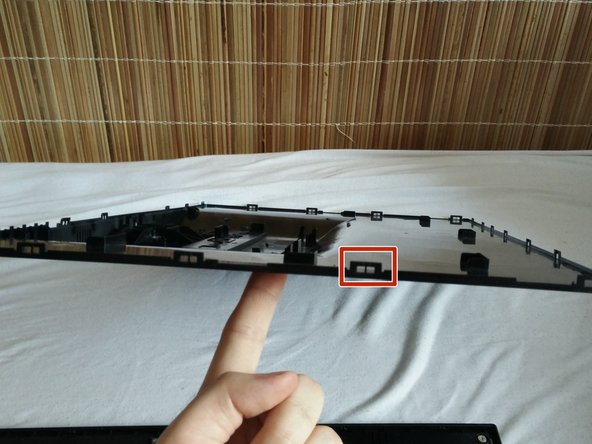


Remove the monitor's back
-
At this point the back is hold in place by over 20 plastic locks
-
Use your pry tool and screwdriver to loosen them all
-
Be careful and patient if you don't want to leave marks.
-
I recommend to start at the bottom (on the side without the monitor's control panel/buttons) and continue on the side, over the top to the other side of the bottom edge and carefully work around the control panel.
Je bijdragen zijn gelicentieerd onder de open source Creative Commons-licentie.