Stap 7 vertalen
Stap 7


-
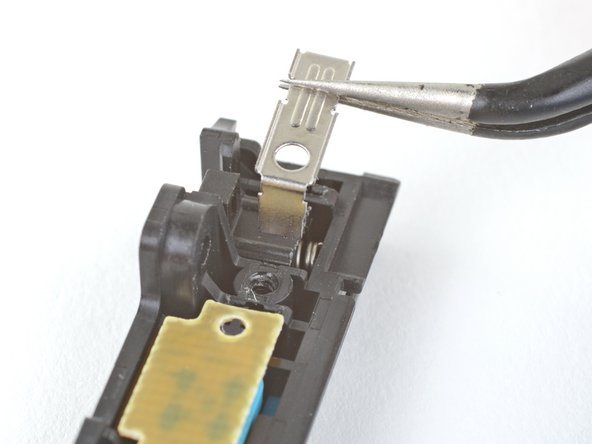
Slide one side of a pair of pointed tweezers under the flat part in the middle of the buckle lock bracket.
-
Grasp the bracket with the tweezers and pull the bracket straight away from the charging rail to remove it.
| - | [* black] Slide one side of a pair of pointed tweezers under the flat part in the middle of the buckle lock bracket. |
|---|---|
| + | [* black] Slide one side of a pair of [product|IF145-020-2|pointed tweezers] under the flat part in the middle of the buckle lock bracket. |
| [* black] Grasp the bracket with the tweezers and pull the bracket straight away from the charging rail to remove it. | |
| + | [* icon_caution] Be careful when you remove the bracket, as the spring and old buckle lock may shoot out and be easily lost. |
Je bijdragen zijn gelicentieerd onder de open source Creative Commons-licentie.