Inleiding
Is your SIM card getting stuck in your phone? Use this guide to replace, or reseat, a faulty SIM eject lever in your iPhone 6.
Wat je nodig hebt
-
-
Power off your iPhone before beginning disassembly.
-
Remove the two 3.6 mm-long P2 Pentalobe screws next to the Lightning connector.
-
-
Gereedschap gebruikt in deze stap:Clampy - Anti-Clamp$24.95
-
Pull the blue handle backwards to unlock the Anti-Clamp's arms.
-
Slide the arms over either the left or right edge of your iPhone.
-
Position the suction cups near the bottom edge of the iPhone just above the home button—one on the front, and one on the back.
-
Squeeze the cups together to apply suction to the desired area.
-
-
Gereedschap gebruikt in deze stap:Clampy - Anti-Clamp$24.95
-
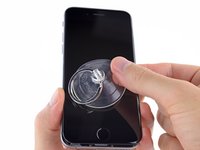
If you don't have an Anti-Clamp, use a single suction cup to lift the front panel:
-
Press a suction cup onto the screen, just above the home button.
-
-
-
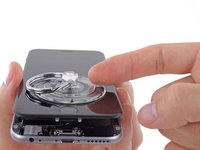
While holding the iPhone down with one hand, pull up on the suction cup to slightly separate the front panel assembly from the rear case.
-
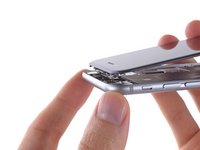
Using a plastic opening tool, begin to gently pry the rear case down, away from the display assembly, while continuing to pull up with the suction cup.
-
-
-
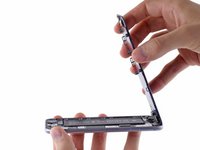
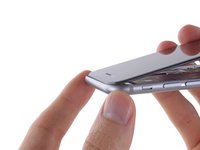
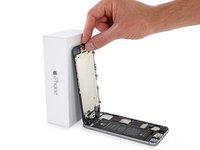
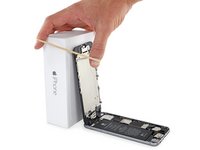
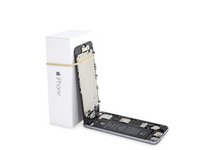
Open the iPhone by swinging the home button end of the front panel assembly away from the rear case, using the top of the phone as a hinge.
-
-
-
Gereedschap gebruikt in deze stap:Magnetic Project Mat$19.95
-
Remove the following Phillips screws from the battery connector bracket:
-
One 2.2 mm screw
-
One 3.2 mm screw
-
-
-
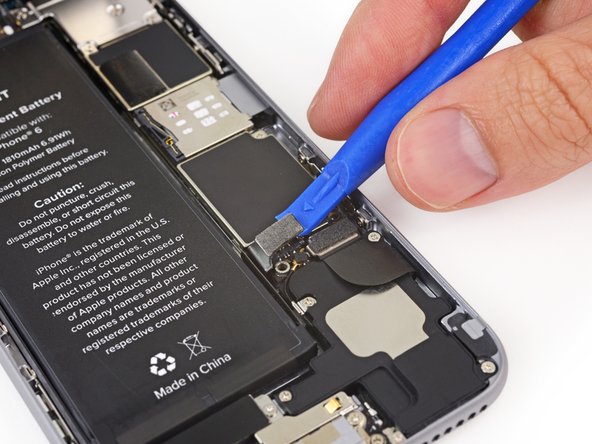
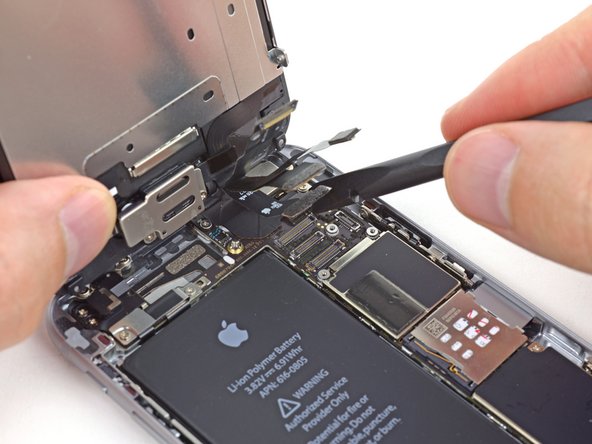
Use a plastic opening tool to gently pry the battery connector up from its socket on the logic board.
-
-
-
Remove the following five Phillips screws securing the front panel assembly cable bracket:
-
Three 1.2 mm screws
-
One 1.7 mm screw
-
One 3.1 mm screw
-
-
-
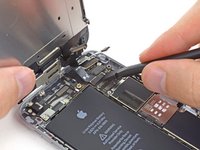
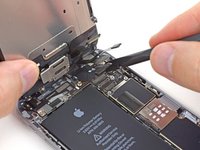
Remove the front panel assembly from the rear case.
-
-
-
Insert a SIM card eject tool or a paperclip into the small hole in the SIM card tray.
-
Press to eject the tray.
-
-
-
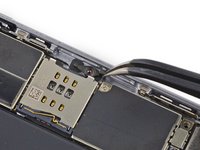
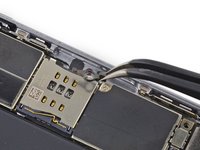
Remove the single 1.7 mm Phillips #00 screw securing the SIM eject lever.
-
To reassemble your device, follow these instructions in reverse order.
To reassemble your device, follow these instructions in reverse order.
Annuleren: ik heb deze handleiding niet afgemaakt.
48 andere personen hebben deze handleiding voltooid.
3 opmerkingen
Bonjour, mon tiroir ne sort pas sauf quand j’appuie sur le téléphone pour le compresser, il manquerait une rondelle ou autre épaisseur ? merci
So i recently did a rear housing replacement and forgot to but the eject lever in before putting in my sim card is there any way to fix this
if so email Nanakyeretwie46@gmail.com


