Inleiding
Use this guide to replace the home button cable that runs behind the LCD shield plate in your iPhone 6.
You can also use this guide to replace the following parts:
Wat je nodig hebt
-
-
Power off your iPhone before beginning disassembly.
-
Remove the two 3.6 mm-long P2 Pentalobe screws next to the Lightning connector.
-
-
-
Pull the blue handle backwards to unlock the Anti-Clamp's arms.
-
Slide the arms over either the left or right edge of your iPhone.
-
Position the suction cups near the bottom edge of the iPhone just above the home button—one on the front, and one on the back.
-
Squeeze the cups together to apply suction to the desired area.
-
-
-
If you don't have an Anti-Clamp, use a single suction cup to lift the front panel:
-
Press a suction cup onto the screen, just above the home button.
-
-
-
While holding the iPhone down with one hand, pull up on the suction cup to slightly separate the front panel assembly from the rear case.
-
Using a plastic opening tool, begin to gently pry the rear case down, away from the display assembly, while continuing to pull up with the suction cup.
-
-
-
Open the iPhone by swinging the home button end of the front panel assembly away from the rear case, using the top of the phone as a hinge.
-
-
-
Remove the following Phillips screws from the battery connector bracket:
-
One 2.2 mm screw
-
One 3.2 mm screw
-
-
-
-
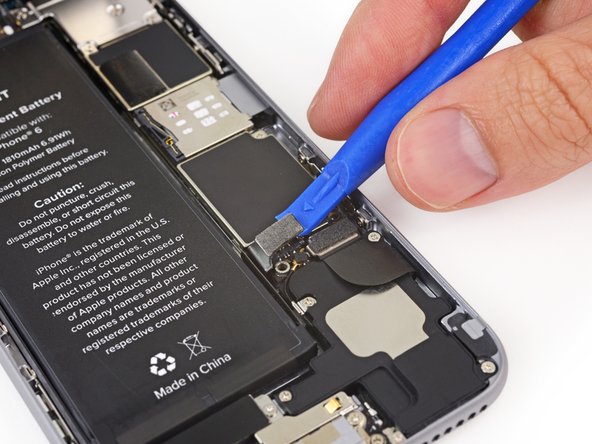
Use a plastic opening tool to gently pry the battery connector up from its socket on the logic board.
-
-
-
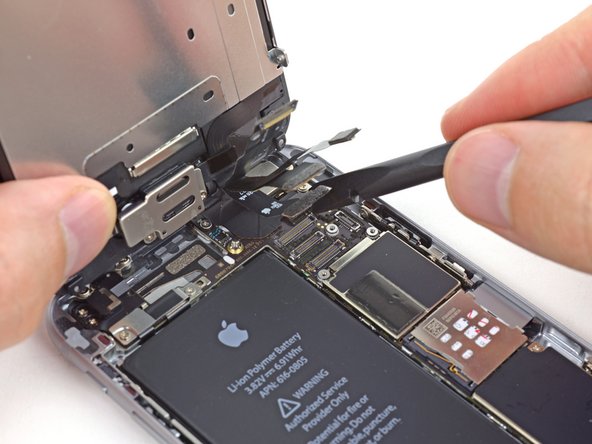
Remove the following five Phillips screws securing the front panel assembly cable bracket:
-
Three 1.2 mm screws
-
One 1.7 mm screw
-
One 3.1 mm screw
-
-
-
Remove the front panel assembly from the rear case.
-
-
-
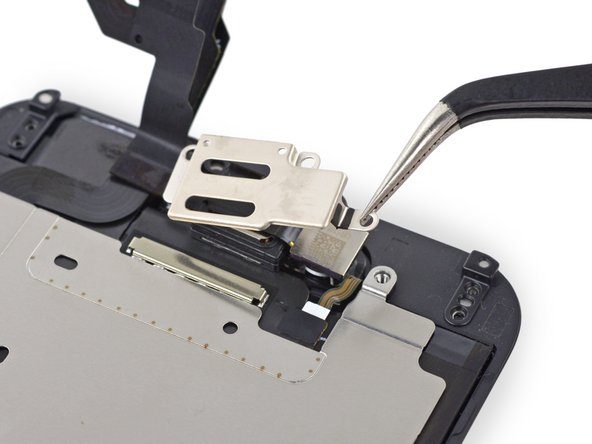
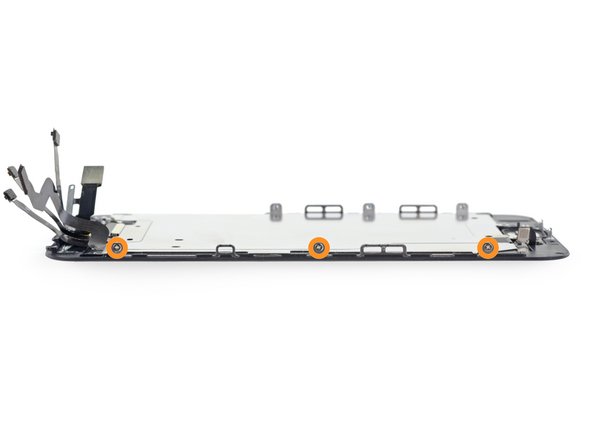
Remove the following Phillips screws from the earpiece speaker/front-facing camera bracket:
-
One 2.3 mm screw
-
One 3.0 mm screw
-
One 2.2 mm screw
-
To reassemble your device, follow these instructions in reverse order.
To reassemble your device, follow these instructions in reverse order.
Annuleren: ik heb deze handleiding niet afgemaakt.
125 andere personen hebben deze handleiding voltooid.
22 opmerkingen
If you had your LCD screen replaced, this is probably your problem. You MUST have your original button. If you have had your phone for less than a year, I would just bring it to Apple. Error 53 is a hardware problem. Check your phone usb and your computer before attempting this. Also, make sure that you have the most recent version of iTunes.
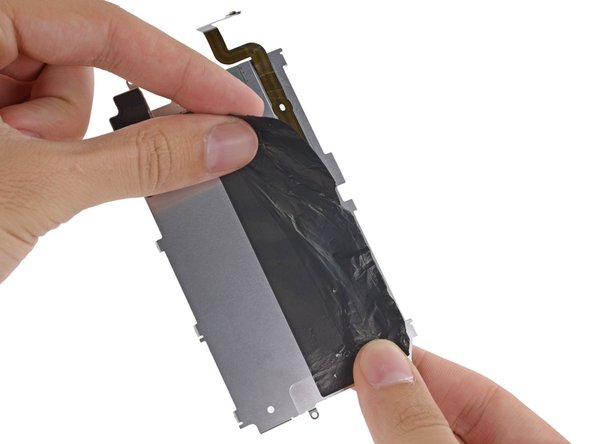
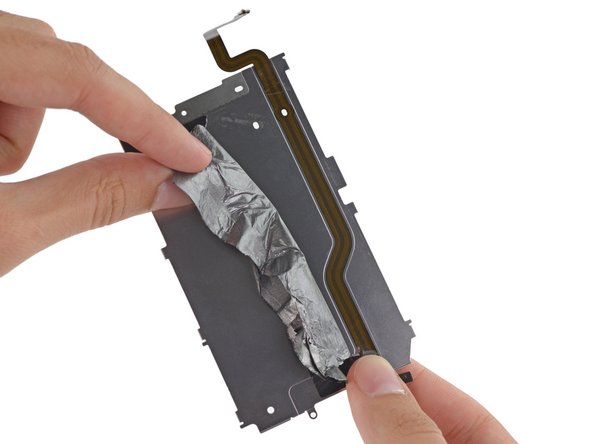
if the black backing tape tears or is damaged during replacement, will this affect functionality of the screen? if so what can you use to replace the black backing tape? i can't find it for sale anywhere.
Did you ever use a certain tape for replacing the flex cable? Im trying to fix mine but idk what type of tape i should use? Thank you
Mary -
If i change Home Button Cable, Can it Affect on my Sensor?


