Inleiding
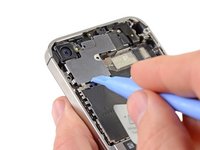
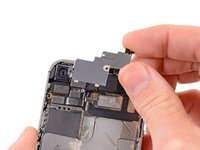
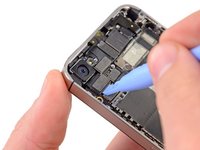
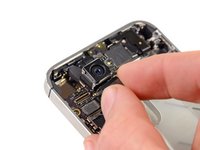
Use this guide to replace a broken home button.
Wat je nodig hebt
-
-
Power off your iPhone before beginning disassembly.
-
Remove the two 3.6 mm Pentalobe P2 screws next to the dock connector.
-
-
-
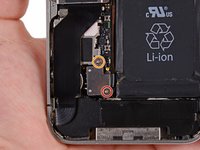
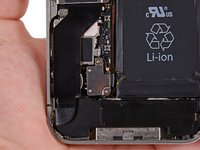
Remove the following screws securing the battery connector to the logic board:
-
One 1.7 mm Phillips screw (PH00)
-
One 1.5 mm Phillips screw (PH00)
-
-
-
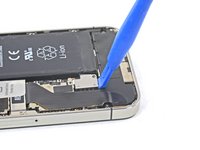
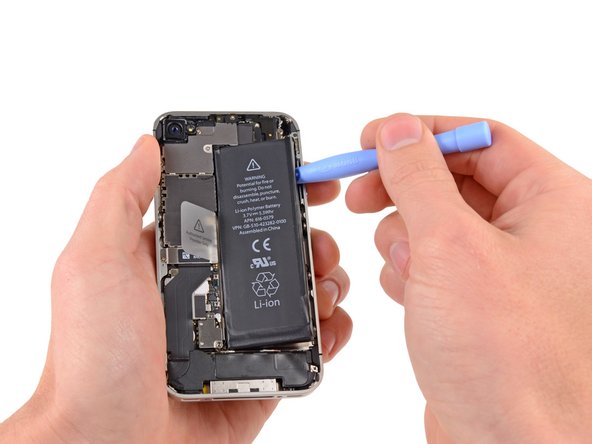
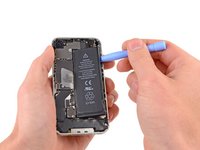
Insert the edge of a plastic opening tool between the battery and the outer case near the bottom of the iPhone.
-
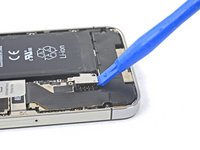
Run the plastic opening tool along the right edge of the battery and pry up at several points to completely separate it from the adhesive securing it to the outer case.
-
Wait about one minute for the alcohol solution to weaken the adhesive.
-
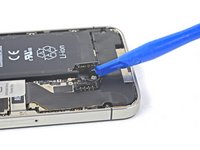
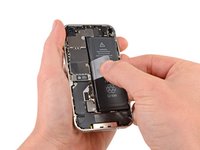
Use the flat end of a plastic opening tool to gently lift the battery.
-
-
-
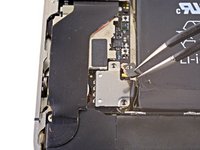
Remove the following screws securing the dock connector cable cover to the logic board:
-
One 1.5 mm Phillips screw
-
One 1.2 mm Phillips screw
-
Remove the metal dock connector cable cover.
-
-
-
-
Use a SIM eject tool or a paperclip to eject the SIM and its tray.
-
Remove the SIM and its tray.
-
-
-
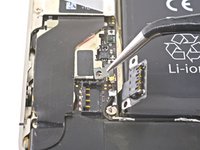
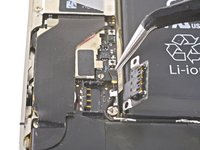
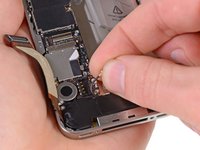
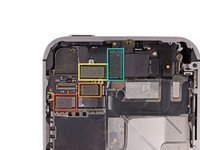
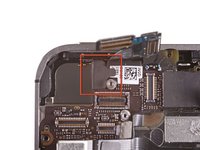
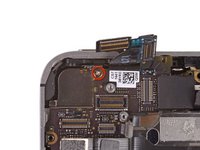
Remove the five cables near the top of the logic board in the following order:
-
Headphone jack/volume button cable
-
Front facing camera cable
-
Digitizer cable
-
Display data cable
-
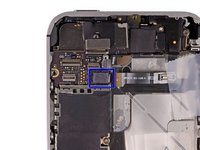
Power button cable (located underneath the headphone jack/volume button cable as shown in the second picture.)
-
-
-
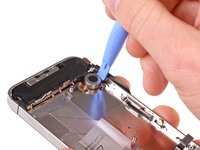
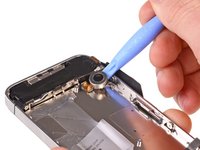
Wedge the plastic opening tool between the vibrator and the side of the iPhone.
-
Pry the vibrator up to release it from the adhesive securing it to the iPhone.
-
Remove the vibrator.
-
-
-
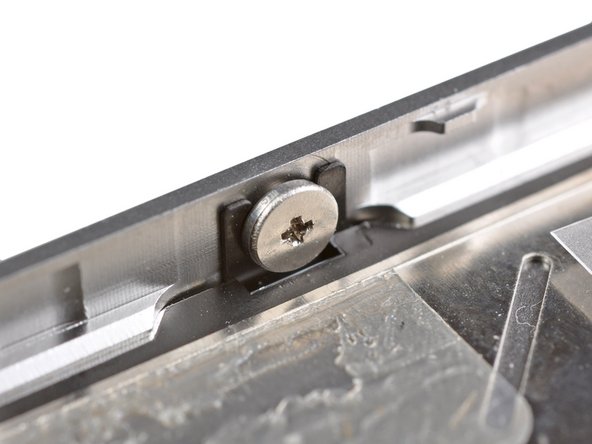
Remove the two 2.4 mm Phillips screws from the sides of the speaker enclosure assembly.
-
-
-
Remember to switch the home button from your old display to the new display (in most cases, this is not provided). The home button gasket is thin rubber, so care must be taken not to tear it. Also, check that the mesh for the speaker hole is present in the replacement; if not, move it over from the old display.
-
Be sure to peel off the protective backing (usually blue or pink) from the new panel before installing it.
-
If your replacement display does not come with a 7 mm clear plastic ring surrounding the front-facing camera, be sure to transfer it between the old and new display.
-
-
-
Carefully straighten the digitizer and LCD data cables, and feed them through the slot cut in the outer case.
-
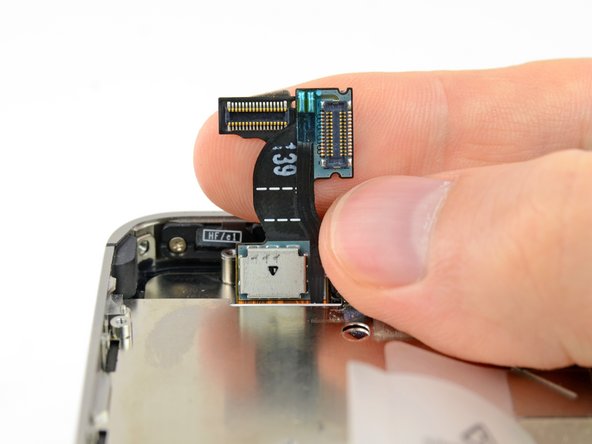
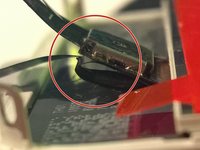
This photo shows the display assembly being installed incorrectly, with too much slack in the digitizer cable, which then forms a bend/loop that gets caught in the slot. The third photo also shows this loop.
-
-
-
During reassembly, do not touch the metallic area at the base of the LCD data cable, as this can cause problems with the LCD. If you do touch it accidentally, clean it gently with an alcohol wipe before continuing.
-
After reassembly, protect your new display from any scratches by installing a new screen protector.
-
-
-
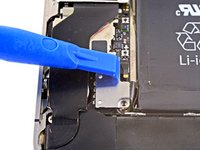
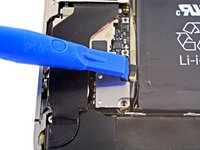
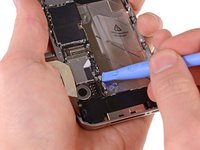
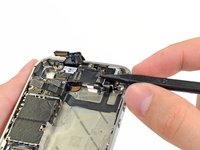
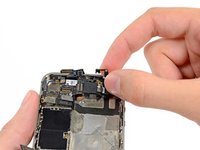
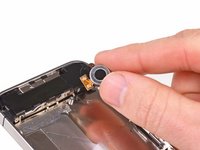
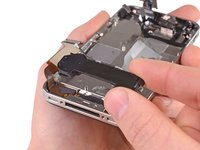
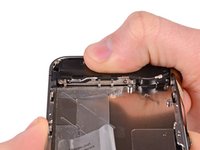
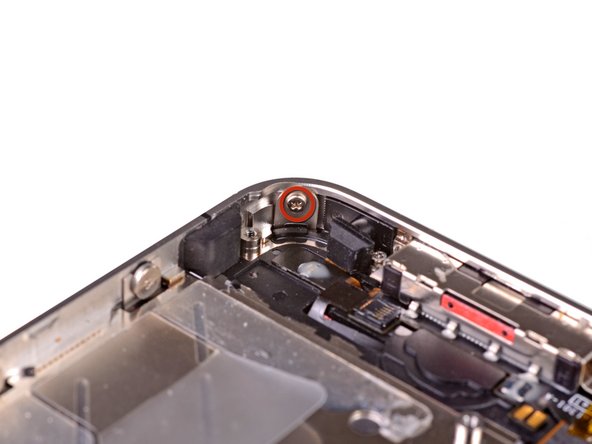
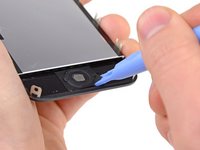
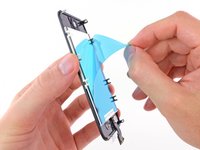
Use the edge of a plastic opening tool to gently peel the bottom right corner of the home button assembly from the display assembly.
-
To reassemble your device, follow these instructions in reverse order.
Annuleren: ik heb deze handleiding niet afgemaakt.
216 andere personen hebben deze handleiding voltooid.
3Gids Commentaar
I found the tear down somewhat easier than it's predecessor (IPhone 4) though for those attempting this kind of thing for the first time, extreme care should be taken to ensure the right tool is used for each job (ie. Phillips driver for Phillips screw etc.). I inherited this job from a friend that didn't know the difference between Phillips and pentalobe screws and hence destroyed the head of the first screw (and the pentalobe driver) once inside the unit.
Take care and you will enjoy a new found love for the device that YOU repaired.
I completed the teardown, but the metal fingers on the new display don't match the old one, hence the 6 screws that you loosen before removing the display no longer line up. VERY annoying... my phone is in pieces now until I can get a replacement display. Anyone else had this problem? BEWARE.. attempt to check yours before getting too far, line up the new display with the side screws and make sure it fits, it wasn't off by much so check they line up exactly. Did I get a iphone 4 display instead of a 4s? I dunno.. i've emailed ifixit to find out.
Did you put the screen + digitizer in upside down or backwards?


