Deze vertaling is door een computer gegenereerd en is nog niet door iemand nagekeken. Spreek je deze taal? Bekijk het hier.

iPhone 3GS Front Panel vervangen

Ben Eisenman en 10 andere bijdragers
Voor het laatst geüpdatet op 5 aug 2026
Bekeken: 416K
Statistieken weergeven:
- Afgelopen 24 uur:
- 7
- Afgelopen 7 dagen:
- 36
- Afgelopen 30 dagen:
- 132
- Altijd:
- 415.582
Commentaar: 174
166 comments on steps, 8 guide comments.
Go to guide commentsVoltooid: 541 542
541 mensen hebben deze handleiding als "voltooid" gemarkeerd. Ben jij de volgende?
542 personen hebben deze handleiding als "voltooid" gemarkeerd. Een daarvan ben jij—lekker bezig!
Favorieten: 302 303
302 mensen hebben deze handleiding als favoriet gemarkeerd en volgen deze. Ben jij de volgende?
303 personen hebben deze handleiding als favoriet gemarkeerd (en blijven daarmee op de hoogte van meldingen)—een daarvan ben jij!
Inleiding
Ga naar stap 1 ↓Gebruik deze handleiding om het frontpaneel en de digitizer van de iPhone 3GS te scheiden en te vervangen.
Wat je nodig hebt


Video overzicht
-
-
-
Als het glas van je scherm gebarsten is, voorkom dan verdere schade en lichamelijk letsel tijdens de reparatie door het glas af te plakken.
-
Plak overlappende stroken doorzichtige verpakkingstape over het scherm van de iPhone totdat de hele voorkant bedekt is.
 Vraag FixBot
-
-
-
-
-
Verwijder de twee Phillips #00-kruiskopschroeven aan de kant van de dock connector van de iPhone.
-
-
-
Verwijder de metalen handgreep van de zuignap. Het is makkelijker en veiliger om de basis van de zuignap vast te pakken in plaats van de metalen handgreep.
-
Gebruik een kleine zuignap bij de thuisknop om voorzichtig het onderste deel van de schermmodule van de iPhone omhoog te trekken.
-
-
-
Draai de schermmodule omhoog tot deze in een hoek van ongeveer 45 graden staat.
-
-
-
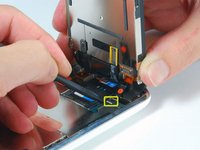
Blijf de schermmodule met één hand vasthouden en gebruik je andere hand en een spudger om de zwarte lintkabel met het label "1" los te koppelen.
-
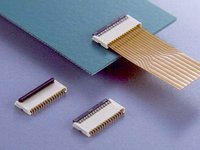
Lintkabel "1" is verbonden met een stekkeraansluiting. Het blokje aan het uiteinde van de kabel is de stekker die simpelweg in een stopcontact op de printplaat wordt geduwd. Er wordt geen ander vergrendelingsmechanisme gebruikt.
-
-
-
Draai de schermmodule omhoog totdat deze ongeveer verticaal staat. Dit geeft makkelijker toegang tot het loskoppelen van de resterende kabels.
-
Gebruik een spudger om de zwarte lintkabel met het label "2" los te koppelen.
-
-
-
Schuif de lintkabel uit de (kabel)aansluiting en verwijder de schermmodule van de iPhone.
-
-
-
Verwijder de twee Phillips-schroeven #00 aan de rechterkant van de schermmodule.
-
-
-
Draai de schermmodule om en als er een dunne strook zwarte tape op de rand van de schermmodule zit, verwijder deze dan voorzichtig.
-
-
-
Verwijder de drie Phillips #00-kruiskopschroeven aan de linkerkant van de schermmodule.
-
-
-
Draai de schermmodule om en steek opnieuw voorzichtig een metalen spudger tussen de twee metalen rails langs de rand van de schermmodule. Draai de spudger voorzichtig om het lcd-scherm van het glas te tillen.
-
-
-
Scheid het LCD-scherm en het glas door het LCD-paneel weg te schuiven van de lintkabels op het glas.
-
-
-
-
-
Dit is wat er over zou moeten blijven na het verwijderen van het LCD-scherm.
-
-
-
Als het glas aan de boven- of onderkant verbrijzeld is, wees dan extra geduldig en voorzichtig bij het verwijderen van fragmenten. In extreme gevallen moet je misschien glassplinters verwijderen die aan het kunststof vastgeplakt zijn gebleven.
-
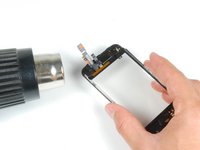
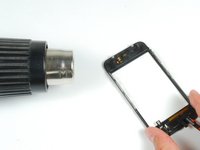
Verwarm het linksboven gedeelte van het touch screen met een heteluchtpistool of haardroger.
-
Gebruik je vingernagels om de linkerhoek langzaam omhoog te tillen. De kunststof onderdelen van het touch screen zitten met lijm aan het touch screen bevestigd. Het kan wat werk kosten om de hoeken los te krijgen.
-
Verwarm en herhaal dit voor de rechterkant.
-
-
-
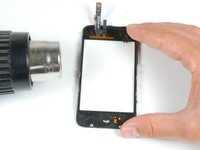
Zodra de bovenkant los is, gebruikt u het heteluchtpistool om de zijkanten van het touch screen te verwarmen.
-
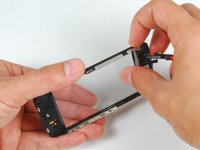
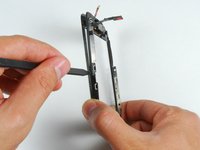
Gebruik een spudger om de zijkanten van het plastic van het touch screen los te maken.
-
-
-
Verwarm de onderste hoeken met het heteluchtpistool.
-
Gebruik opnieuw je vingernagels om de hoeken los te maken.
-
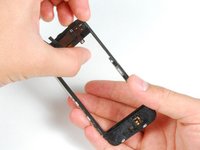
Verwijder het plastic van het touch screen van het touch screen.
-
-
-
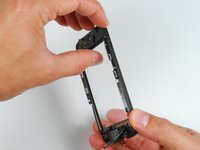
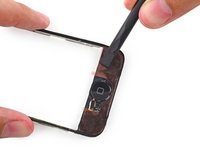
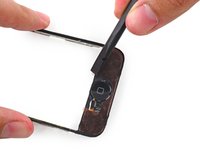
Om het nieuwe paneel te kunnen verlijmen, moet je zoveel mogelijk van de bestaande lijm van de omlijsting van het voorpaneel verwijderen.
-
-
-
-
Plaats custom fit adhesive strips of dubbelzijdige tape op het bovenste gedeelte van de kunststof onderdelen van het voorpaneel.
-
Gebruik de platte kant van een spudger om de kleefstrips op de kunststof omlijsting aan te drukken.
-
-
-
Plaats de tweede kleefstrip of dubbelzijdige tape op de omlijsting van het voorpaneel bij de thuisknop.
-
Ga met de platte kant van een spudger over de strip om deze vast te plakken en luchtbellen onder de sticker weg te drukken.
-
-
-
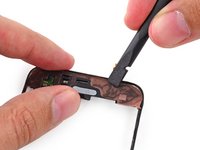
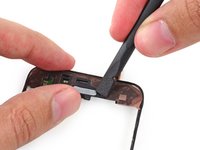
Gebruik de punt van een spudger om te beginnen en pel de achterkant van de lijm van de kleefstrips op het plastic van het voorpaneel.
-
-
-
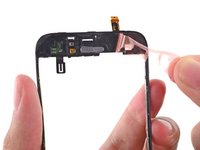
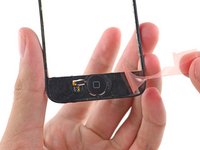
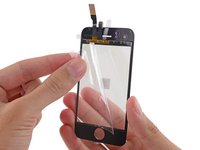
Verwijder het beschermende plastic van de binnenkant van het glas van het voorpaneel.
-
-
-
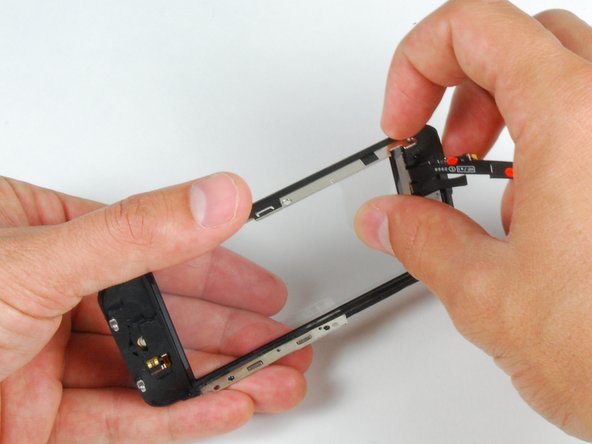
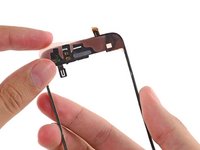
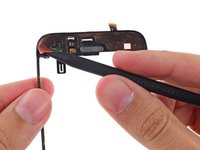
Vouw de kabels van het voorpaneel omlaag richting de uitsparing van de thuisknop om ze uit de weg te houden.
-
-
-
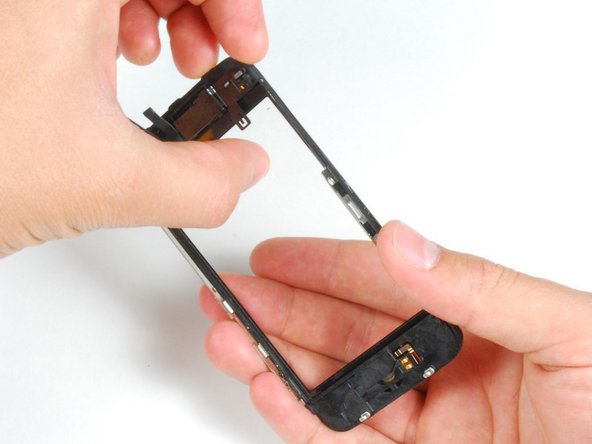
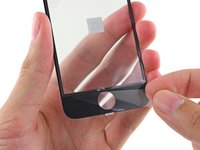
Zorg ervoor dat de bovenste kabels uit de weg gevouwen zijn en lijn de bovenkant van het glas aan de voorzijde uit met de omlijsting van het voorpaneel.
-
-
-
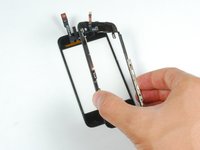
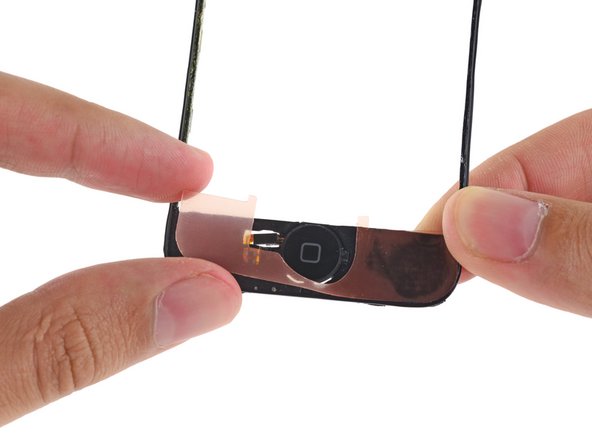
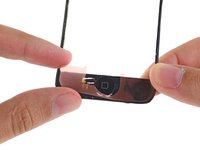
Druk het voorpaneel en de omlijsting van het voorpaneel op elkaar en zorg ervoor dat de uiteinden bij de thuisknop goed zijn uitgelijnd.
-
-
-
Druk stevig op beide uiteinden van de telefoon om ervoor te zorgen dat de lijm goed hecht.
-
-
















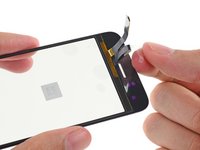


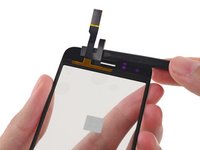
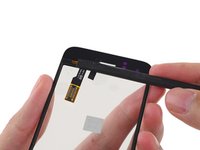
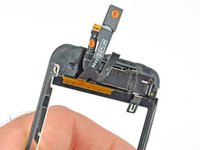


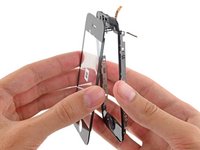
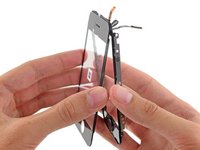


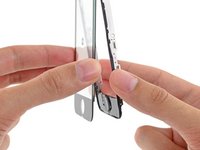
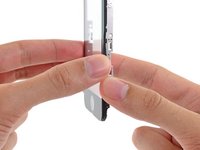

Volg deze instructies in omgekeerde volgorde om je apparaat weer in elkaar te zetten.
Annuleren: ik heb deze handleiding niet afgemaakt.
541 andere personen hebben deze handleiding voltooid.

8Gids Commentaar
Step 15:
the screen sort of sits in the plastic because of the band of material running around the perimeter of the assembly being more firmly attached to the plastic than the screen. I found this step much easier to complete the second time around because i knew to dig my nail in between the screen and the material running around the perimeter of the assembly in a front to back motion. Then i pivoted my nail up 90 degrees so it was between the plastic and the screen and was able to gently pry them apart while heating.
i second that, it should really be another bulletpoint because its really hard to see if you are not looking for it. Something like:
Push gently on the thin plastic bezel surrounding the frontpanel, do not try to push into the side of the assembly. It can look like there is a seam but there is not!
Its really the only way to get it done without ripping off any parts of the plastic bezel... it does not show when reassembled but its creating a wide portal for dust particles.
NOTE: Just completed the installation and was supremely frustrated when the screen didn't turn back on. My first inclination was that the 3rd connector wasn't seated properly...so I opened up and re-attached 3 times. With girlfriend peering over my 'soon to be a failure of a bf' shoulder, I asked her to google up a 'hard reset'. Eureka. Hold down the black nav button and the top power button at the same time until the silver apple reappears. Crisis averted, great tutorial otherwise!
When removing the broken glass, be sure to remove adhesive from the side rails of the iPhone front panel assembly, otherwise your front panel won't fit as snugly as it should.
When reassembling, take care to properly insert ribbon cable 3, as it is much easier to remove it than it is to install it. Having an extra set of hands was invaluable for this repair.
I wish the instructions warned me to make sure a sim card is in the socket before reassembling, and/or they gave detailed reassembly instructions, and/or had higher quality pictures (I zoomed in on the pictures multiple times while reassembling, and could not see exactly how things were supposed to fit back together). My replacement went well, and all was working perfectly, but a piece of the cable was apparently sticking down into the sim card socket, and when my 21 yr old son forced the sim card it, it destroyed the cable that is attached to the plastic speaker assembly. Now I get to buy the more expensive repair kit that includes that part, and try again. D amn, I'm frustrated. -Bill
