Deze versie kan foutieve bewerkingen bevatten. Schakel over naar de recentste gecontroleerde momentopname.
Wat je nodig hebt
-
-
Vul een pan met genoeg water om de iOpener volledig in onder te dompelen.
-
Verwarm het water tot het kookt. Zet het vuur uit.
-
Leg je iOpener gedurende 2-3 minuten in het hete water. Zorg dat de iOpener volledig in het water ligt.
-
Gebruik een tang om de iOpener uit de pan te halen.
-
Droog je iOpener grondig met een handdoek.
-
Je iOpener is gereed om te worden gebruikt! als je je iOpener opnieuw op wilt warmen, verwarm je het water weer tot het kookt, zet je het vuur uit en plaats je de iOpener gedurende 2-3 minuten in het water.
-
-
-
Als het glas van je scherm gebarsten is, kun je verdere barsten voorkomen door het scherm te beplakken met tape.
-
Breng een aantal lagen doorzichtige tape op het scherm van je iPad aan tot het gehele scherm bedekt is.
-
Doe je best om de rest van de procedure zo nauwgezet mogelijk te volgen. Als het glas echter eenmaal gebarsten is, is de kans groot dat het verder uit elkaar valt tijdens deze stap. Het kan daarom soms nodig zijn om scherven uit je toestel te verwijderen met behulp van een metalen tool.
-
-
Deze stap is niet vertaald. Help het te vertalen
-
Pull the blue handle backwards to unlock the Anti-Clamp's arms.
-
Place an object under your iPad so it rests level between the suction cups.
-
Position the suction cups near the middle of the left edge—one on the top, and one on the bottom.
-
Hold the bottom of the Anti-Clamp steady and firmly press down on the top cup to apply suction.
-
-
Deze stap is niet vertaald. Help het te vertalen
-
Pull the blue handle forward to lock the arms.
-
Turn the handle clockwise 360 degrees or until the cups start to stretch.
-
Make sure the suction cups remain aligned with each other. If they begin to slip out of alignment, loosen the suction cups slightly and realign the arms.
-
-
Deze stap is niet vertaald. Help het te vertalen
-
Wait one minute to give the adhesive a chance to release and present an opening gap.
-
If your screen isn't getting hot enough, you can use a hair dryer to heat along the left edge of the iPad.
-
Insert an opening pick under the screen when the Anti-Clamp creates a large enough gap.
-
Skip the next two steps.
-
-
-
Druk nu een zuignap op de linkerzijde van het scherm, halverwege de iPad.
-
Zorg dat de zuignap vlak op het scherm ligt zodat deze zich goed vast kan zuigen.
-
Trek de zuignap, terwijl je de iPad met je andere hand vasthoudt, langzaam omhoog om het voorste paneel van de achterste behuizing te scheiden.
-
-
-
Pak de eerste plectrum die je in de iPad hebt aangebracht vast en schuif deze langs de zijkant van de iPad naar boven.
-
Als je de punt van je plectrum door het glas van het scherm kunt zien, is dat geen reden voor paniek—trek enkel je plectrum een stukje terug. Waarschijnlijk is er geen schade, maar zorg wel dat dit niet te vaak gebeurt, aangezien je op deze manier lijm op je LCD kunt smeren, wat moeilijk te verwijderen is.
-
-
-
Laat je plectrum, net na de naar voren gerichte camera, in de opening aan de bovenkant van de iPad zitten.
-
Pak een tweede openingsplectrum en steek deze links van de camera in de opening en schuif deze vervolgens naar de linker bovenhoek van de iPad om het doorsnijden van de lijm aan die kant van de iPad te voltooien.
-
-
-
-
Schuif de onderste plectrum aan de linkerkant van de iPad richting de linker benedenhoek om de lijm in die hoek door te snijden.
-
Laat je plectrum in de hoek zitten. Ga niet verder met wrikken en verwijder de plectrum niet uit de iPad.
-
De volgende stappen laten je zien waar te wrikken om te voorkomen dat je deze onderdelen beschadigt. Gebruik warmte en wrik enkel op de plekken die getoond worden.
-
-
Deze stap is niet vertaald. Help het te vertalen
-
Remove the four Phillips screws securing the LCD:
-
Three 4.0 mm screws
-
One 4.8 mm screw
-
-
Deze stap is niet vertaald. Help het te vertalen
-
Use the flat end of a spudger to pry the LCD out of its recess just enough to grab it with your fingers.
-
Flip the iPad LCD like a page in a book, lifting near the camera and turning it over the home button end of the rear case.
-
Lay the LCD on its face to allow access to the display cables.
-
-
Deze stap is niet vertaald. Help het te vertalen
-
Remove the single 2.3 mm Phillips screw securing the battery connector to the logic board.
-
Leave the blocker there to prevent the battery connector leads from making contact until you have completed your repairs.
-
-
Deze stap is niet vertaald. Help het te vertalen
-
Remove the three 1.4 mm Phillips screws securing the display cable bracket.
-
-
Deze stap is niet vertaald. Help het te vertalen
-
Use the flat end of a spudger to gently pry the display cable bracket straight up from the logic board.
-
-
Deze stap is niet vertaald. Help het te vertalen
-
Remove any tape covering the home button ribbon cable connector.
-
-
Deze stap is niet vertaald. Help het te vertalen
-
Use the flat end of a spudger to flip the tab on the home button ribbon cable ZIF connector upward.
-
Carefully pull the home button ribbon cable straight out of the ZIF connector.
-
-
Deze stap is niet vertaald. Help het te vertalen
-
Use the flat end of a spudger or a fingernail to carefully pop the two digitizer cable connectors straight up from their sockets.
-
-
Deze stap is niet vertaald. Help het te vertalen
-
Remove the front panel assembly.
-
If you experience "ghost" or "phantom" touch input issues with your new display, this can be resolved by adding a layer of very thin insulating tape, such as Kapton (polyimide) tape, to the highlighted areas on the back of the panel. iFixit panels come with the proper insulation, and should not require the addition of any tape.
-
-
Deze stap is niet vertaald. Help het te vertalen
-
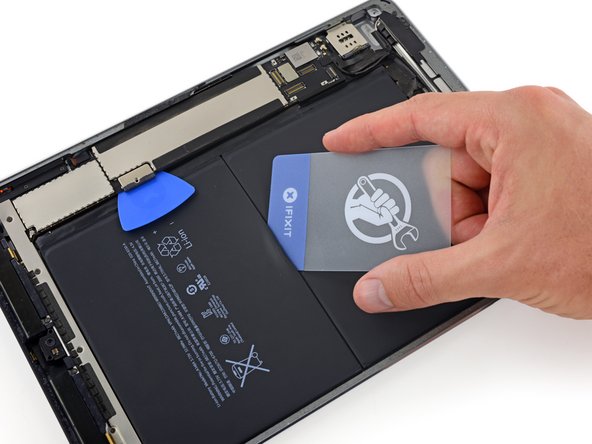
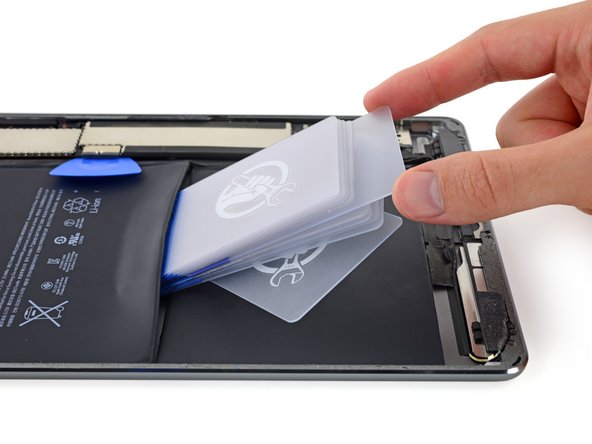
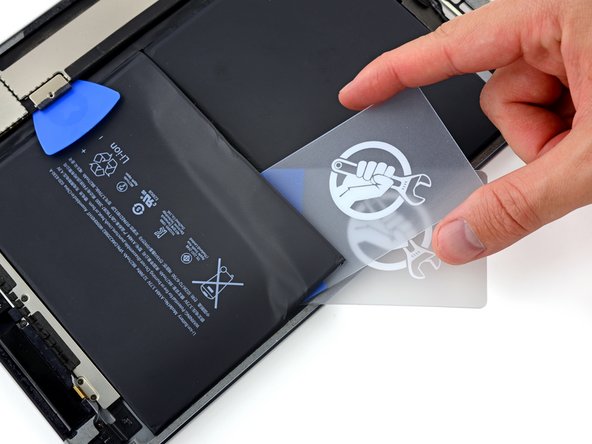
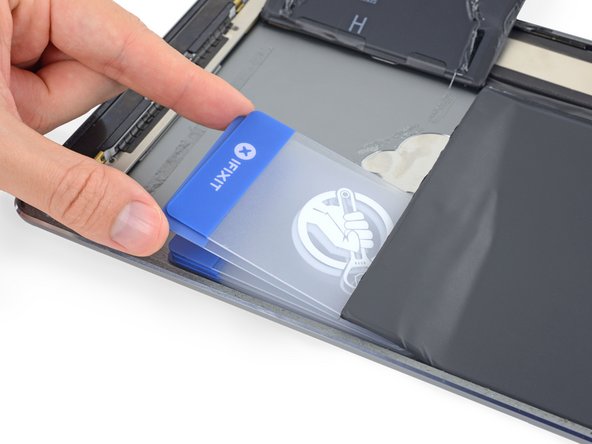
Starting from the middle of the iPad, insert one corner of a plastic card beneath the upper battery cell.
-
-
Deze stap is niet vertaald. Help het te vertalen
-
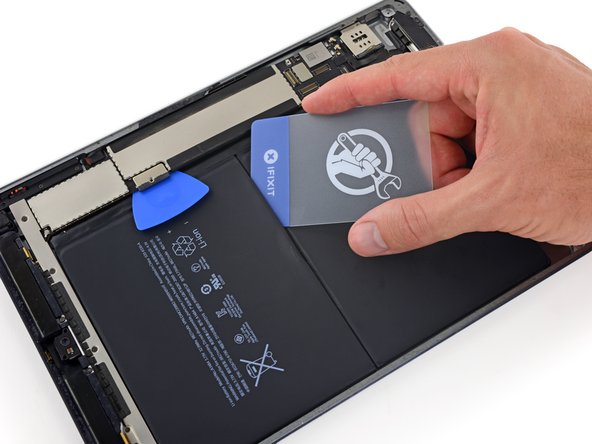
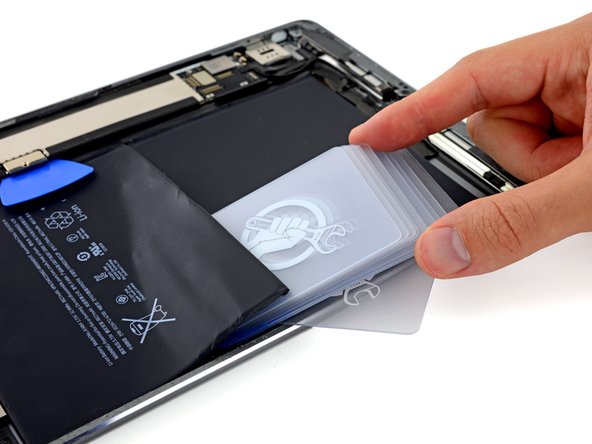
Remove the card and re-insert it nearby, opening up enough space to insert the entire short edge of the card.
-
Leave one corner of the card under the battery, near the center.
-
-
Deze stap is niet vertaald. Help het te vertalen
-
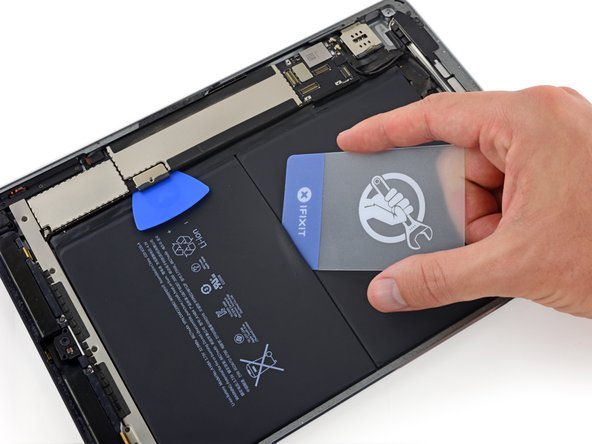
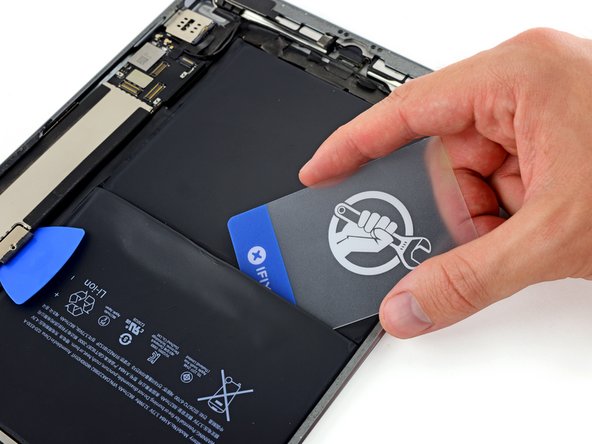
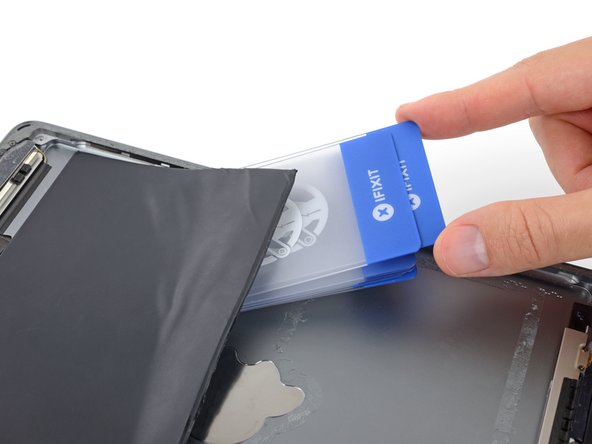
Slide the short edge of a second plastic card underneath the upper battery cell, on top of the first plastic card.
-
-
Deze stap is niet vertaald. Help het te vertalen
-
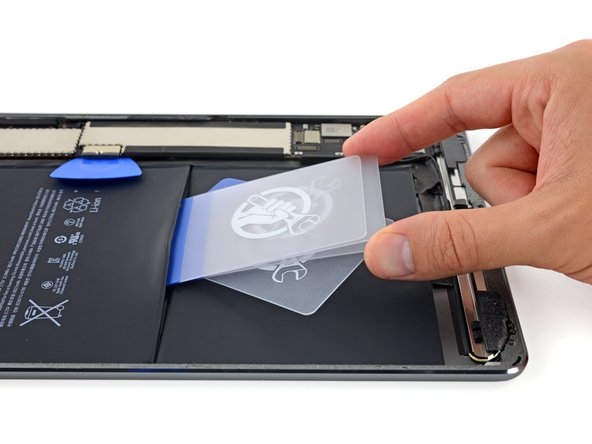
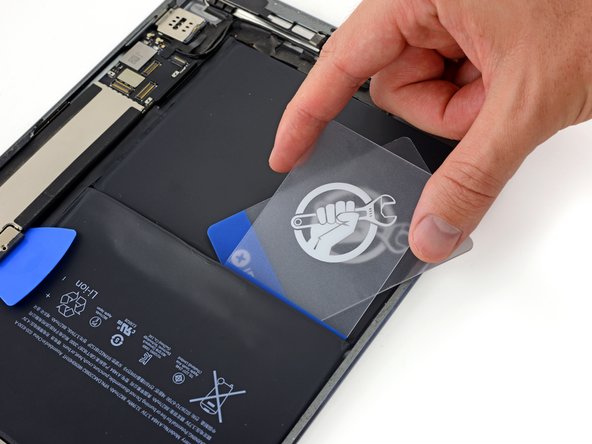
Insert multiple additional cards between the first and second card to create a wedge that will begin to lever the battery away from the rear case.
-
-
Deze stap is niet vertaald. Help het te vertalen
-
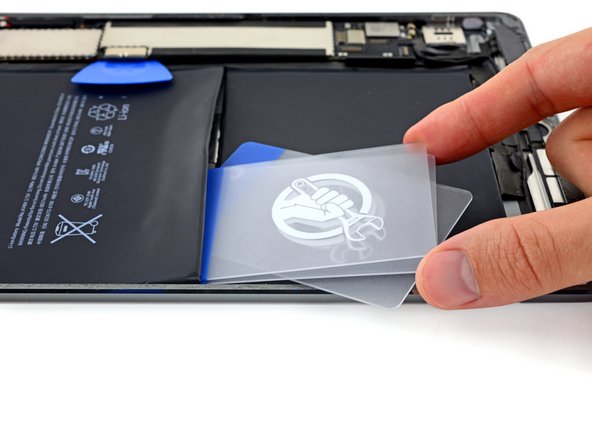
Re-insert a corner of your plastic card under the upper battery cell, near the left edge of the iPad.
-
-
Deze stap is niet vertaald. Help het te vertalen
-
Slide the short edge of a second plastic card underneath the battery cell and above the first plastic card.
-
-
Deze stap is niet vertaald. Help het te vertalen
-
Insert multiple additional cards between the first and second card to create a wedge and lever this section of the battery away from the rear case.
-
-
Deze stap is niet vertaald. Help het te vertalen
-
Repeat the above steps to wedge up the lower left corner of the upper battery cell.
-
-
Deze stap is niet vertaald. Help het te vertalen
-
Finish wedging up the upper battery cell using the above procedure by inserting cards along the left edge of the upper battery cell (the edge opposite the logic board).
-
-
Deze stap is niet vertaald. Help het te vertalen
-
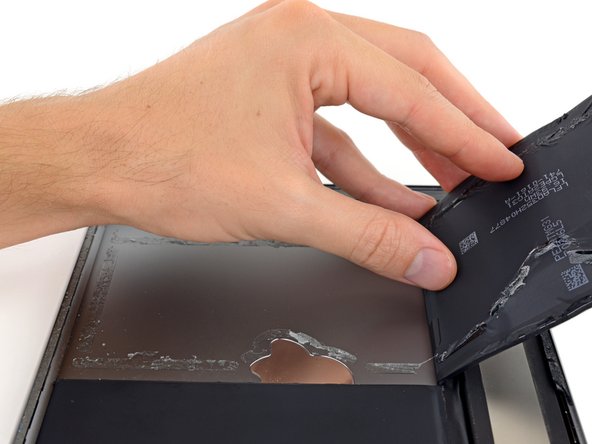
Gently lift the upper battery cell from the edge opposite the logic board, and swing it up to separate it from the rear case.
-
-
Deze stap is niet vertaald. Help het te vertalen
-
Repeat the above procedure to separate the second, lower battery cell from the rear case.
-
-
Deze stap is niet vertaald. Help het te vertalen
-
Gently lift the lower battery cell from the edge opposite the logic board, and swing it up to separate it from the rear case.
-
-
Deze stap is niet vertaald. Help het te vertalen
-
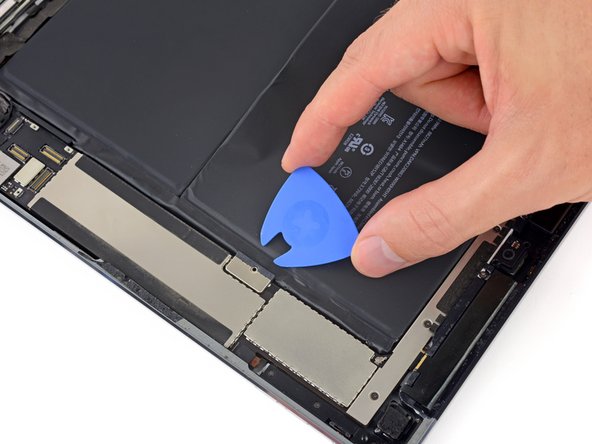
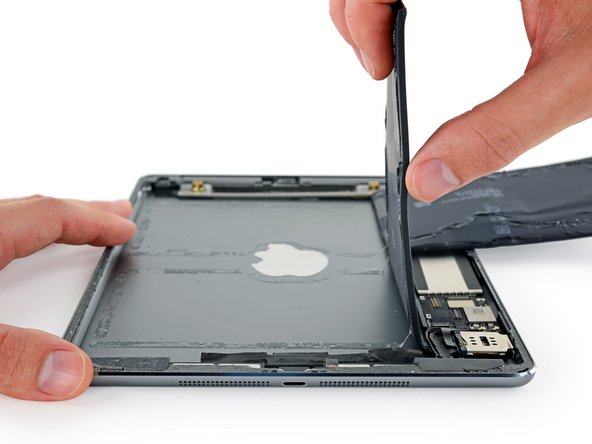
Use an opening pick to slice through the adhesive directly underneath the battery connector terminal.
-
-
Deze stap is niet vertaald. Help het te vertalen
-
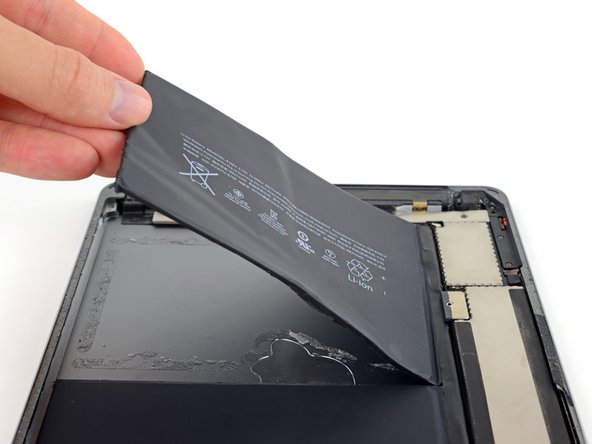
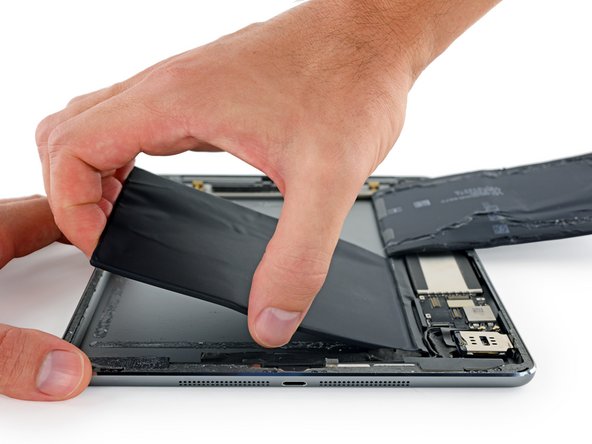
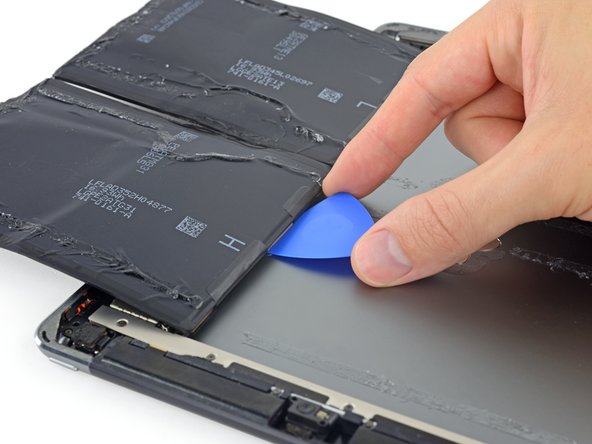
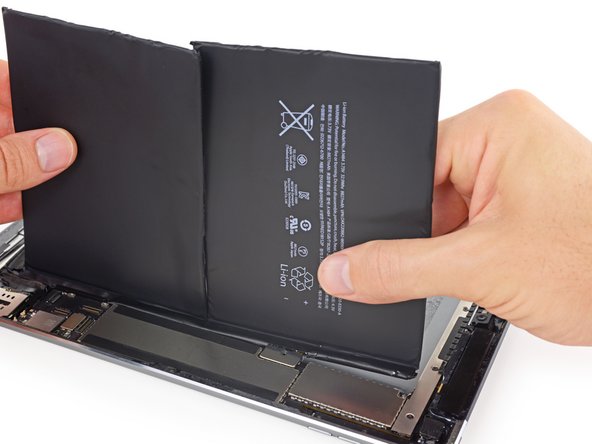
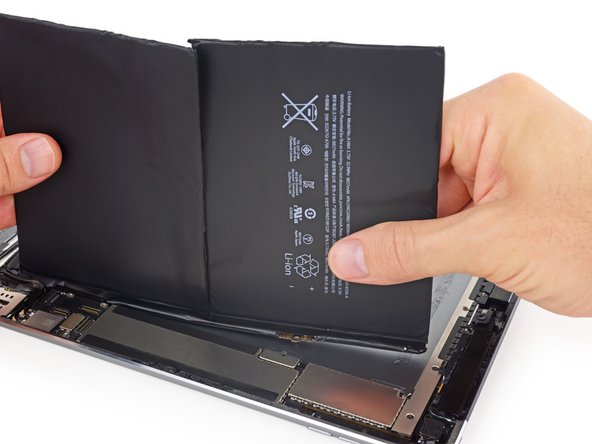
Stand both battery cells up perpendicular to the iPad.
-
Clear the standoff by gently rocking the upper cell slightly away from the rear case, and then pulling it to the side (away from the logic board).
-


Annuleren: ik heb deze handleiding niet afgemaakt.
80 andere personen hebben deze handleiding voltooid.

21 opmerkingen
The guide says that it is Potentially Dangerous. What is potentially dangerous about this fix?
Nothing other than what's mentioned in the intro and instructions: this is a soft-shell lithium ion battery, subject to leaking toxic fumes / catching fire / exploding if you accidentally puncture or deform it too aggressively. The same is true of all batteries of this type. Treat it with respect and take appropriate precautions.
What about the adhesive? Do you need more to seal it up or do you reuse the existing?
You should clean the old adhesive from the glass and chassis using isopropyl alcohol, and replace the adhesive using pre-cut adhesive strips.