Ga door naar hoofdinhoud
Word lid van de reparatiegemeenschap - Account aanmaken

iHome iH8BR Scroll Wheel Replacement

Wat je nodig hebt

    1. iHome iH8BR Scroll Wheel Replacement, Lower Case: stap 1, afbeelding 1 van 3 iHome iH8BR Scroll Wheel Replacement, Lower Case: stap 1, afbeelding 2 van 3 iHome iH8BR Scroll Wheel Replacement, Lower Case: stap 1, afbeelding 3 van 3
      • Unplug the device from the wall outlet, and turn it over so that the buttons are on a flat surface.

      • Use your fingers to pinch the tab in the direction of the "Open" arrow until tab is loose. Pull the tab vertically to remove it.

      • Remove the battery cover and the batteries.

      Vraag FixBot

      Voeg opmerking toe

    2. iHome iH8BR Scroll Wheel Replacement: stap 2, afbeelding 1 van 2 iHome iH8BR Scroll Wheel Replacement: stap 2, afbeelding 2 van 2
      • Slide a spudger under the two front rubber pads to expose two hidden screws.

      Vraag FixBot

      Voeg opmerking toe

    3. iHome iH8BR Scroll Wheel Replacement: stap 3, afbeelding 1 van 1
      • Remove the following eight screws:

      • Four 15.1 mm Phillips #2 screws near the front of the device.

      • Four 12.7 mm Phillips #2 screws near the back of the device.

      • The slots for the four 12.7 mm screws are very narrow, so you will need a slender, Phillips #2 screwdriver that does not feature replaceable heads in order to reach them.

      Vraag FixBot

      Voeg opmerking toe

    4. iHome iH8BR Scroll Wheel Replacement: stap 4, afbeelding 1 van 2 iHome iH8BR Scroll Wheel Replacement: stap 4, afbeelding 2 van 2
      Gereedschap gebruikt in deze stap:
      Tweezers
      $4.99
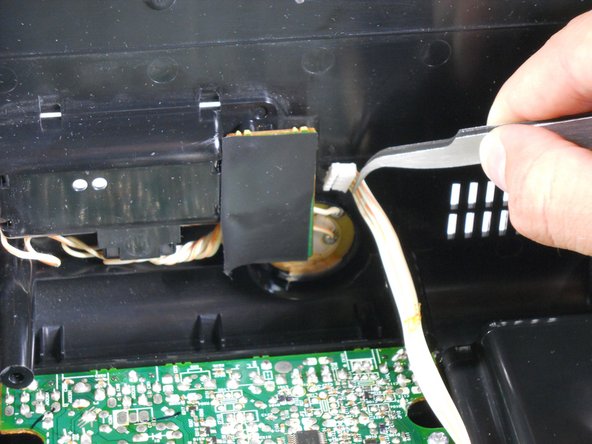
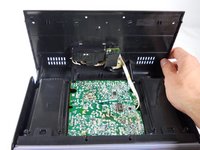
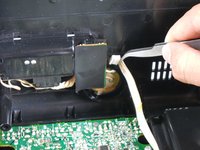
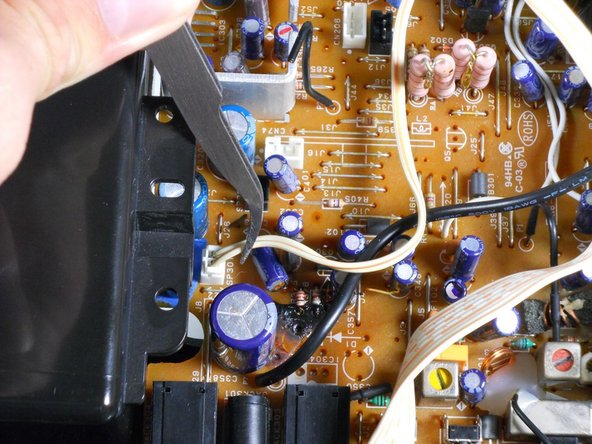
      • Turn the iHome 180 degrees so the speaker grille is facing you. Carefully lift the bottom case away from the rest of the body and tilt it as shown.

      • Be careful and do not yank the bottom case. A white ribbon wire is the only thing that connects the bottom case to the rest of the device.

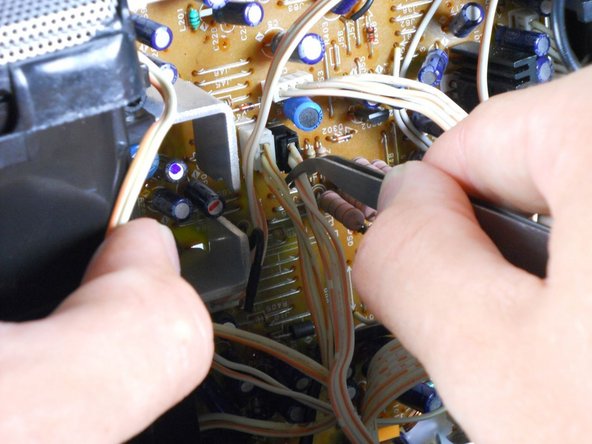
      • Using a pair of tweezers, detach the white ribbon cable. Make sure to pull on the ribbon, not on the head.

      • The lower case can now be completely removed from the device!

      Vraag FixBot

      Voeg opmerking toe

    1. iHome iH8BR Scroll Wheel Replacement, Motherboard Assembly: stap 5, afbeelding 1 van 2 iHome iH8BR Scroll Wheel Replacement, Motherboard Assembly: stap 5, afbeelding 2 van 2
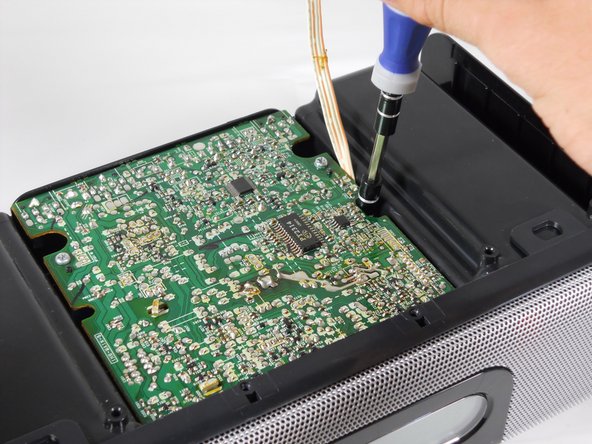
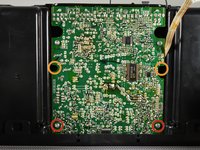
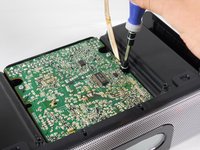
      • Remove the four screws attaching the top of the case to the motherboard:

      • Two 9.5 mm Phillips #2 screws near the speaker grille.

      • Two 14.3 mm Phillips #2 screws that sit in recesses under the motherboard.

      • It is useful to use a screwdriver with a magnetic tip so that the screws don't get lost inside the device.

      Vraag FixBot

      Voeg opmerking toe

    2. iHome iH8BR Scroll Wheel Replacement: stap 6, afbeelding 1 van 2 iHome iH8BR Scroll Wheel Replacement: stap 6, afbeelding 2 van 2
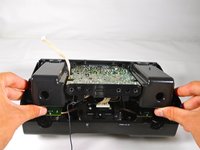
      • Turn the iHome 180 degrees and carefully pull up on speaker cases to pry them loose from the bottom case.

      • Prying the Motherboard Assembly from the Upper Case will require a good amount of force. Be very careful not to break the case, or yank on any of the ribbon wires attached to the underside.

      • Pulling outwards on the sides of the Upper Casing can help loosen the assembly.

      • If it seems too difficult to remove, chances are that a screw is still attached. Make sure you've removed every screw listed before proceeding to this step.

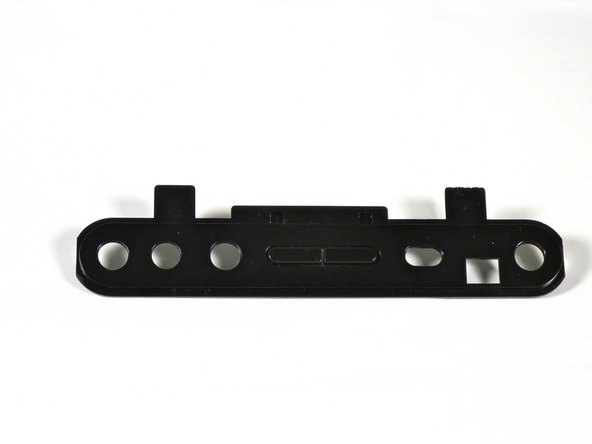
      • Pull the back adapter cover off.

      Vraag FixBot

      Voeg opmerking toe

    3. iHome iH8BR Scroll Wheel Replacement: stap 7, afbeelding 1 van 2 iHome iH8BR Scroll Wheel Replacement: stap 7, afbeelding 2 van 2
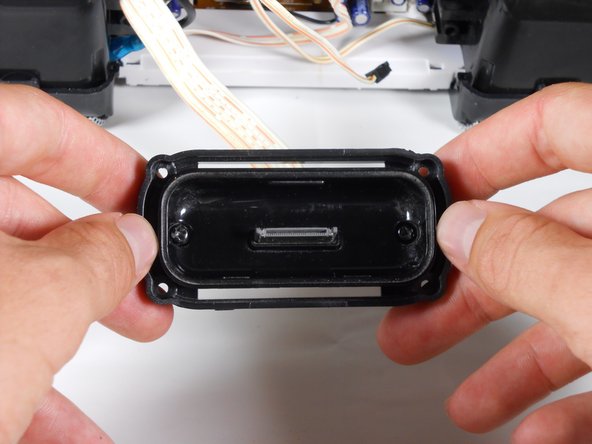
      • Remove the four 6.4 mm Phillips #1 screws holding the adapter to the outer case.

      • Only remove the following screws if you are planning on taking apart the iPod Adapter later on:

      • Two 6.4 mm Phillips #1 screws near the center of the adapter. These screws have built in washers.

      • One 4.0 mm Phillips #1 screw near the center of the adapter.

      • The iPod adapter should now be separate from the upper casing.

      Vraag FixBot

      Voeg opmerking toe

    4. iHome iH8BR Scroll Wheel Replacement: stap 8, afbeelding 1 van 3 iHome iH8BR Scroll Wheel Replacement: stap 8, afbeelding 2 van 3 iHome iH8BR Scroll Wheel Replacement: stap 8, afbeelding 3 van 3
      Gereedschap gebruikt in deze stap:
      Tweezers
      $4.99
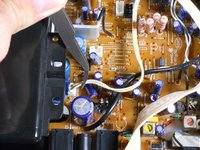
      • With the back of the iHome is facing you, tilt the Motherboard Assembly upwards as shown.

      • Do not yank or jerk these ribbon cables. Make sure not to pull on the heads, but on the ribbons themselves.

      • Use tweezers to remove the 6 ribbon cables.

      Vraag FixBot

      Voeg opmerking toe

    5. iHome iH8BR Scroll Wheel Replacement: stap 9, afbeelding 1 van 1
      • Pull the speakers, motherboard, and iPod adapter up and away from the lower casing.

      • You have now separated your iHome's inner workings from its protective case!

      Vraag FixBot

      Voeg opmerking toe

    1. iHome iH8BR Scroll Wheel Replacement, Scroll Wheel: stap 10, afbeelding 1 van 3 iHome iH8BR Scroll Wheel Replacement, Scroll Wheel: stap 10, afbeelding 2 van 3 iHome iH8BR Scroll Wheel Replacement, Scroll Wheel: stap 10, afbeelding 3 van 3
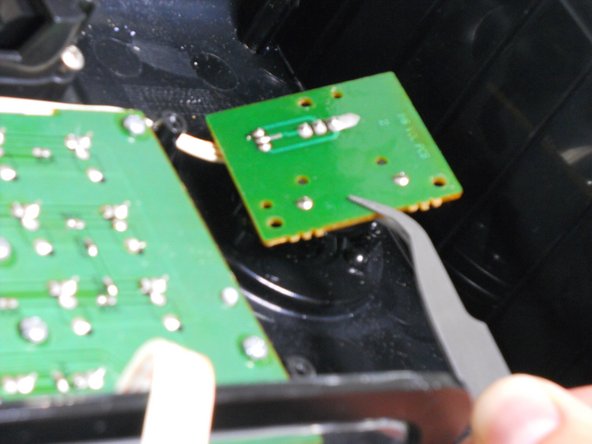
      • Remove the three 7.9 mm Phillips #1 screws holding the scroll wheel circuit board in place.

      • Repeat for the other circuit board.

      Vraag FixBot

      Voeg opmerking toe

    2. iHome iH8BR Scroll Wheel Replacement: stap 11, afbeelding 1 van 2 iHome iH8BR Scroll Wheel Replacement: stap 11, afbeelding 2 van 2
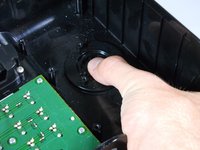
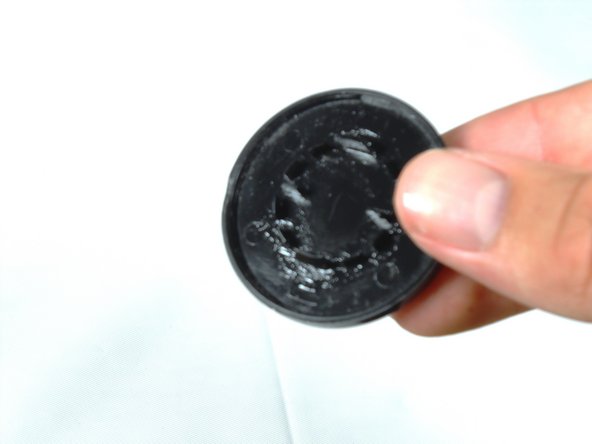
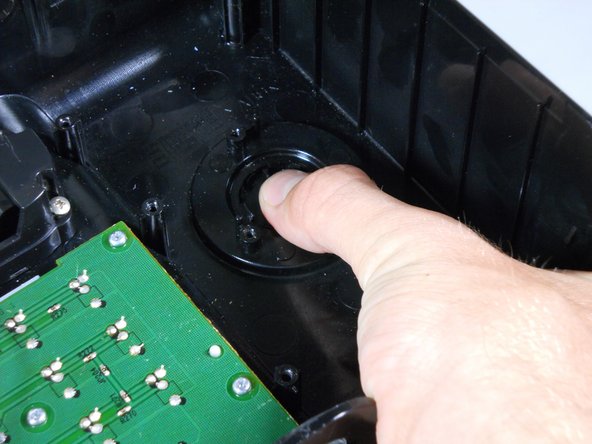
      • Firmly press on the center of each scroll wheel to remove them.

      • You have successfully removed the scroll wheels!

      Vraag FixBot

      Voeg opmerking toe

Conclusie

To reassemble your device, follow these instructions in reverse order.

Annuleren: ik heb deze handleiding niet afgemaakt.

6 andere personen hebben deze handleiding voltooid.

cfredric

Lid sinds: 04/17/13

70 Reputatie

6 handleidingen geschreven

Team

Cal Poly, Team 12-33, Amido Spring 2013 Lid van Cal Poly, Team 12-33, Amido Spring 2013

CPSU-AMIDO-S13S12G33

4 Leden

35 handleidingen geschreven

7Gids Commentaar

where do you get the scroll wheels to replace the bad ones?

bnewell0568 - Antwoord Deel
Wow you can do the same thing leaving the entire unit intact by prying the wheels out from the top with a plastic pry tool. They come out pretty easily. This was still a very informative guide to disassembling the ihome.

huff08 - Antwoord Deel
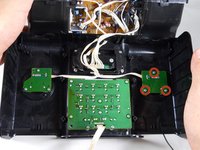
I pried the scroll wheel off like said above, wiped off dust grime, replaced it - and now it works perfect.

Sgk Glass - Antwoord Deel

I ended up opening the whole thing up, taking the scroll wheels off and cleaning them. I also blew into the encoders on the little circuit boards, and it fixed them. They’re behaving just like new now. Thanks! I think I could have gotten away with prying the wheels off from the outside without opening it up, but oh well. This was actually on an iH6 — the innards were very similar to this model.

Doug Brown - Antwoord Deel

I did the same as Sgk Glass. Works fine.

mark b - Antwoord Deel

Voeg opmerking toe

Weergavestatistieken:

Afgelopen 24 uren: 3

Afgelopen 7 dagen: 5

Afgelopen 30 dagen: 36

Altijd: 4,768