Stap 17 vertalen
Stap 17

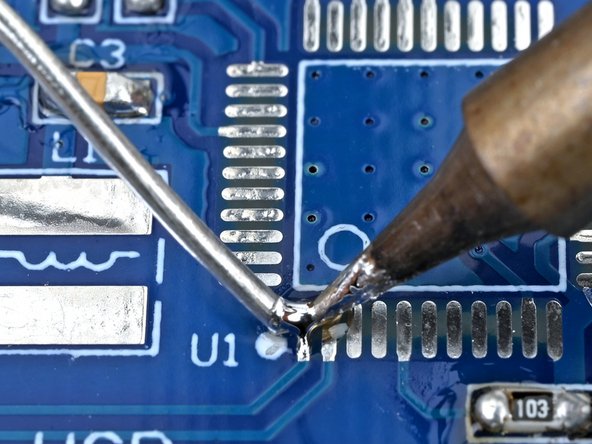
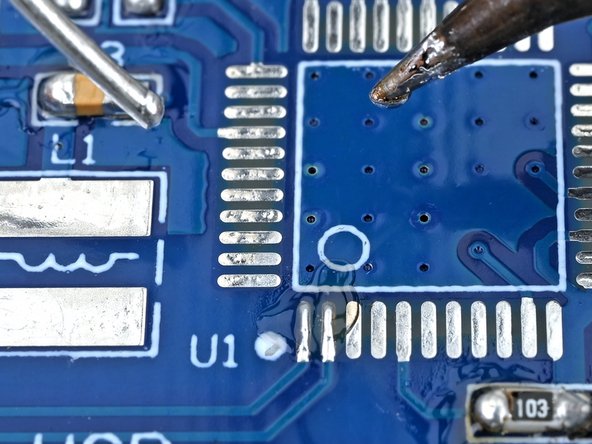


Solder the microcontroller
-
Press the iron's tip against the board's bottom left microcontroller solder pad for a few seconds to heat it.
-
Feed the solder wire into the heated area until there's a small glob of solder on the pad.
Je bijdragen zijn gelicentieerd onder de open source Creative Commons-licentie.