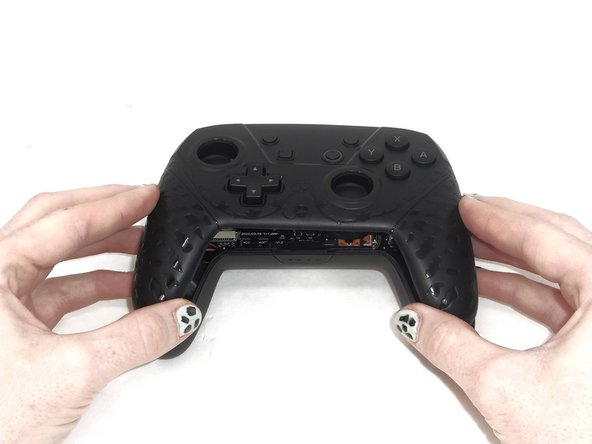
Ga door naar hoofdinhoud

YCCTEAM YCC-SW4001 Vibration Motor Replacement

Wat je nodig hebt

  1. YCCTEAM YCC-SW4001 Vibration Motor Replacement, Front Case: stap 1, afbeelding 1 van 1
    • Use a Phillips screwdriver to remove the eight 9.15 mm screws that secure the rear case.

  2. YCCTEAM YCC-SW4001 Vibration Motor Replacement: stap 2, afbeelding 1 van 3 YCCTEAM YCC-SW4001 Vibration Motor Replacement: stap 2, afbeelding 2 van 3 YCCTEAM YCC-SW4001 Vibration Motor Replacement: stap 2, afbeelding 3 van 3
    • Use an opening pick to pry the back cover off of the controller.

  3. YCCTEAM YCC-SW4001 Vibration Motor Replacement: stap 3, afbeelding 1 van 1
    • Use a Phillips screwdriver to remove the three 9.15 mm screws from the back of the controller.

  4. YCCTEAM YCC-SW4001 Vibration Motor Replacement: stap 4, afbeelding 1 van 3 YCCTEAM YCC-SW4001 Vibration Motor Replacement: stap 4, afbeelding 2 van 3 YCCTEAM YCC-SW4001 Vibration Motor Replacement: stap 4, afbeelding 3 van 3
    • Slightly lift the front case.

    • Do not remove the front cover completely; it is still attached to the motherboard by a white ribbon cable.

  5. YCCTEAM YCC-SW4001 Vibration Motor Replacement: stap 5, afbeelding 1 van 3 YCCTEAM YCC-SW4001 Vibration Motor Replacement: stap 5, afbeelding 2 van 3 YCCTEAM YCC-SW4001 Vibration Motor Replacement: stap 5, afbeelding 3 van 3
    • Use the tip of the opening pick to flip up the black locking flap of the ZIF connector.

    • The black flap holds the white ribbon cable in place.

  6. YCCTEAM YCC-SW4001 Vibration Motor Replacement: stap 6, afbeelding 1 van 2 YCCTEAM YCC-SW4001 Vibration Motor Replacement: stap 6, afbeelding 2 van 2
    • Use tweezers to disconnect the white ribbon cable from the ZIF connector.

  7. YCCTEAM YCC-SW4001 Vibration Motor Replacement: stap 7, afbeelding 1 van 1
    • Remove the front case.

  8. YCCTEAM YCC-SW4001 Vibration Motor Replacement, Vibration Motor: stap 8, afbeelding 1 van 3 YCCTEAM YCC-SW4001 Vibration Motor Replacement, Vibration Motor: stap 8, afbeelding 2 van 3 YCCTEAM YCC-SW4001 Vibration Motor Replacement, Vibration Motor: stap 8, afbeelding 3 van 3
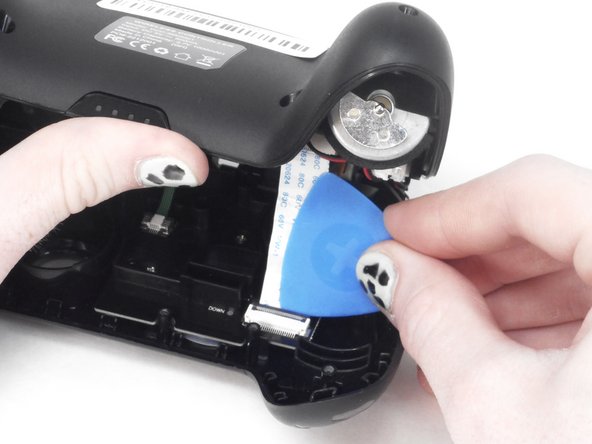
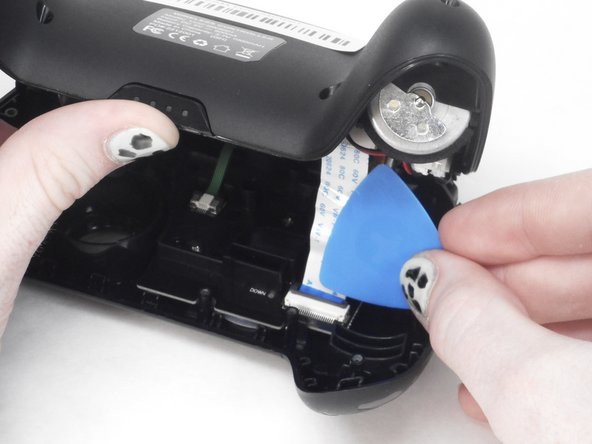
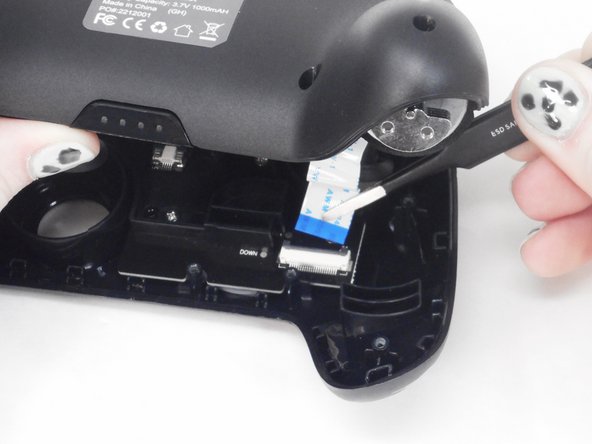
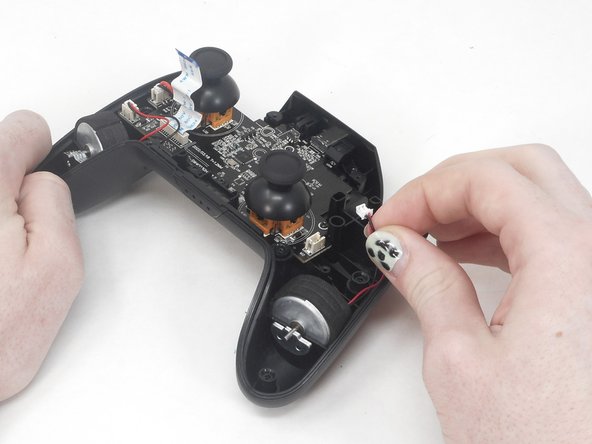
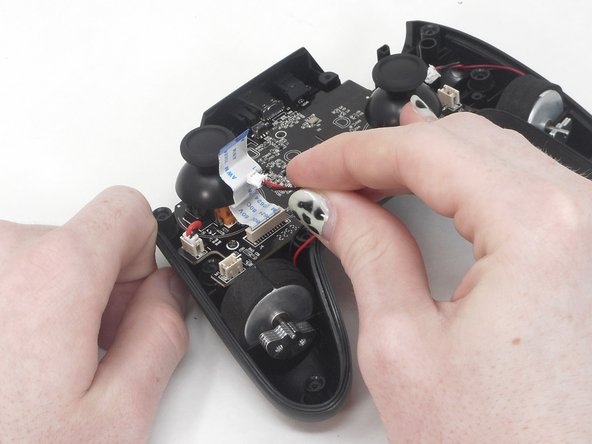
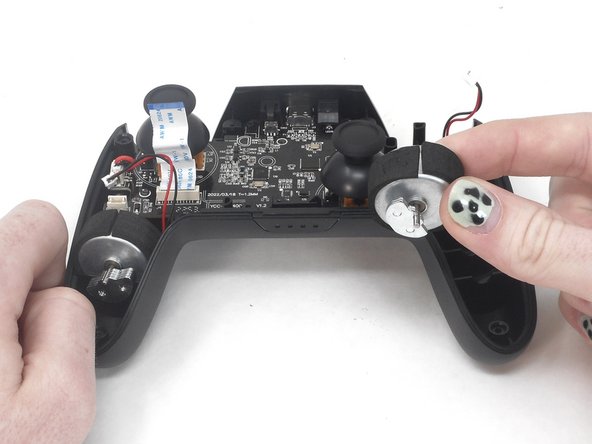
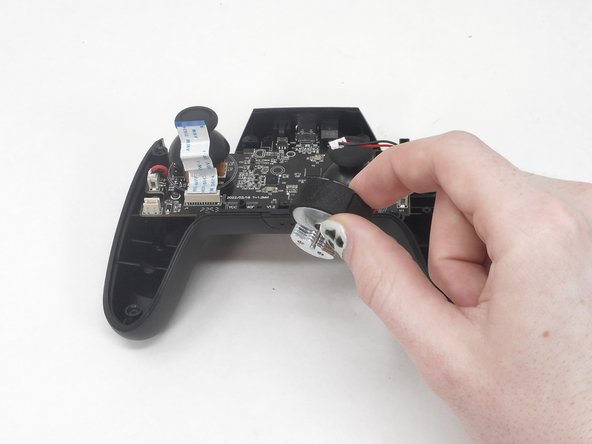
    • On the front side, disconnect the two vibration motor motherboard connectors.

    • Do not pull on the wires.

    • When replacing the rumble motors, press each plug down into its socket until it snaps into place.

  9. YCCTEAM YCC-SW4001 Vibration Motor Replacement: stap 9, afbeelding 1 van 3 YCCTEAM YCC-SW4001 Vibration Motor Replacement: stap 9, afbeelding 2 van 3 YCCTEAM YCC-SW4001 Vibration Motor Replacement: stap 9, afbeelding 3 van 3
    • Remove the rumble motors from the controller grips.

Conclusie

To reassemble your device, follow these instructions in reverse order.

David Adaway

Lid sinds: 02/16/24

531 Reputatie

4 handleidingen geschreven

0 opmerkingen

Voeg opmerking toe

Weergavestatistieken:

Afgelopen 24 uren: 0

Afgelopen 7 dagen: 0

Afgelopen 30 dagen: 10

Altijd: 53