Ga door naar hoofdinhoud
Word lid van de reparatiegemeenschap - Account aanmaken
XtremeMac Luna LCD Display Replacement

Wat je nodig hebt

    1. XtremeMac Luna LCD Display Replacement, Bottom Panel: stap 1, afbeelding 1 van 3 XtremeMac Luna LCD Display Replacement, Bottom Panel: stap 1, afbeelding 2 van 3 XtremeMac Luna LCD Display Replacement, Bottom Panel: stap 1, afbeelding 3 van 3
      • Flip the device over so that the batteries are closest to you.

      • Remove the battery lid by pressing the battery cover's tab and pulling it away from the device.

      • Push the battery against the spring and lift it out of the casing.

      • Repeat with the other battery.

      Vraag FixBot

      Voeg opmerking toe

    2. XtremeMac Luna LCD Display Replacement: stap 2, afbeelding 1 van 1
      • Unscrew all eight 12mm Phillips head screws with a Philips #1 screwdriver.

      • The iFixit 26 bit screwdriver kit will not reach the screws. Make sure to use a screwdriver that is thin enough to not get stuck in the screw holes.

      Vraag FixBot

      Voeg opmerking toe

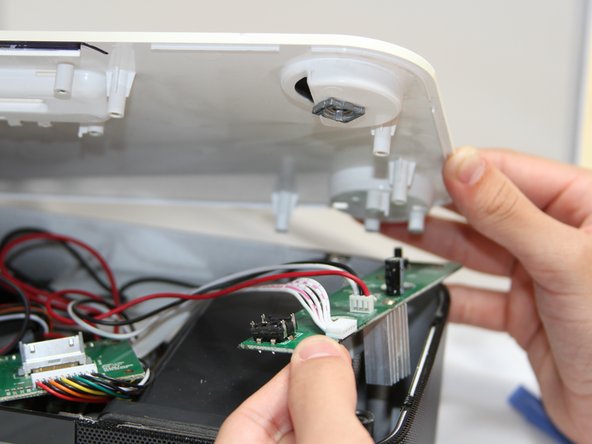
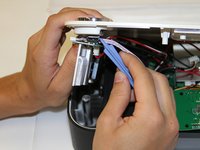
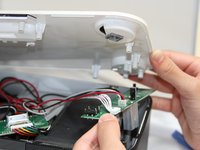
    3. XtremeMac Luna LCD Display Replacement: stap 3, afbeelding 1 van 2 XtremeMac Luna LCD Display Replacement: stap 3, afbeelding 2 van 2
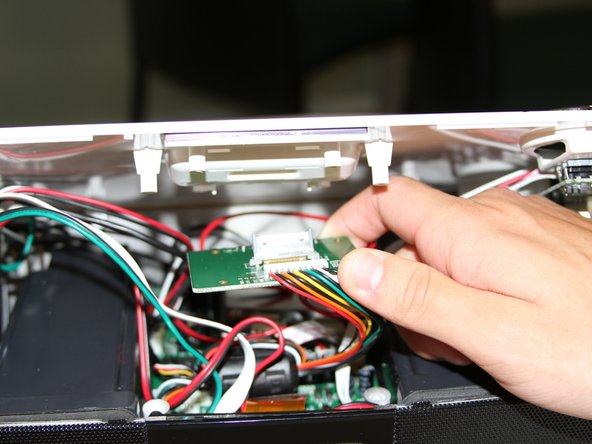
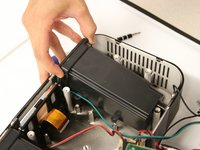
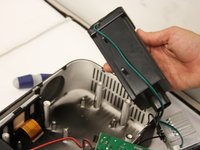
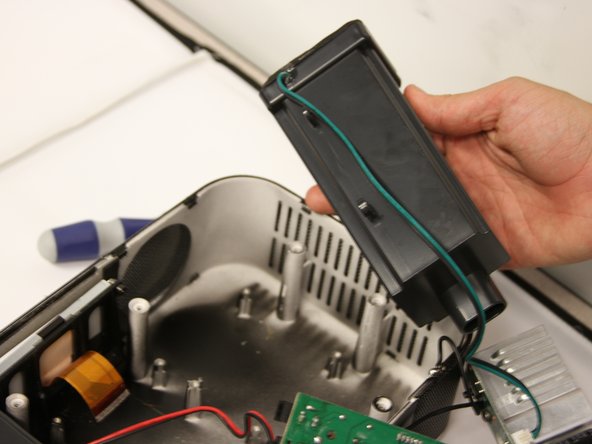
      • Flip the Luna back over so that the buttons are facing upward and the LCD screen is facing you.

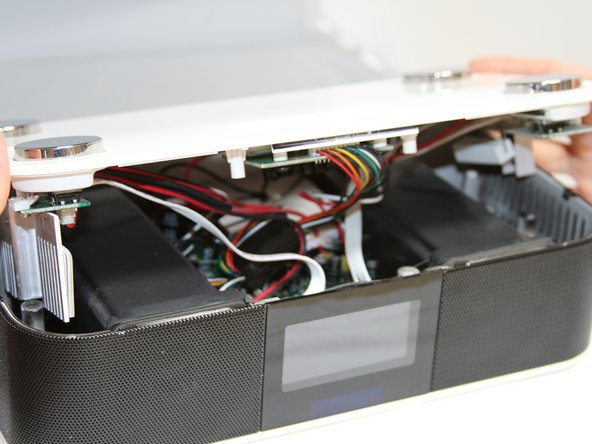
      • Gently tilt the lid back 45 degrees so that the inside is exposed.

      • Be mindful of the wires inside of the Luna. It is easy to break a connection if a wire gets caught.

      Vraag FixBot

      Voeg opmerking toe

    1. XtremeMac Luna LCD Display Replacement, Dock Circuit Board: stap 4, afbeelding 1 van 3 XtremeMac Luna LCD Display Replacement, Dock Circuit Board: stap 4, afbeelding 2 van 3 XtremeMac Luna LCD Display Replacement, Dock Circuit Board: stap 4, afbeelding 3 van 3
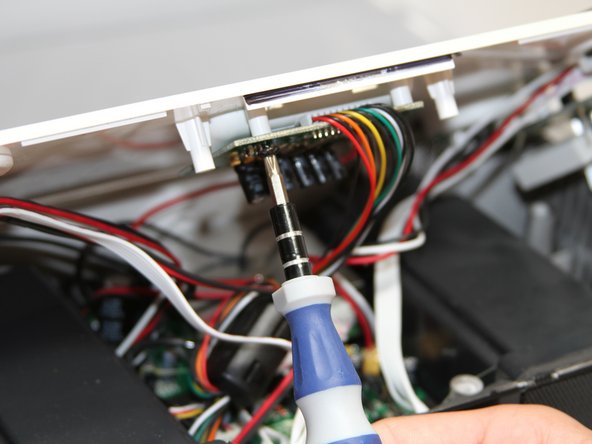
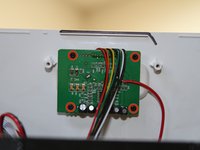
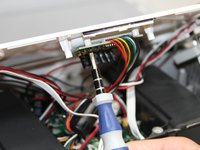
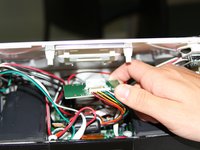
      • Unscrew the four black 7mm screws with the Phillips #1 screw driver that hold the middle circuit board to the top case.

      Vraag FixBot

      Voeg opmerking toe

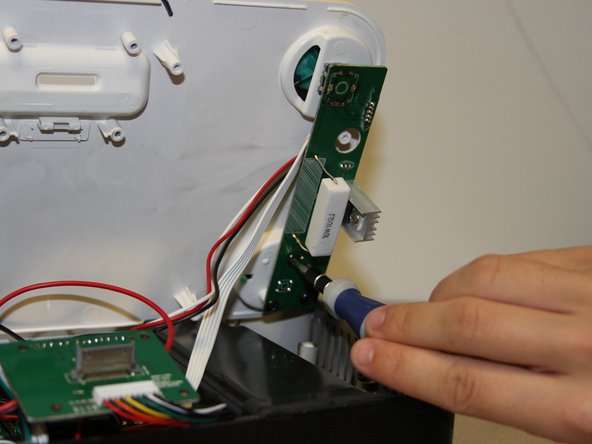
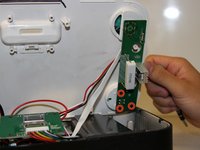
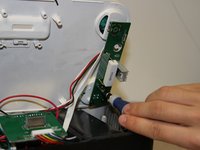
    1. XtremeMac Luna LCD Display Replacement, Button Circuit Boards: stap 5, afbeelding 1 van 2 XtremeMac Luna LCD Display Replacement, Button Circuit Boards: stap 5, afbeelding 2 van 2
      • Unscrew the three 7 mm black screws using the Philips #1 screwdriver on the back end of the left and right circuit board.

      • Removing the right circuit board first will make it easier to unscrew the left because the heat-sinks on the left circuit board can get in the way of the screwdriver.

      Vraag FixBot

      Voeg opmerking toe

    2. XtremeMac Luna LCD Display Replacement: stap 6, afbeelding 1 van 3 XtremeMac Luna LCD Display Replacement: stap 6, afbeelding 2 van 3 XtremeMac Luna LCD Display Replacement: stap 6, afbeelding 3 van 3
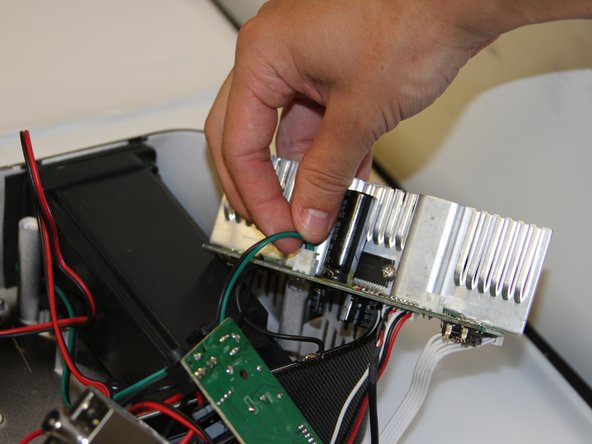
      • Use a plastic opening tool to pry the black connections away from the top casing.

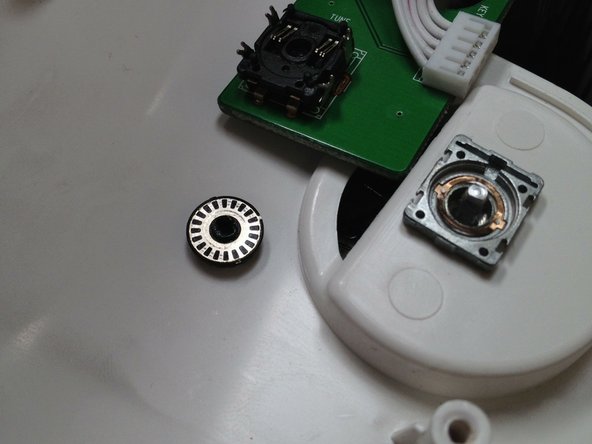
      • Be attentive when you separate the circuit boards from the top, as there is a loose wheel inside.

      Vraag FixBot

      Voeg opmerking toe

    3. XtremeMac Luna LCD Display Replacement: stap 7, afbeelding 1 van 2 XtremeMac Luna LCD Display Replacement: stap 7, afbeelding 2 van 2
      • Turn the circuit boards over. Remove the two connections on the left side by pulling on the tabs.

      • The glue that holds the connection together will come off when you pull. Pull on the tab with enough force to break the glue without damaging the wires.

      Vraag FixBot

      Voeg opmerking toe

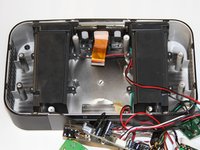
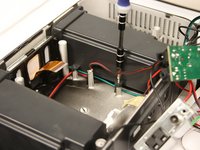
    1. XtremeMac Luna LCD Display Replacement, Speakers: stap 8, afbeelding 1 van 2 XtremeMac Luna LCD Display Replacement, Speakers: stap 8, afbeelding 2 van 2
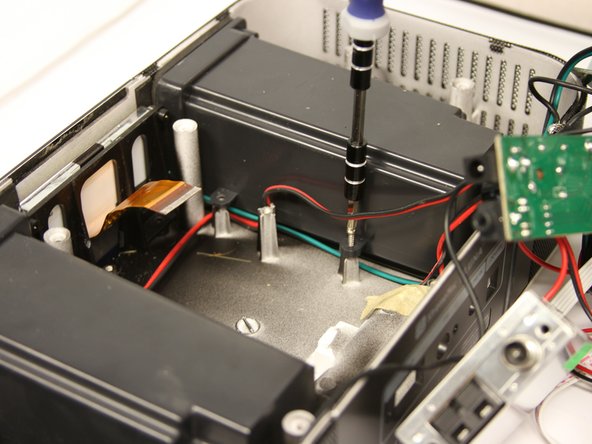
      • Unscrew four 7mm Phillips screws from the base of each speaker unit.

      Vraag FixBot

      Voeg opmerking toe

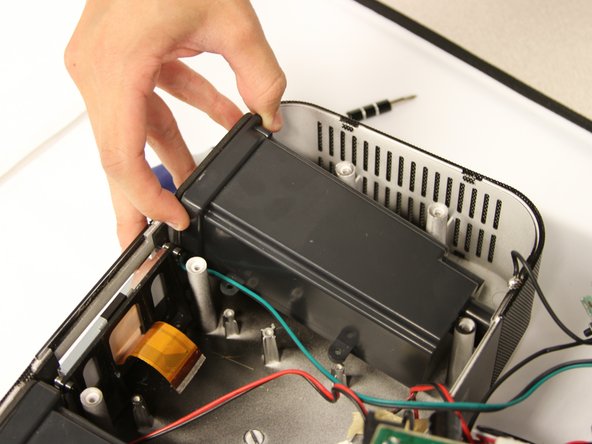
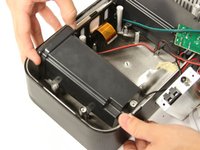
    2. XtremeMac Luna LCD Display Replacement: stap 9, afbeelding 1 van 3 XtremeMac Luna LCD Display Replacement: stap 9, afbeelding 2 van 3 XtremeMac Luna LCD Display Replacement: stap 9, afbeelding 3 van 3
      • Lift the speakers up out of the Luna chassis.

      Vraag FixBot

      Voeg opmerking toe

    1. XtremeMac Luna LCD Display Replacement, LCD Display: stap 10, afbeelding 1 van 2 XtremeMac Luna LCD Display Replacement, LCD Display: stap 10, afbeelding 2 van 2
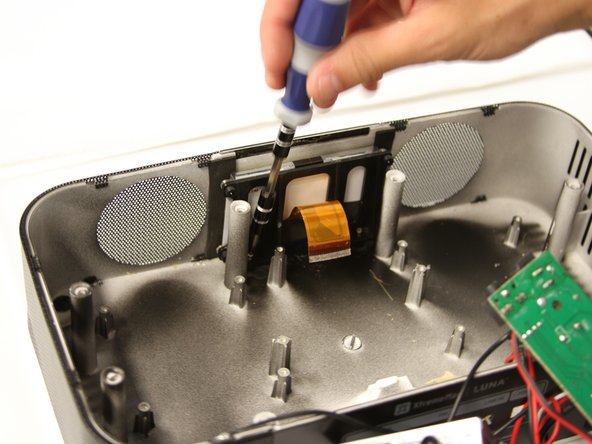
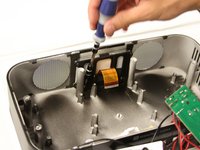
      • Unscrew two 10mm silver screws at the base of the LCD screen to free it from the chassis.

      Vraag FixBot

      Voeg opmerking toe

    2. XtremeMac Luna LCD Display Replacement: stap 11, afbeelding 1 van 2 XtremeMac Luna LCD Display Replacement: stap 11, afbeelding 2 van 2
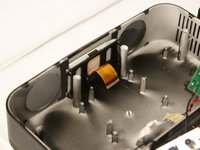
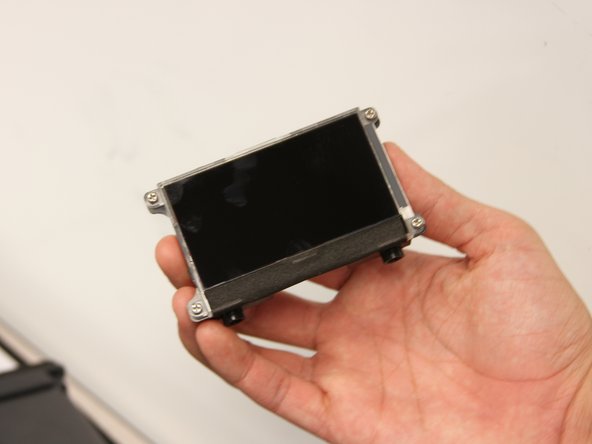
      • Gently pull up on the LCD screen to remove it.

      Vraag FixBot

      Voeg opmerking toe

Conclusie

To reassemble your device, follow these instructions in reverse order.

Annuleren: ik heb deze handleiding niet afgemaakt.

Matt Ducasse

Lid sinds: 04/18/13

12 Reputatie

3 handleidingen geschreven

Team

Cal Poly, Team 3-47, Amido Spring 2013 Lid van Cal Poly, Team 3-47, Amido Spring 2013

CPSU-AMIDO-S13S3G47

4 Leden

24 handleidingen geschreven

0Gids Commentaar

Voeg opmerking toe

Weergavestatistieken:

Afgelopen 24 uren: 1

Afgelopen 7 dagen: 7

Afgelopen 30 dagen: 30

Altijd: 713