Deze vertaling is door een computer gegenereerd en is nog niet door iemand nagekeken. Spreek je deze taal? Bekijk het hier.
Inleiding
De joystick-doppen op je Xbox-controller kunnen stroef of plakkerig worden. Als dit gebeurt, kan het nodig zijn om de joystick-doppen te verwijderen om ze te vervangen of schoon te maken. Deze handleiding laat je zien hoe je bij de joysticks van je Xbox One draadloze controller model 1708 komt en deze vervangt.
Wat je nodig hebt
-
-
-
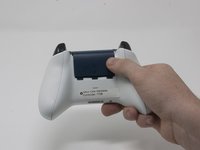
Schuif de batterijklep naar de bovenkant van de controller om deze te verwijderen.
-
Til de batterijen of het batterijpakket uit het batterijcompartiment.
 Vraag FixBot
-
-
-
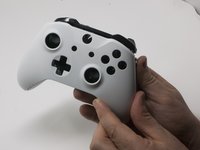
Steek een plastic Openingsgereedschap in de naad aan de bovenkant en beweeg het Openingsgereedschap voorzichtig naar de onderkant van de controller.
-
Blijf het Openingsgereedschap gebruiken om de zijplaat voorzichtig van de controller los te wrikken.
-
Herhaal dit proces voor de tweede zijplaat.
-
-
-
Verwijder voorzichtig het batterijlabel of prik een gat in het midden van de sticker in het batterijcompartiment om de verborgen schroef zichtbaar te maken.
-
Verwijder de vijf 9 mm Torx Security-schroeven van de achterkant van de controller.
-
-
-
-
Positioneer de controller zodat de frontplaat naar boven is gericht.
-
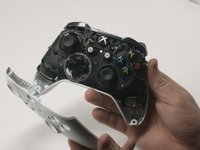
Til de voorplaat van de controller af.
-
-
-
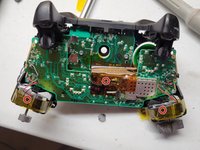
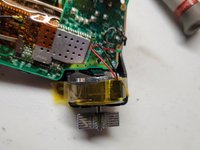
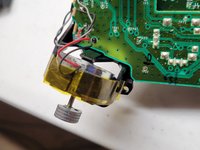
Zet de trilmotoren vast met tape.
-
Dit voorkomt dat de motoren eruit vallen.
-
-
-







Volg deze instructies in omgekeerde volgorde om je apparaat weer in elkaar te zetten.
Annuleren: ik heb deze handleiding niet afgemaakt.
154 andere personen hebben deze handleiding voltooid.

Team

Cal Poly, Team S18-G3, Forte Fall 2017 Lid van Cal Poly, Team S18-G3, Forte Fall 2017
CPSU-FORTE-F17S18G3
4 Leden
84 handleidingen geschreven
9Gids Commentaar
How about the square thing with the stick and hinges that the joystick is attached to? I think it’s called the Module. I have a joystick drift / drifting problem and that may help me out. Thanks.
Agreed. That’s actually the part I need to replace too. The module.
followed this guide to take the controller apart because I had a joystick that was sticking, my solution was to put some 3in1 oil on the module that was sticking and it seems to be working a lot better now.
@corytc and @tomchak I did replace the module, in general, you buy (Amazon or eBay) you will receive a module of 6 modules you need a multimeter and test each module interface, measure both resistances and subtract them, the one nearest zero is the module you will use since is the one with least drift from the factory.
Just disassemble it, turn upside down uses a solder remover and unsolder the old one, place the new one solder back, boom you are done.
Like you will need an iron solder with medium and thin tips, I used lead-free solder, so is a patience test, be careful with the wires from the rumbles, try not to unsolder them since is a thin wire and is difficult, like I have big hands so took me a while to solder back.
Just want to say the hardest part is carefully prying off the plastic covers on the handles. It’s also not necessary to remove the back cover for simply replacing the joysticks. Other than that, it’s very easy. I would guess this is rated at moderate difficulty simply due to the plastic covers.
