Deze vertaling is door een computer gegenereerd en is nog niet door iemand nagekeken. Spreek je deze taal? Bekijk het hier.

Xbox One Elite Controller (Model 1698) LED-vervanging

EasyAsABC123 en 2 andere bijdragers
Voor het laatst geüpdatet op 29 jul 2026
Bekeken: 9,5K
Statistieken weergeven:
- Afgelopen 24 uur:
- 3
- Afgelopen 7 dagen:
- 21
- Afgelopen 30 dagen:
- 127
- Altijd:
- 9.531
Commentaar: 34
27 comments on steps, 7 guide comments.
Go to guide commentsVoltooid: 6 7
6 mensen hebben deze handleiding als "voltooid" gemarkeerd. Ben jij de volgende?
7 personen hebben deze handleiding als "voltooid" gemarkeerd. Een daarvan ben jij—lekker bezig!
Favorieten: 1 2
1 persoon heeft deze handleiding als favoriet gemarkeerd en volgt deze. Ben jij de volgende?
2 personen hebben deze handleiding als favoriet gemarkeerd (en blijven daarmee op de hoogte van meldingen)—een daarvan ben jij!
Door de gemeenschap gemaakte handleiding
Deze handleiding is gemaakt door een enthousiasteling uit de gemeenschap, en niet door de iFixit-stafleden.
Wat je nodig hebt
Gereedschap


-
-
-
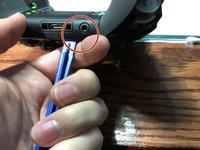
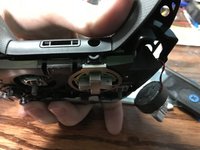
Je kunt de zijpanelen verwijderen met een openingstool.
 Vraag FixBot
-
-
-
Verwijder de 5 Torx-veiligheidsschroeven (TR9).
-
-
-
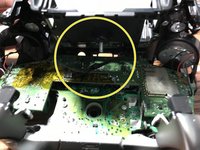
Je kunt de (kabel)aansluiting omhoog wippen om de lintkabel eenvoudig te verwijderen.
-
Lintkabel
-
-
-
Verwijder de 2 Torx-schroeven (T6).
-
-
-
Desoldeer de 4 draden aan elke kant; deze regelen de trillingen en de RT LT.
-
-
-
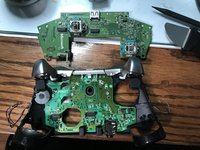
Trek omhoog vanaf de "bovenkant" van de controller op het dochterbord.
-
-
-
-
-
-
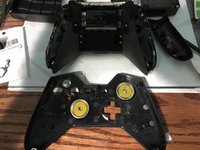
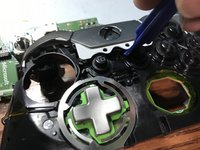
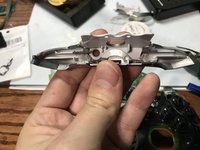
Wrik het middelste gedeelte omhoog vanaf de kant van de thuisknop.
-
-
-
Draai de 6 Torx (T6)-schroeven los.
-
-
-
-
-
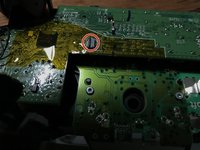
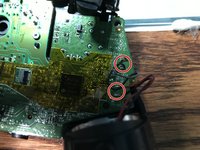
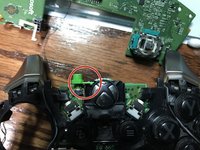
Desoldeer de originele led van het moederbord van de controller. Doe dit aan beide kanten van de led totdat alle oude soldeer is verwijderd.
-
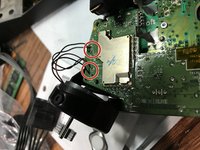
Soldeer je nieuwe led vast.
-
-








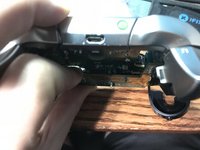




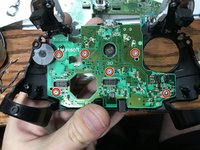
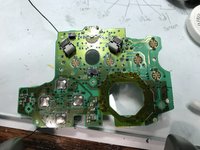

Volg deze instructies in omgekeerde volgorde om je apparaat weer in elkaar te zetten.
Annuleren: ik heb deze handleiding niet afgemaakt.
6 andere personen hebben deze handleiding voltooid.

7Gids Commentaar
So question I’m having troubles with my elite controller every time I go to plug it in and the charging port in the back of the controller it starts to smoke what’s my problem
It sounds like it could be a lot of things…
smoke is obvious a dead stop (stop plugging it in until you repair it).
I would first check the charge port and make sure it is firmly attached if it isn’t you can easily replace the usb port. Next it could be the mainboard charging circuit. if it is this…replace the controller is likely the ideal solution.
I was looking to do this mod for fun. Do you have or know where I can get the led part number? A schematic or bom would be nice. Thanks
0805 SMD LED Diode Lights
i bought these https://www.amazon.com/gp/product/B01CUG...
Thank you. I ordered them so we will see what happens.
