Ga door naar hoofdinhoud
Word lid van de reparatiegemeenschap - Account aanmaken

XQ-673H Water Tubes Replacement

Wat je nodig hebt

    1. XQ-673H Water Tubes Replacement, Water Tubes: stap 1, afbeelding 1 van 1
      • Make sure the device is unplugged before continuing.

      • Turn the Kitchen Gourmet upside down.

      Vraag FixBot
      Voeg opmerking toe

    2. XQ-673H Water Tubes Replacement: stap 2, afbeelding 1 van 3 XQ-673H Water Tubes Replacement: stap 2, afbeelding 2 van 3 XQ-673H Water Tubes Replacement: stap 2, afbeelding 3 van 3
      • Using a Phillips #1 screwdriver, remove the six 10mm screws found on the bottom of the device.

      • Remove the bottom cover.

      Vraag FixBot
      Voeg opmerking toe

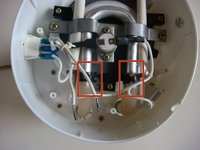
    3. XQ-673H Water Tubes Replacement: stap 3, afbeelding 1 van 2 XQ-673H Water Tubes Replacement: stap 3, afbeelding 2 van 2
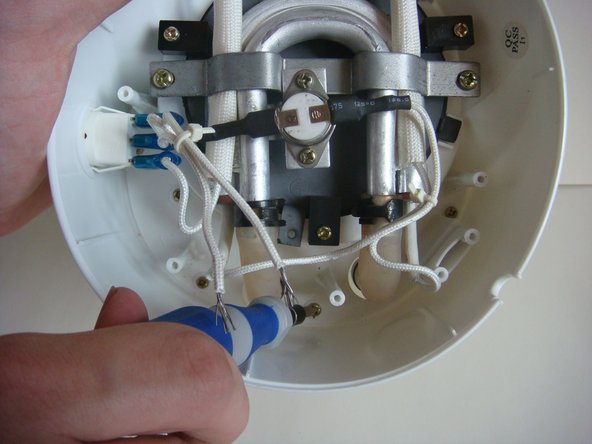
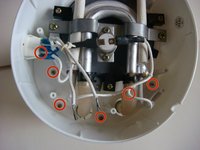
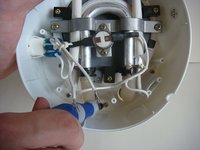
      • Using a Phillips #1 screwdriver, remove the six 12mm screws.

      • Some screws are not visible from this photo, but their location is highlighted by the circles.

      Vraag FixBot

      Voeg opmerking toe

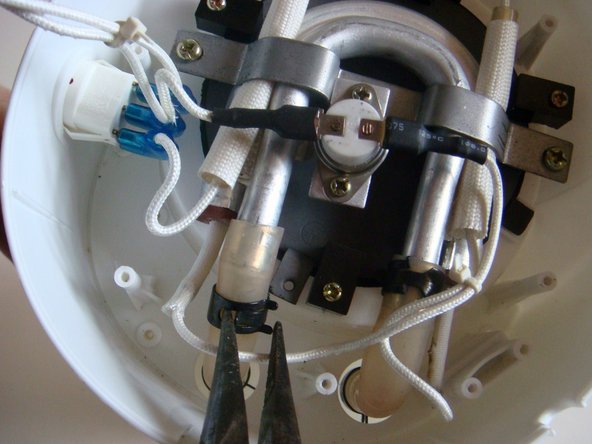
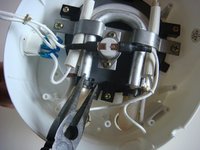
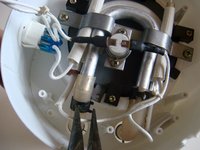
    4. XQ-673H Water Tubes Replacement: stap 4, afbeelding 1 van 3 XQ-673H Water Tubes Replacement: stap 4, afbeelding 2 van 3 XQ-673H Water Tubes Replacement: stap 4, afbeelding 3 van 3
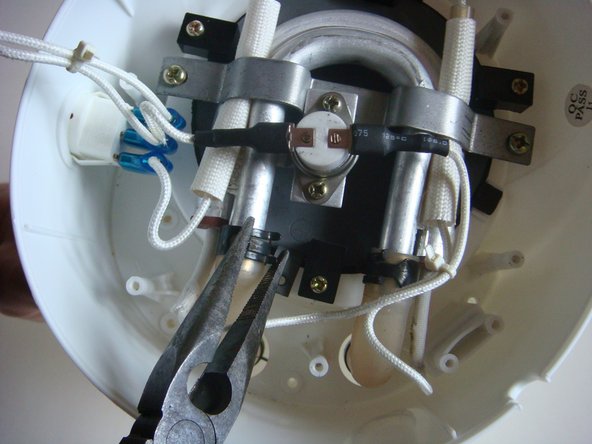
      • Using small needle nose pliers, squeeze the metal that is covering the tube.

      • Carefully slide down the metal covering.

      • Repeat this step for the other tube.

      Vraag FixBot

      Voeg opmerking toe

    5. XQ-673H Water Tubes Replacement: stap 5, afbeelding 1 van 2 XQ-673H Water Tubes Replacement: stap 5, afbeelding 2 van 2
      • Using your fingers, gently slide off the Water Tubes.

      Vraag FixBot

      Voeg opmerking toe

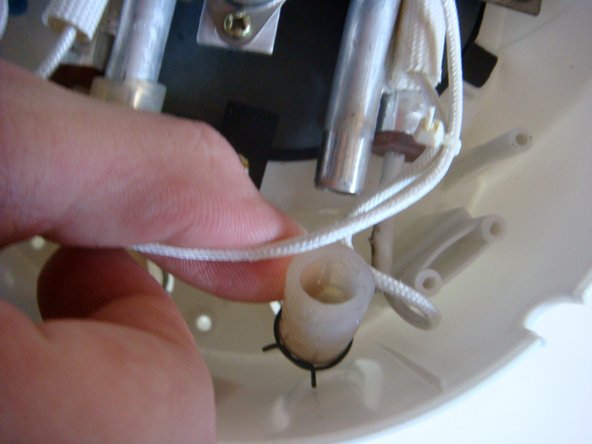
    6. XQ-673H Water Tubes Replacement: stap 6, afbeelding 1 van 2 XQ-673H Water Tubes Replacement: stap 6, afbeelding 2 van 2
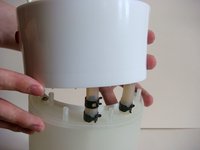
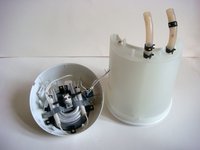
      • Carefully lift the bottom section off the device.

      Vraag FixBot

      Voeg opmerking toe

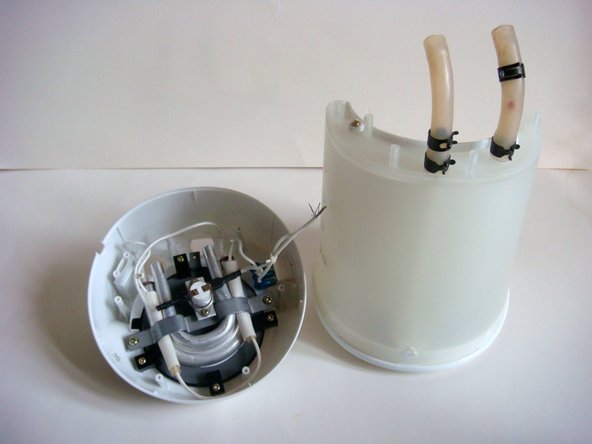
    7. XQ-673H Water Tubes Replacement: stap 7, afbeelding 1 van 2 XQ-673H Water Tubes Replacement: stap 7, afbeelding 2 van 2
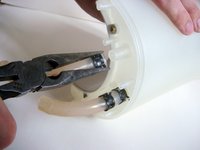
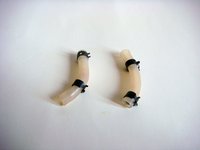
      • Using small needle nose pliers, squeeze the metal that is covering the tube.

      • Carefully slide down the metal covering.

      • Repeat this step for the other tube.

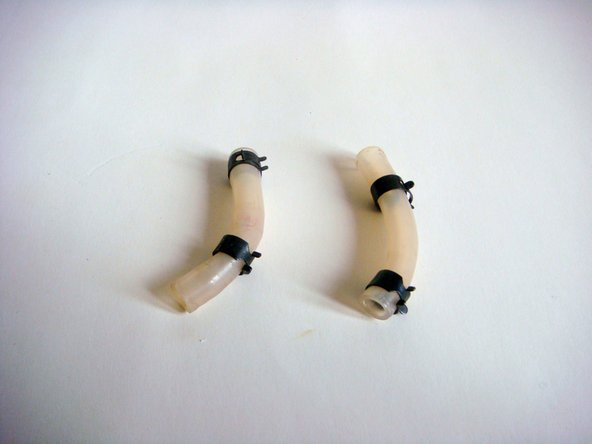
      • Remove both of the Water Tubes completely.

      Vraag FixBot

      Voeg opmerking toe

Conclusie

To reassemble your device, follow these instructions in reverse order.

Annuleren: ik heb deze handleiding niet afgemaakt.

Één andere persoon heeft deze handleiding voltooid.

Sean Perry

Lid sinds: 01/31/15

452 Reputatie

4 handleidingen geschreven

Team

0Gids Commentaar

Voeg opmerking toe

Weergavestatistieken:

Afgelopen 24 uren: 0

Afgelopen 7 dagen: 7

Afgelopen 30 dagen: 36

Altijd: 1,087