Inleiding
Many HP users had issues with the standard Ralink RT3290 wireless card installed in this laptop. It has a very poor signal reception and only exploits the 2,4 GHz radio waves when this model has also a second antenna for the 5GHz waves. Therefore an upgrade to a better wifi adapter is possible. A lot of users have installed the Intel AC 7260 with great results. Let's upgrade it.
It will be very easy. Buy the new wifi module and remember to download its drivers before starting the disassembly.
Wat je nodig hebt
Aanbevolen document
-
-
-
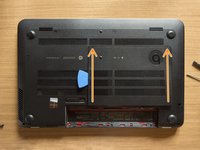
Turn the laptop upside down and gently lay it down on a flat surface.
-
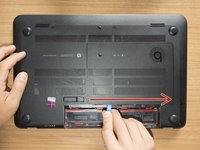
Slide the battery release latch to the right and the battery will pop up slightly.
-
While keeping the latch slid with one hand, grab the battery with the other hand and remove it by pivoting it upward.
 Vraag FixBot
-
-
-
-
-
Remove the Phillips PM2.0×4.0 screw using a PH#00 screwdriver.
-
-
-
-
With an opening tool pry off the tabs that secure the service door to the base enclosure. Start with the long edge.
-
Continue along the short edges.
-
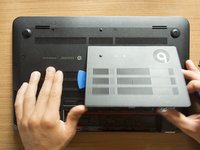
Once you have pried the service door off as it is in pic#3, it will come out of the rear edge very easily.
-
-
-
RAM memory modules
-
HDD (Hard Disk Drive)
-
mSATA SSD slot
-
Wifi & BT module (Wireless card)
-
-
-
-
Gereedschap gebruikt in deze stap:Tweezers$4.99
-
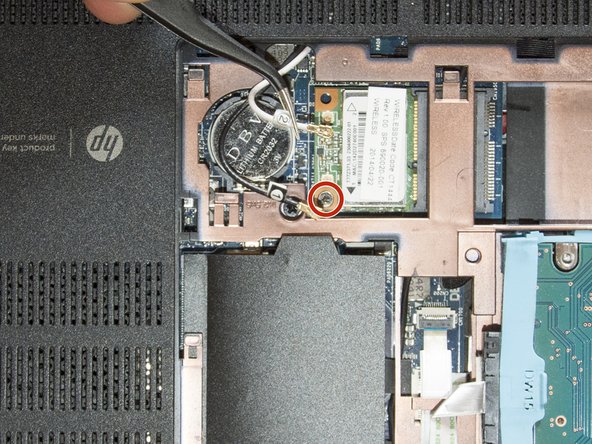
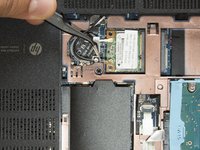
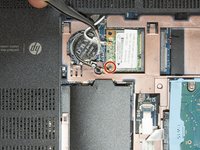
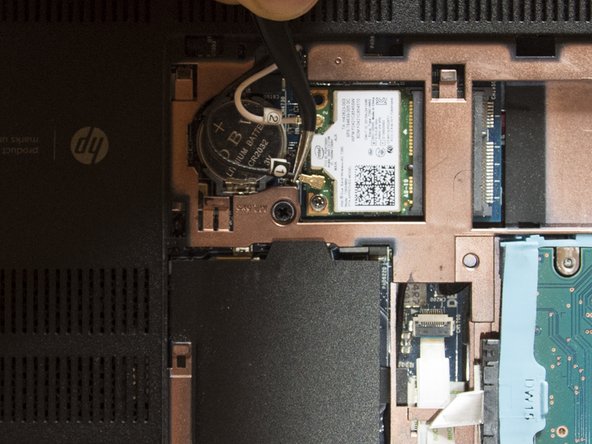
Are you grounded? If yes, follow this method to disconnect the two antenna cables. I did that grabbing the wires near their connectors and pulling them straight up with the tweezers. But that method is definitely safer ;)
-
Once you are done with the cables, using a PH #00 unfasten the M2.0×2.5 screw that secures the wifi module to the system board and the module will tilt up.
-
-
-
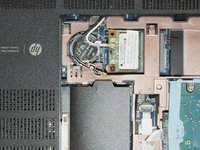
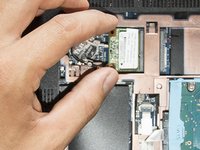
Grab the standard wireless card as it is shown in the first picture and gently pull it away at the tilt angle.
-
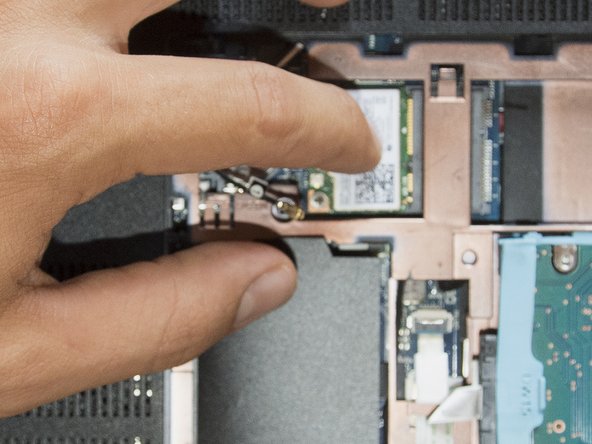
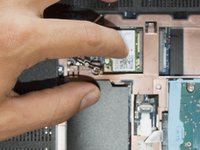
Place the M2.0×2.5 screw in the hole of the new wifi module, tilt it, and gently insert it in its slot. Then press the wireless card down with a hand and fasten the screw using a PH #00 with the other one.
-
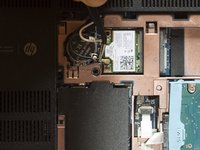
Using the tweezers center and hold the connectors of the antenna cables over their terminals and then press them straight down gently using your finger. Cable 1 goes with the Main terminal and Cable 2 with the Aux terminal.
-
-







Well, that’s it! Take a short break if you like and then start to reassemble your laptop from the step #3 in reverse order. Once you turn the laptop on, install the new drivers and it's done ;) Cheers

