Ga door naar hoofdinhoud
Word lid van de reparatiegemeenschap - Account aanmaken
VENSTAR Taco Speaker Replacement Replacement

Wat je nodig hebt

    1. VENSTAR Taco Speaker Replacement Replacement, VENSTAR Taco Disassembly: stap 1, afbeelding 1 van 3 VENSTAR Taco Speaker Replacement Replacement, VENSTAR Taco Disassembly: stap 1, afbeelding 2 van 3 VENSTAR Taco Speaker Replacement Replacement, VENSTAR Taco Disassembly: stap 1, afbeelding 3 van 3
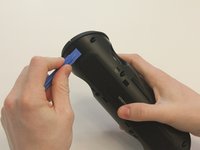
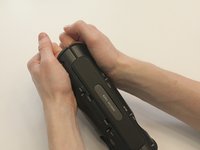
      • Starting with the Taco on its side, use the plastic opening tool to pop off the outer casing near the base.

      • The base labeled "VENSTAR TACO" is glued. Be careful separating the two sides of the device.

      Vraag FixBot

      Voeg opmerking toe

    2. VENSTAR Taco Speaker Replacement Replacement: stap 2, afbeelding 1 van 2 VENSTAR Taco Speaker Replacement Replacement: stap 2, afbeelding 2 van 2
      • Repeat the previous step on the opposite side to remove the other outer casing.

      Vraag FixBot

      Voeg opmerking toe

    3. VENSTAR Taco Speaker Replacement Replacement: stap 3, afbeelding 1 van 2 VENSTAR Taco Speaker Replacement Replacement: stap 3, afbeelding 2 van 2
      Gereedschap gebruikt in deze stap:
      Phillips #0 Screwdriver
      $5.49
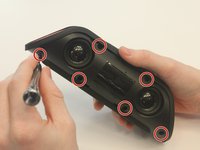
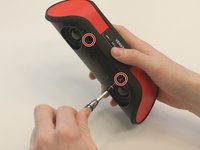
      • Using a Phillips PH0 3 mm-bit screwdriver, remove the six screws on the inner layer of the Taco.

      • The screws are small and can get stuck. Use tweezers to pull them out if you are having trouble.

      Vraag FixBot

      Voeg opmerking toe

    4. VENSTAR Taco Speaker Replacement Replacement: stap 4, afbeelding 1 van 2 VENSTAR Taco Speaker Replacement Replacement: stap 4, afbeelding 2 van 2
      • From the same side you just unscrewed, use a plastic opening tool to unwedge the inner cover on both sides of the base.

      Vraag FixBot

      Voeg opmerking toe

    5. VENSTAR Taco Speaker Replacement Replacement: stap 5, afbeelding 1 van 2 VENSTAR Taco Speaker Replacement Replacement: stap 5, afbeelding 2 van 2
      • Slide off the inner cover. It pulls apart and is held on by a small amount of glue.

      Vraag FixBot

      Voeg opmerking toe

    1. VENSTAR Taco Speaker Replacement Replacement, Logic Board Replacement: stap 6, afbeelding 1 van 1
      • Remove the rubber covering from the buttons.

      Vraag FixBot

      Voeg opmerking toe

    2. VENSTAR Taco Speaker Replacement Replacement: stap 7, afbeelding 1 van 3 VENSTAR Taco Speaker Replacement Replacement: stap 7, afbeelding 2 van 3 VENSTAR Taco Speaker Replacement Replacement: stap 7, afbeelding 3 van 3
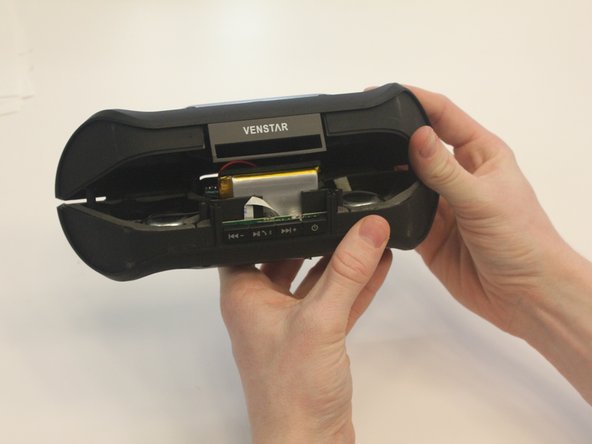
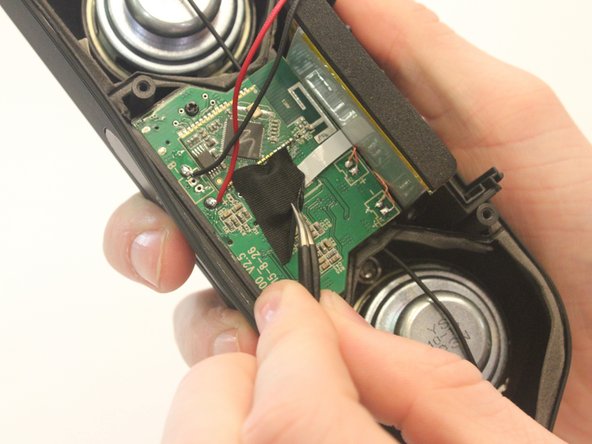
      • Remove the black fabric covering the logic board.

      Vraag FixBot

      Voeg opmerking toe

    3. VENSTAR Taco Speaker Replacement Replacement: stap 8, afbeelding 1 van 2 VENSTAR Taco Speaker Replacement Replacement: stap 8, afbeelding 2 van 2
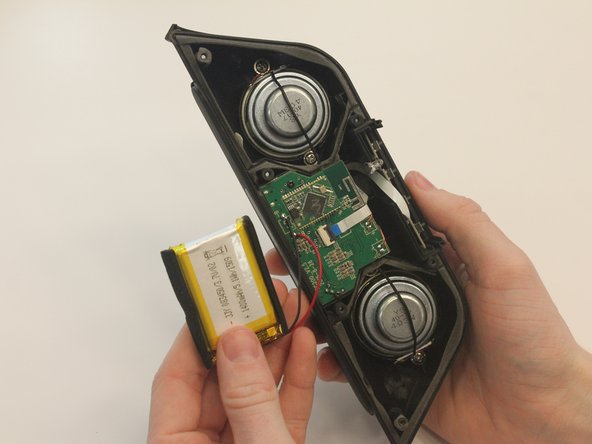
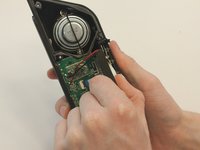
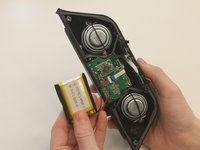
      • Move the battery out of the way of the connector.

      Vraag FixBot

      Voeg opmerking toe

    4. VENSTAR Taco Speaker Replacement Replacement: stap 9, afbeelding 1 van 2 VENSTAR Taco Speaker Replacement Replacement: stap 9, afbeelding 2 van 2
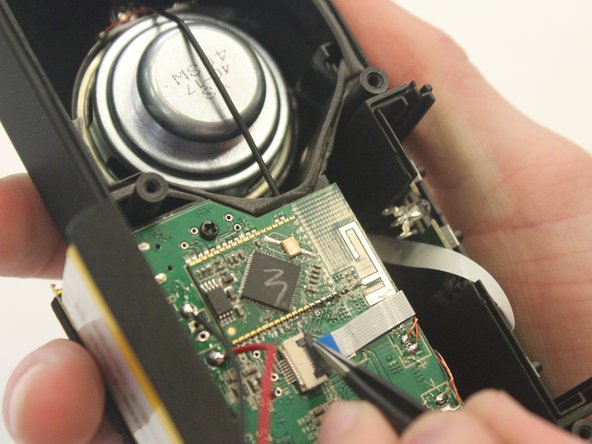
      • Undo the connector of the flat white ribbon between the switches and the logic board.

      Vraag FixBot

      Voeg opmerking toe

    5. VENSTAR Taco Speaker Replacement Replacement: stap 10, afbeelding 1 van 1
      • Undo the two black 3mm screws on the logic board using the PH0 screwdriver.

      Vraag FixBot

      Voeg opmerking toe

    6. VENSTAR Taco Speaker Replacement Replacement: stap 11, afbeelding 1 van 3 VENSTAR Taco Speaker Replacement Replacement: stap 11, afbeelding 2 van 3 VENSTAR Taco Speaker Replacement Replacement: stap 11, afbeelding 3 van 3
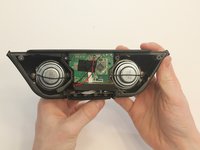
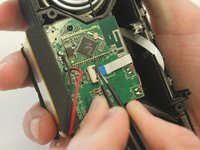
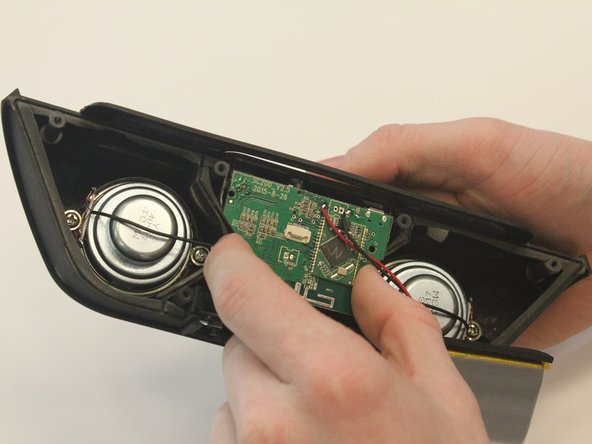
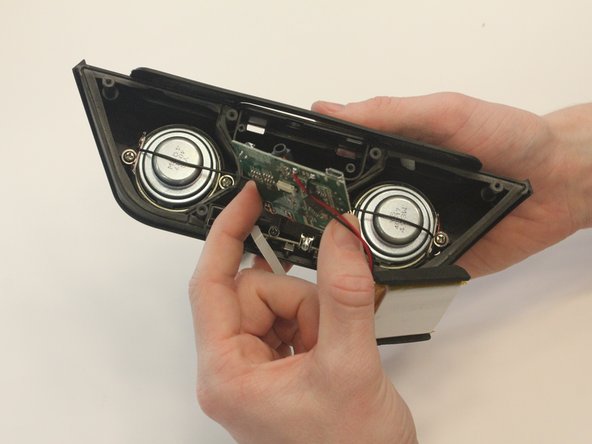
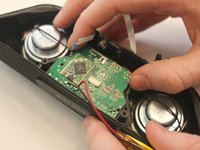
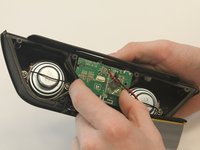
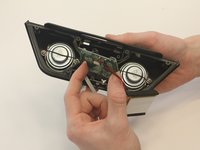
      • Gently pull out the logic board.

      • Note that the battery and the logic board are connected and must be removed together.

      Vraag FixBot

      Voeg opmerking toe

    1. VENSTAR Taco Speaker Replacement Replacement, Speaker Replacement: stap 12, afbeelding 1 van 2 VENSTAR Taco Speaker Replacement Replacement, Speaker Replacement: stap 12, afbeelding 2 van 2
      Gereedschap gebruikt in deze stap:
      Tweezers
      $4.99
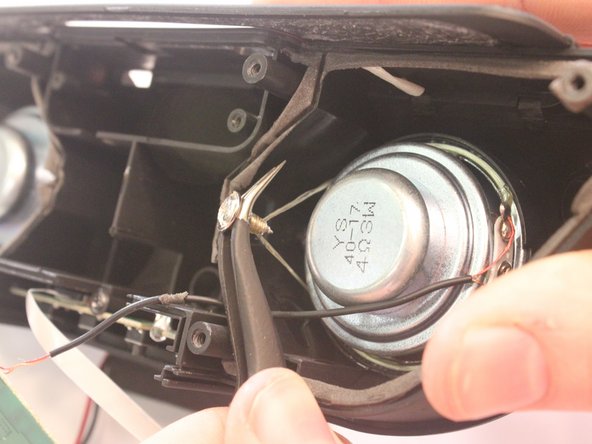
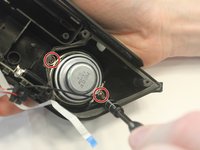
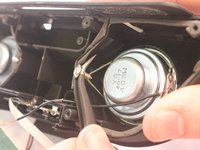
      • Using the Ph1 screwdriver, unscrew both of the 2.5mm screws on either side of the speakers.

      • The screws are glued in and may require the curved tweezers to pull all the way out.

      Vraag FixBot

      Voeg opmerking toe

    2. VENSTAR Taco Speaker Replacement Replacement: stap 13, afbeelding 1 van 1
      • Using a metal spudger, carefully wedge out the speakers from the casing.

      • Repeat this step for the removal of the other speaker.

      • Speakers are glued into the casing beyond being screwed and require some care to remove.

      Vraag FixBot

      Voeg opmerking toe

    3. VENSTAR Taco Speaker Replacement Replacement: stap 14, afbeelding 1 van 1
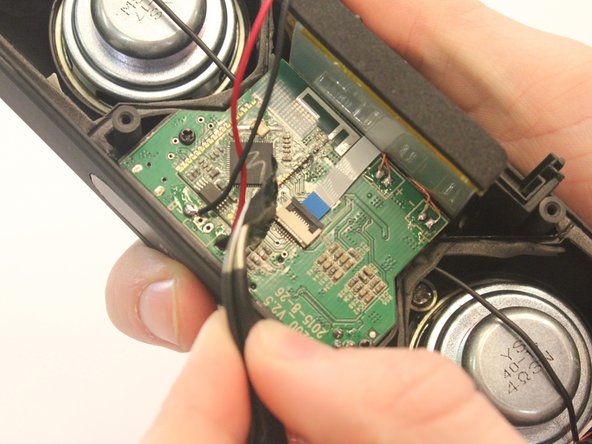
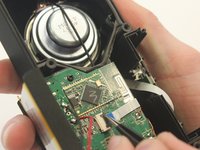
      • Using a portable soldering iron, melt the solder on the black speaker wires on the logic board.

      • Soldering uses hot metal and can burn you!

      Vraag FixBot

      Voeg opmerking toe

Conclusie

Solder your replacement speakers back to mother board, then to reassemble your device, follow these instructions in reverse order.

Annuleren: ik heb deze handleiding niet afgemaakt.

2 andere personen hebben deze handleiding voltooid.

0Gids Commentaar

Voeg opmerking toe

Weergavestatistieken:

Afgelopen 24 uren: 0

Afgelopen 7 dagen: 4

Afgelopen 30 dagen: 27

Altijd: 661