Ga door naar hoofdinhoud

TopMate C11 Fan Replacement

Wat je nodig hebt

  1. TopMate C11 Fan Replacement, Fan: stap 1, afbeelding 1 van 1
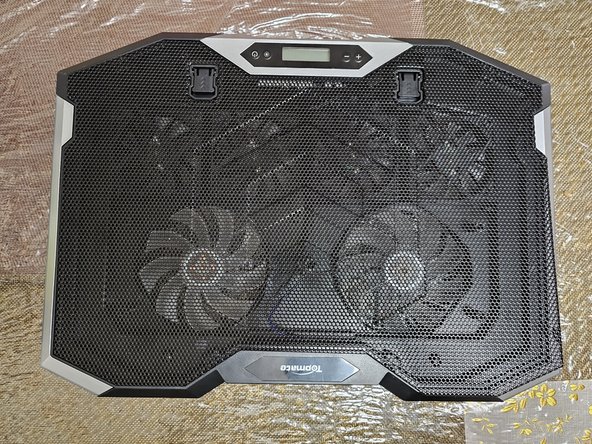
    • Place the cooler on a flat surface.

  2. TopMate C11 Fan Replacement: stap 2, afbeelding 1 van 1
    • Flip the cooler upside down.

  3. TopMate C11 Fan Replacement: stap 3, afbeelding 1 van 1
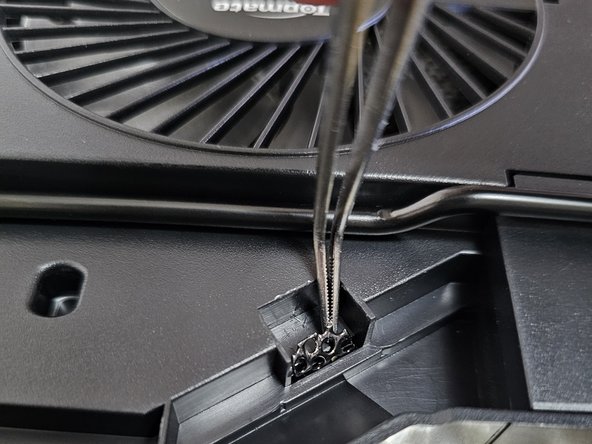
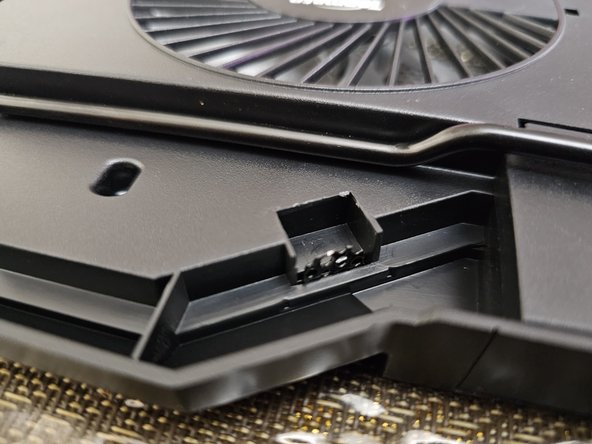
    • Identify all 10 metal flaps.

  4. TopMate C11 Fan Replacement: stap 4, afbeelding 1 van 3 TopMate C11 Fan Replacement: stap 4, afbeelding 2 van 3 TopMate C11 Fan Replacement: stap 4, afbeelding 3 van 3
    • Straighten all 10 metal flaps with tweezers.

  5. TopMate C11 Fan Replacement: stap 5, afbeelding 1 van 2 TopMate C11 Fan Replacement: stap 5, afbeelding 2 van 2
    • Flip the cooler while securely holding the mesh grille cover.

  6. TopMate C11 Fan Replacement: stap 6, afbeelding 1 van 3 TopMate C11 Fan Replacement: stap 6, afbeelding 2 van 3 TopMate C11 Fan Replacement: stap 6, afbeelding 3 van 3
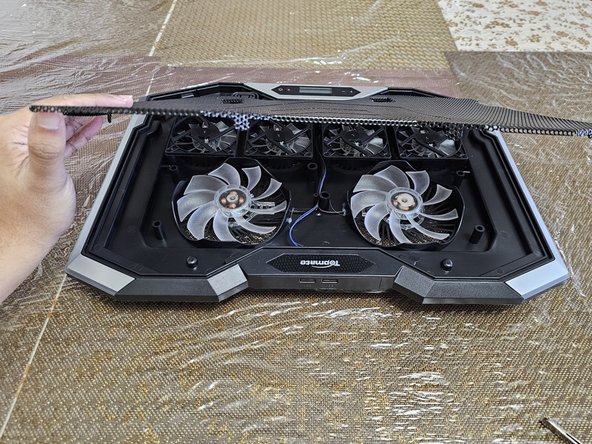
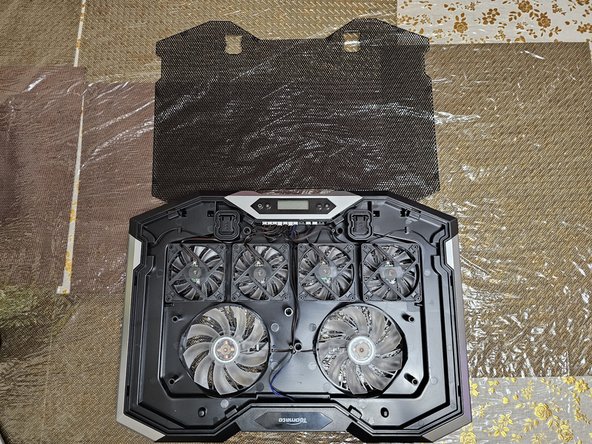
    • Remove the mesh grille cover.

    • WARNING: Be careful with the mesh grille cover, it has sharp edges.

  7. TopMate C11 Fan Replacement: stap 7, afbeelding 1 van 1
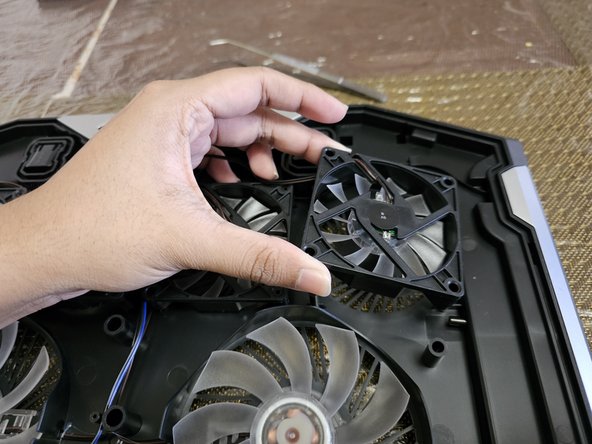
    • Identify the broken fan.

  8. TopMate C11 Fan Replacement: stap 8, afbeelding 1 van 3 TopMate C11 Fan Replacement: stap 8, afbeelding 2 van 3 TopMate C11 Fan Replacement: stap 8, afbeelding 3 van 3
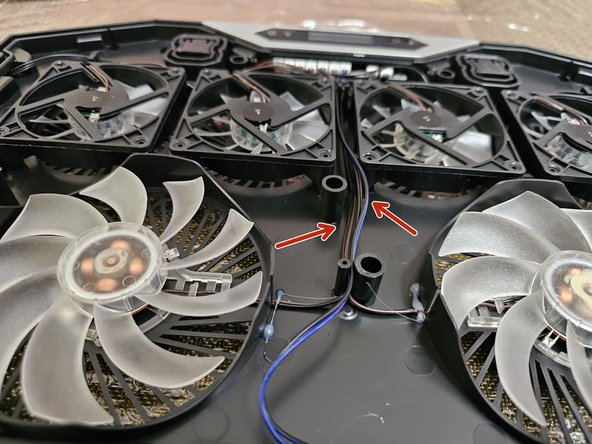
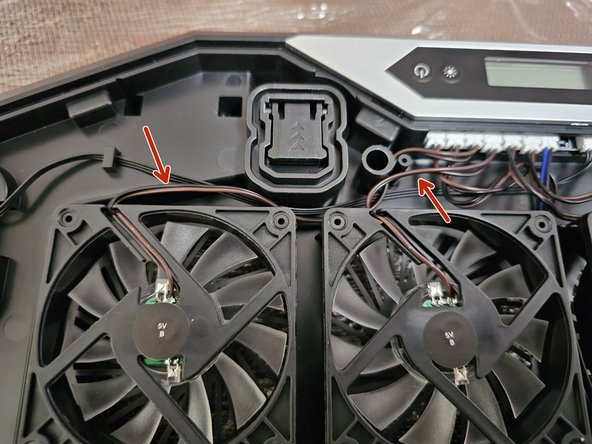
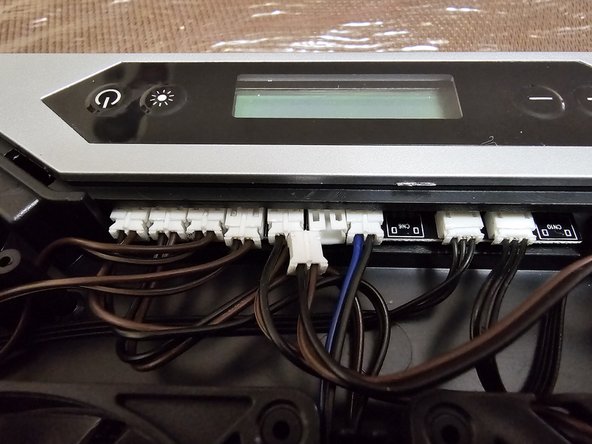
    • Trace the wire from the broken fan to the controller board.

  9. TopMate C11 Fan Replacement: stap 9, afbeelding 1 van 3 TopMate C11 Fan Replacement: stap 9, afbeelding 2 van 3 TopMate C11 Fan Replacement: stap 9, afbeelding 3 van 3
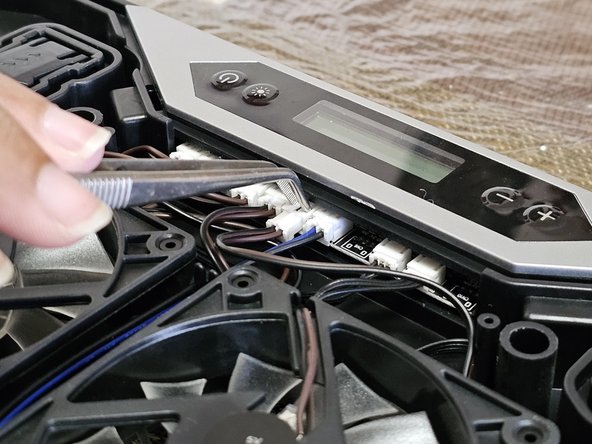
    • Gently press two points on the top of the white plug with tweezers to disconnect the wire.

    • Don't use excessive force. The wire is fragile.

  10. TopMate C11 Fan Replacement: stap 10, afbeelding 1 van 3 TopMate C11 Fan Replacement: stap 10, afbeelding 2 van 3 TopMate C11 Fan Replacement: stap 10, afbeelding 3 van 3
    • Replace the fan and connect the wire.

    • Make sure to put the fan in the correct orientation.

    • Make sure also the white connector is fully connected.

Conclusie

To reassemble your device, follow these instructions in reverse order.

Dominic Botlero

Lid sinds: 01/11/24

181 Reputatie

1 Handleiding geschreven

Team

0 opmerkingen

Voeg opmerking toe

Weergavestatistieken:

Afgelopen 24 uren: 0

Afgelopen 7 dagen: 3

Afgelopen 30 dagen: 29

Altijd: 178