Inleiding
If one of the fans in your TopMate C11 laptop cooling pad stops working, it can impact your laptop's cooling performance, leading to overheating issues. This guide will show you how to replace the fan.
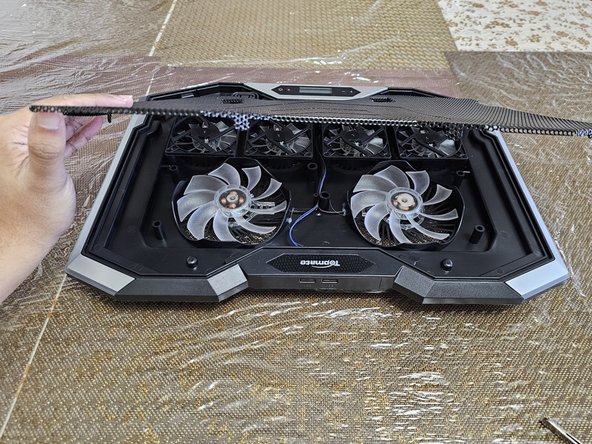
For added safety, consider using hand protection gloves during the handling of the mesh grill cover in steps 6 and 11 to prevent injuries from its sharp edges.
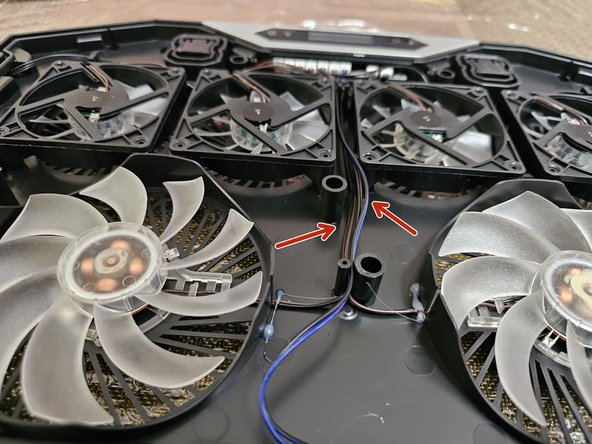
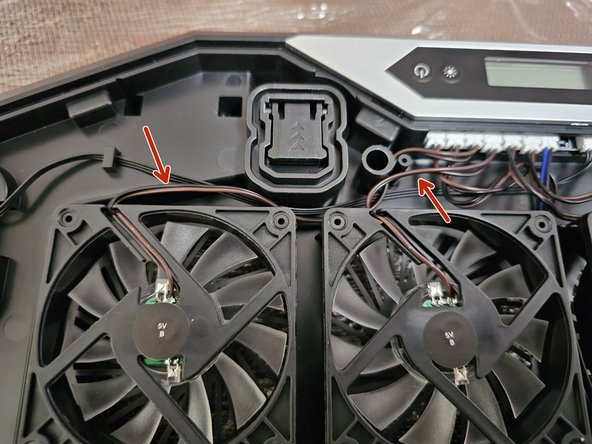
In steps 5 and 12, securely hold the mesh grill cover with the cooler while flipping to prevent the fans from falling out, as they are not secured inside.
Before beginning, make sure to disconnect your laptop cooler from power. Remember to follow general electrostatic discharge (ESD) safety procedures while replacing the fan.
Wat je nodig hebt
-
-
-
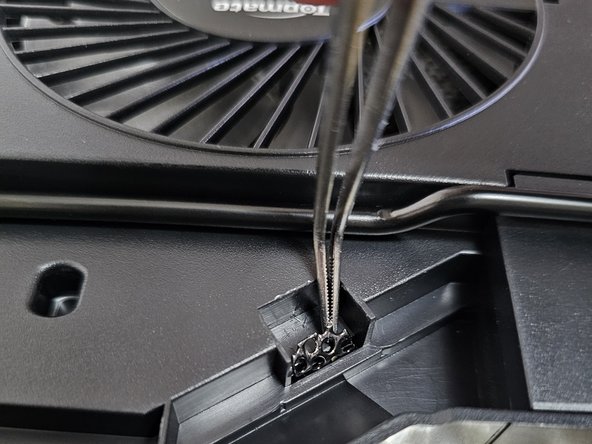
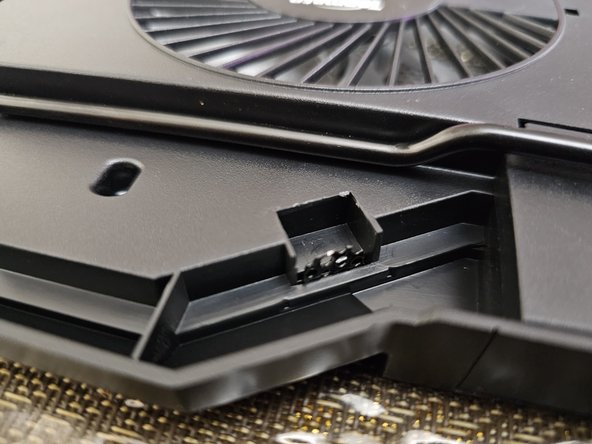
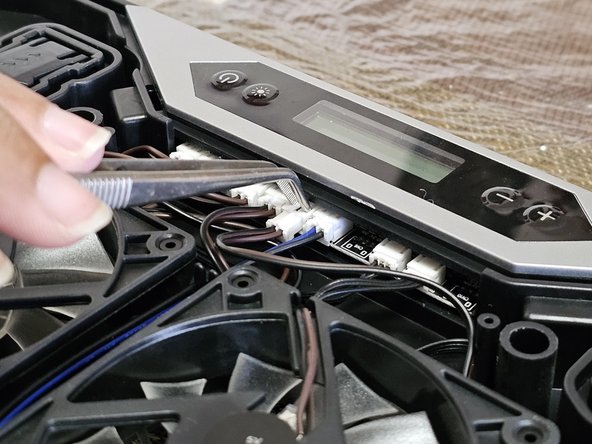
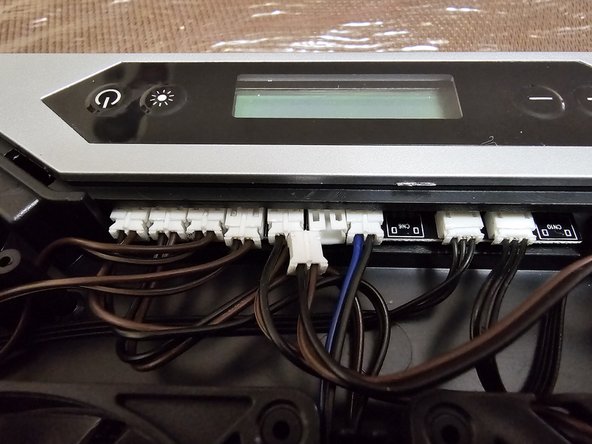
Gently press two points on the top of the white plug with tweezers to disconnect the wire.
-


To reassemble your device, follow these instructions in reverse order.
Annuleren: ik heb deze handleiding niet afgemaakt.
Één andere persoon heeft deze handleiding voltooid.

Team

York University, Team O-9, O'Regan Winter 2024 Lid van York University, Team O-9, O'Regan Winter 2024
YORK-O'REGAN-W24SOG9
1 Lid
1 handleiding geschreven