Ga door naar hoofdinhoud
Word lid van de reparatiegemeenschap - Account aanmaken

Texas Instruments TI-92 Backup Battery Replacement

Wat je nodig hebt

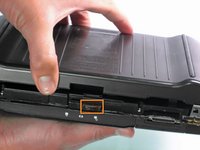
    1. Texas Instruments TI-92 Backup Battery Replacement, Back Cover: stap 1, afbeelding 1 van 3 Texas Instruments TI-92 Backup Battery Replacement, Back Cover: stap 1, afbeelding 2 van 3 Texas Instruments TI-92 Backup Battery Replacement, Back Cover: stap 1, afbeelding 3 van 3
      • The first step to any repair operation is to remove the front cover.

      • Grab the back of the calculator with one hand and the cover with the other.

      • Pull the cover off from one of the sides for easy removal.

      Vraag FixBot

      Voeg opmerking toe

    2. Texas Instruments TI-92 Backup Battery Replacement: stap 2, afbeelding 1 van 2 Texas Instruments TI-92 Backup Battery Replacement: stap 2, afbeelding 2 van 2
      • Orientate the calculator with the top facing towards you.

      • Slide the locking tab,found on the top part of the calculator, to the unlock position.

      Vraag FixBot

      Voeg opmerking toe

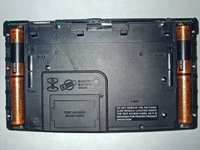
    3. Texas Instruments TI-92 Backup Battery Replacement: stap 3, afbeelding 1 van 2 Texas Instruments TI-92 Backup Battery Replacement: stap 3, afbeelding 2 van 2
      • "Locking Tab"

      • To remove the back cover, slide the cover away from the locking tab towards the bottom of the calculator until the cover no longer slides.

      • Then with the front of the calculator facing down, pull up on the back cover.

      • The calculator should now be orientated with the front facing down, as shown in picture 2.

      Vraag FixBot

      Voeg opmerking toe

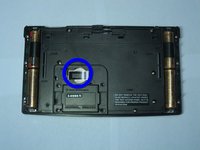
    1. Texas Instruments TI-92 Backup Battery Replacement, Backup Battery: stap 4, afbeelding 1 van 1
      • Before removing the backup battery make sure your AA batteries are installed so that there is no loss of information.

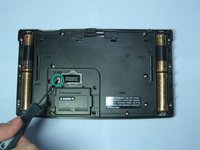
      • Using a #00 Philip Screwdriver remove the 19mm screw located near the center of the back of the calculator on the panel with words "Test Access"

      Vraag FixBot

      Voeg opmerking toe

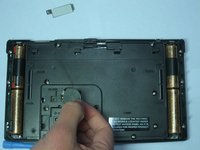
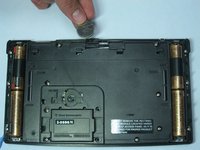
    2. Texas Instruments TI-92 Backup Battery Replacement: stap 5, afbeelding 1 van 1
      • Remove the screw and lift the panel to access battery.

      Vraag FixBot

      Voeg opmerking toe

    3. Texas Instruments TI-92 Backup Battery Replacement: stap 6, afbeelding 1 van 2 Texas Instruments TI-92 Backup Battery Replacement: stap 6, afbeelding 2 van 2
      • The backup battery can now be seen underneath a small metal cover held by a screw.

      • Using the same screwdriver, unscrew the 4.6mm screw located under the panel and left of the backup battery.

      Vraag FixBot

      Voeg opmerking toe

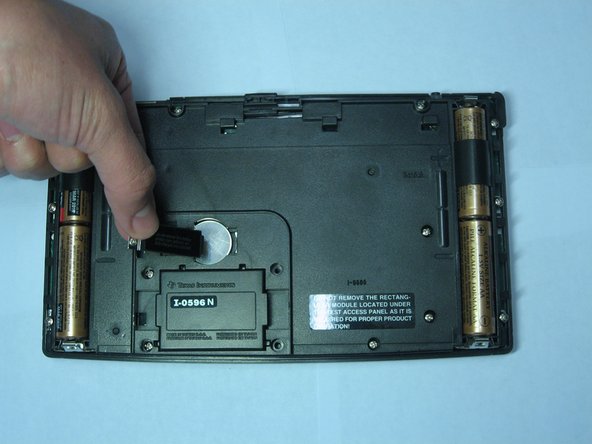
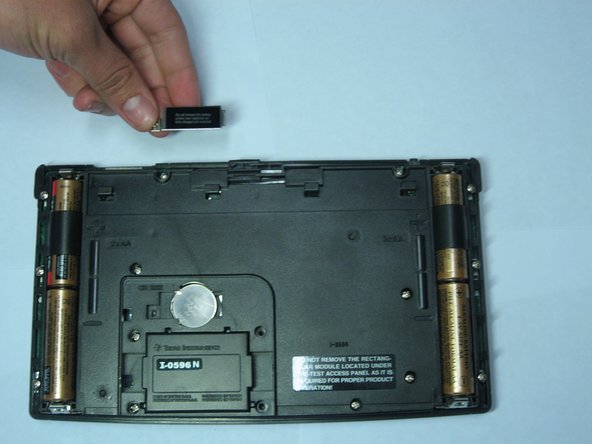
    4. Texas Instruments TI-92 Backup Battery Replacement: stap 7, afbeelding 1 van 3 Texas Instruments TI-92 Backup Battery Replacement: stap 7, afbeelding 2 van 3 Texas Instruments TI-92 Backup Battery Replacement: stap 7, afbeelding 3 van 3
      • Remove the metal cover keeping the backup battery in place.

      Vraag FixBot

      Voeg opmerking toe

    5. Texas Instruments TI-92 Backup Battery Replacement: stap 8, afbeelding 1 van 2 Texas Instruments TI-92 Backup Battery Replacement: stap 8, afbeelding 2 van 2
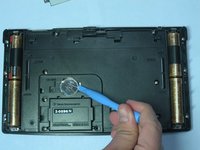
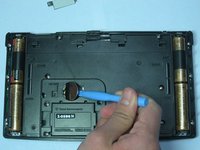
      • Use an Ipod Opening Tool or a similar tool to pull up on the right side of the backup battery.

      • The battery should pop out of position.

      Vraag FixBot

      Voeg opmerking toe

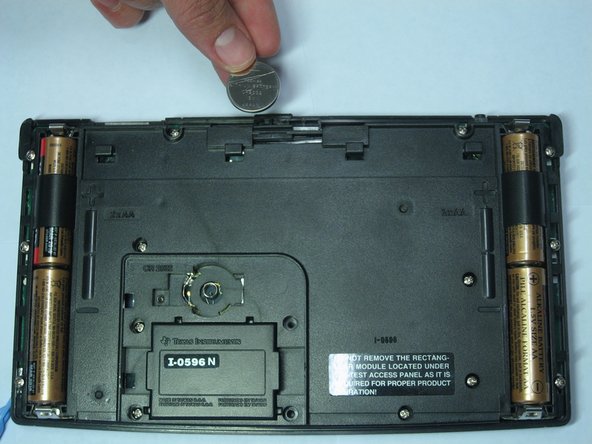
    6. Texas Instruments TI-92 Backup Battery Replacement: stap 9, afbeelding 1 van 2 Texas Instruments TI-92 Backup Battery Replacement: stap 9, afbeelding 2 van 2
      • After the battery has been tilted out of its socket, simply remove it with your hands.

      Vraag FixBot

      Voeg opmerking toe

Conclusie

To reassemble your device, follow these instructions in reverse order.

Annuleren: ik heb deze handleiding niet afgemaakt.

2 andere personen hebben deze handleiding voltooid.

Daniel Maldonado

Lid sinds: 04/14/10

264 Reputatie

9 handleidingen geschreven

Team

Cal Poly, Team 15-51, Garner Spring 2010 Lid van Cal Poly, Team 15-51, Garner Spring 2010

CPSU-GARNER-S10S15G51

5 Leden

36 handleidingen geschreven

0Gids Commentaar

Voeg opmerking toe

Weergavestatistieken:

Afgelopen 24 uren: 3

Afgelopen 7 dagen: 12

Afgelopen 30 dagen: 61

Altijd: 5,904