Inleiding
If your screen Or motherboard is broken this guide is for you. The screen is tethered to the motherboard, so both items must be replaced at the same time.
Wat je nodig hebt
-
-
-
Remove the battery cover.
-
Remove the AAA batteries from the calculator.
 Vraag FixBot
-
-
-
Remove the 5mm Philips #00 screw holding backup battery cover.
-
Remove the backup battery cover.
-
-
-
Use plastic opening tool to remove the backup battery. Place the tool in the small cut-out next to the battery and pry the battery out.
-
-
-
-
-
-
Unscrew the six 7.5mm T6 screws on the back case. You will need to use a screwdriver with a long and skinny head.
-
-
-
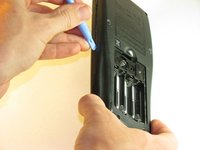
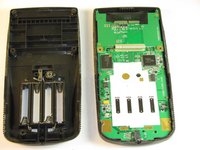
Pry back case off. Insert the plastic opening tool in the track for the protective cover and pry the halves of the case apart.
-
-
-
-
-
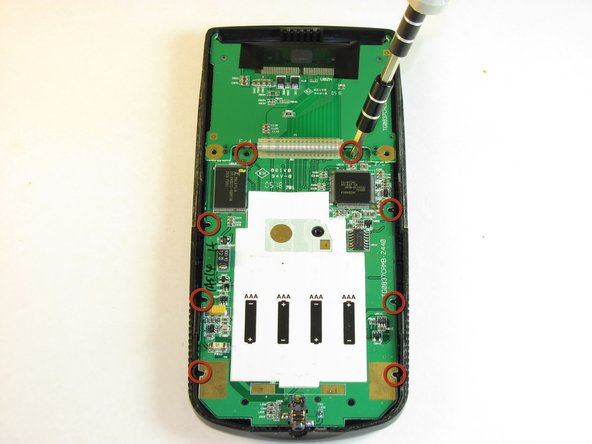
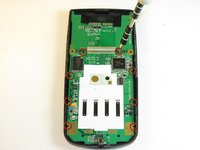
Remove the eight (8) 5mm Philips #00 screws on the motherboard.
-
-
-
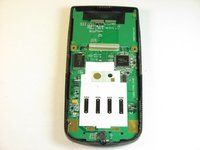
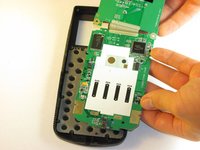
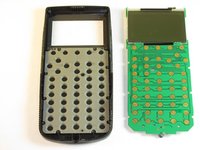
Carefully remove the motherboard and screen. Grab the board by its side with one hand and the screen with the other. Carefully lift the two parts up.
-
-





To reassemble your device, follow these instructions in reverse order.
Annuleren: ik heb deze handleiding niet afgemaakt.
20 andere personen hebben deze handleiding voltooid.

Team

Cal Poly, Team 18-37, Regan Fall 2012 Lid van Cal Poly, Team 18-37, Regan Fall 2012
CPSU-REGAN-F12S18G37
5 Leden
23 handleidingen geschreven
16Gids Commentaar
Does anyone have any advice on acquiring replacement screens for the TI series? I was considering buying broken TIs on e-bay, but that may be unreliable.
Fixing TI83+'s is becoming addictive. Google Cemetech Forum on the net and see how he removes the screen from the Mother Board and solders wires permanently. I might add that he tests for resistance (ohms) first to determine if in fact that is where the problems exist. If I read between the lines, he tends to think that the screen/mother board ribbon cable is the primary culprit behind problems with the TI83's
shrinertom@yahoo.com
My TI-83 Plus, the screen has turned Black, like to know where to send it to have it repaired e-mail address, (BagManOne@ecite.com)
Nothing is broken, the screen has turned Black, need to send it off and have it fixed, I can not do it my self because of the condition of my hands
It may not be broken. Try adjusting the screen contrast down.
