Deze vertaling is door een computer gegenereerd en is nog niet door iemand nagekeken. Spreek je deze taal? Bekijk het hier.

Texas Instruments TI-80 knoppen vervangen

Voor het laatst geüpdatet op 19 aug 2026
Bekeken: 993
Statistieken weergeven:
- Afgelopen 24 uur:
- 1
- Afgelopen 7 dagen:
- 18
- Afgelopen 30 dagen:
- 89
- Altijd:
- 993
Commentaar: 0
Niemand heeft een opmerking bij deze handleiding geplaatst. Ben jij de eerste?
Go to guide commentsVoltooid: 0 1
Niemand heeft deze handleiding als "voltooid" gemarkeerd. Ben jij de eerste?
1 persoon heeft deze handleiding als "voltooid" gemarkeerd. Dat ben jij—lekker bezig!
Favorieten: 0 1
Niemand heeft deze handleiding gemarkeerd als favoriet of volgt de handleiding. Ben jij de eerste?
1 persoon heeft deze handleiding als favoriet gemarkeerd (en blijft daarmee op de hoogte van meldingen)—dat ben jij!
Inleiding
Ga naar stap 1 ↓Knoppen kunnen soms barsten of beschadigd raken, of ze kunnen eruit vallen. Deze handleiding laat zien hoe je de knoppen kunt bereiken, verwijderen en vervangen.
Wat je nodig hebt
Gereedschap
-
Spudger4.9
-


-
-
-
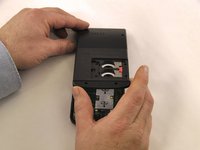
Zoek de achterbehuizing op de achterkant van het apparaat.
-
Schuif de achterbehuizing naar rechts om de batterijen bloot te leggen.
 Vraag FixBot
-
-
-
Verwijder de bovenste bedekking.
-
Schuif de rode vergrendeling omlaag.
-
Schuif het metalen vergrendellipje rechts van de bovenste batterij opzij.
-
Verwijder de 3-volt lithium-knoopcelbatterij.
-
Schuif de rode vergrendeling omhoog.
-
Schuif het metalen vergrendellipje rechts van de onderste batterij opzij.
-
Verwijder de 3-volt lithium-knoopcelbatterij.
-
-
-
-
-
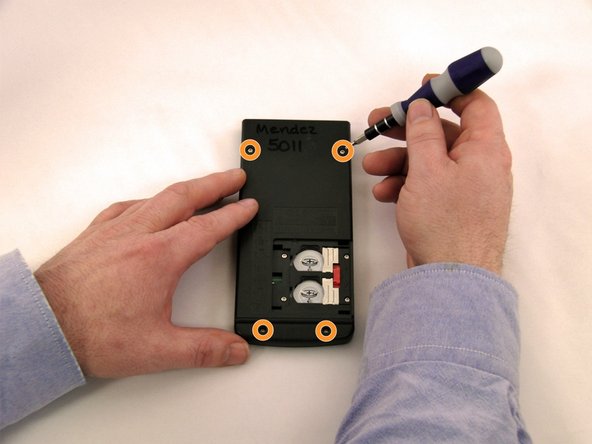
Draai met een Torx T6-schroevendraaier vier 7,38 mm schroeven uit de batterijbehuizing.
-
Draai vier 7,15 mm schroeven uit de achterbehuizing.
-
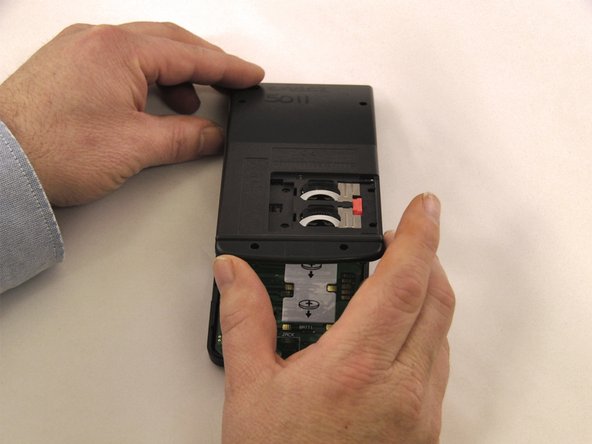
Wrik met de blauwe plastic openingstool langs de naad van de behuizing de voorbehuizing los.
-
-
-
-
-
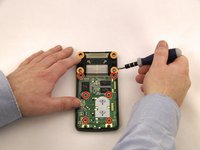
Gebruik een Phillips PH0-schroevendraaier om de 6 schroeven te verwijderen. 2 vanaf de bovenkant van het moederbord, 2 vanaf het midden en 2 vanaf de onderkant van het moederbord.
-
Gebruik een Phillips PH0-schroevendraaier om 4 schroeven uit de schermbevestiging te verwijderen.
-
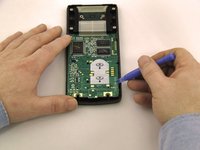
Gebruik het blauwe plastic openingsgereedschap om het moederbord omhoog te wippen.
-
Gebruik het blauwe plastic openingsgereedschap om het scherm uit de schermbevestiging te wippen.
-
-
-
-
-
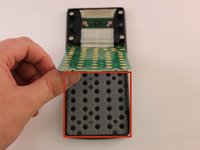
Controleer de rubberen mat op beschadigingen of obstructies op de plek van de niet-werkende knoppen.
-
Draai de mat om om deze op vuil en beschadigingen te inspecteren.
-
-
-
-
-
Controleer de achterkant van de knoppen op schade of obstructies.
-
Verwijder eventuele obstructies.
-
-
-
Gereedschap gebruikt in deze stap:Tweezers$4.99
-
Als een knop beschadigd is, gebruik dan een pincet om de knop uit de behuizing te tillen.
-
-
-
Plaats de nieuwe knop en zorg ervoor dat deze correct is gepositioneerd.
-
-






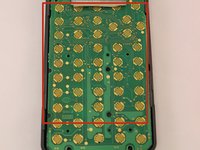


Volg deze instructies in omgekeerde volgorde om je apparaat weer in elkaar te zetten.

Team

Eastern Washington University, Team 1-1, Carnegie Winter 2015 Lid van Eastern Washington University, Team 1-1, Carnegie Winter 2015
EWU-CARNEGIE-W15S1G1
4 Leden
60 handleidingen geschreven
