Ga door naar hoofdinhoud
Word lid van de reparatiegemeenschap - Account aanmaken

Tatung TAC-6G Light Element Replacement

Wat je nodig hebt

    1. Tatung TAC-6G Light Element Replacement, Light Element: stap 1, afbeelding 1 van 1
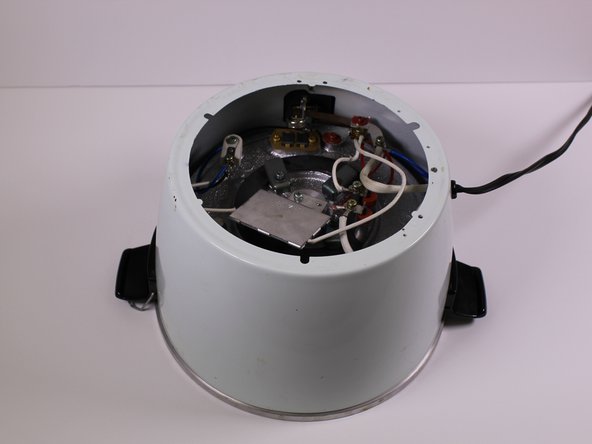
      • Start with the device standing upright.

      Vraag FixBot

      Voeg opmerking toe

    2. Tatung TAC-6G Light Element Replacement: stap 2, afbeelding 1 van 1
      • Remove the 11mm Phillips screw from below the power component panel.

      Vraag FixBot

      Voeg opmerking toe

    3. Tatung TAC-6G Light Element Replacement: stap 3, afbeelding 1 van 1
      • Pull the panel away from the rice cooker.

      • Remove the 9mm Phillips screw from behind the power component dashboard that is connected to the light plate.

      Vraag FixBot

      Voeg opmerking toe

    4. Tatung TAC-6G Light Element Replacement: stap 4, afbeelding 1 van 1
      • Pull the light plate from the power component panel.

      Vraag FixBot

      Voeg opmerking toe

    5. Tatung TAC-6G Light Element Replacement: stap 5, afbeelding 1 van 1
      • Flip the rice cooker device upside down.

      Vraag FixBot

      Voeg opmerking toe

    6. Tatung TAC-6G Light Element Replacement: stap 6, afbeelding 1 van 2 Tatung TAC-6G Light Element Replacement: stap 6, afbeelding 2 van 2
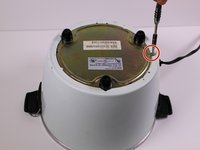
      • Remove the one 7mm Phillips screw from the side of the brass panel

      • Lift the brass plate off of the device and set it aside.

      Vraag FixBot

      Voeg opmerking toe

    7. Tatung TAC-6G Light Element Replacement: stap 7, afbeelding 1 van 1
      • Remove the 7mm Phillips screw holding the white and maroon colored wires that are connected to the heating element.

      Vraag FixBot

      Voeg opmerking toe

    8. Tatung TAC-6G Light Element Replacement: stap 8, afbeelding 1 van 1
      • Remove the 10mm Phillips screw that connects the white, blue and black wires to the white plastic piece in the corner of the device.

      Vraag FixBot

      Voeg opmerking toe

    9. Tatung TAC-6G Light Element Replacement: stap 9, afbeelding 1 van 1
      • Remove the 7mm Phillips screw that connects two white wires and one red wire to the heating "warm" switch.

      Vraag FixBot

      Voeg opmerking toe

    10. Tatung TAC-6G Light Element Replacement: stap 10, afbeelding 1 van 1
      • Using your hand, pull out the light plate with the maroon red and black wires.

      Vraag FixBot

      Voeg opmerking toe

    11. Tatung TAC-6G Light Element Replacement: stap 11, afbeelding 1 van 1
      • Replace the light plate dashboard.

      Vraag FixBot

      Voeg opmerking toe

Conclusie

To reassemble your device, follow these instructions in reverse order.

Annuleren: ik heb deze handleiding niet afgemaakt.

Erin Charles

Lid sinds: 01/28/16

215 Reputatie

1 Handleiding geschreven

1Gids Commentaar

Reverse the steps for reassembly.

Tom Anderson - Antwoord Deel

Voeg opmerking toe

Weergavestatistieken:

Afgelopen 24 uren: 1

Afgelopen 7 dagen: 11

Afgelopen 30 dagen: 38

Altijd: 1,122