Ga door naar hoofdinhoud
Word lid van de reparatiegemeenschap - Account aanmaken

Tara Handle Replacement

    1. Tara Handle Replacement, Handle: stap 1, afbeelding 1 van 1
      • Before performing any repairs, perform a water test on the pump by raising and lowering the handle a full 40 strokes. A properly performing pump will yield greater than 10 liters.

      • Use a Tara tool to loosen the jam nuts on either side of the pump.

      • The bolts do not need to be loosened or removed, only the nuts need to be loosened.

      Vraag FixBot

      Voeg opmerking toe

    2. Tara Handle Replacement: stap 2, afbeelding 1 van 3 Tara Handle Replacement: stap 2, afbeelding 2 van 3 Tara Handle Replacement: stap 2, afbeelding 3 van 3
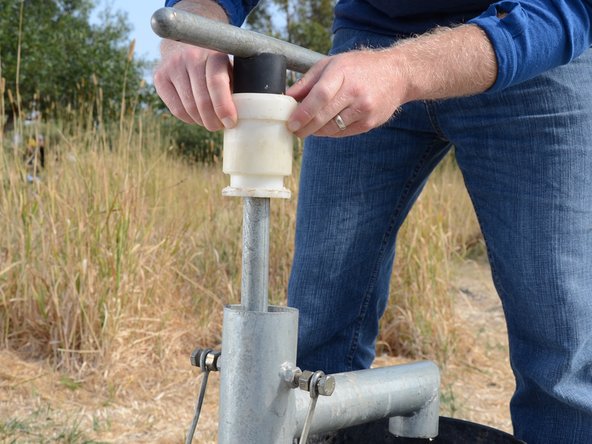
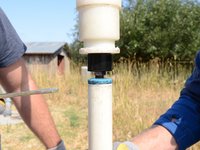
      • Unscrew the lock bolts about half an inch.

      • The bolts do not need to be removed from the base.

      Vraag FixBot

      Voeg opmerking toe

    3. Tara Handle Replacement: stap 3, afbeelding 1 van 2 Tara Handle Replacement: stap 3, afbeelding 2 van 2
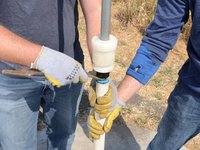
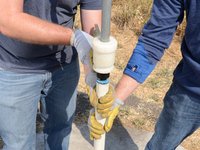
      • Pull the plastic bushing and handle straight up out of the pump.

      • If the bushing doesn't come up, loosen the lock bolts further.

      Vraag FixBot

      Voeg opmerking toe

    4. Tara Handle Replacement: stap 4, afbeelding 1 van 2 Tara Handle Replacement: stap 4, afbeelding 2 van 2
      • Lift up the handle and riser main until the joint between the two is at a comfortable height to work on.

      Vraag FixBot

      Voeg opmerking toe

    5. Tara Handle Replacement: stap 5, afbeelding 1 van 3 Tara Handle Replacement: stap 5, afbeelding 2 van 3 Tara Handle Replacement: stap 5, afbeelding 3 van 3
      • Loosen the jam nut beneath the pump handle using the Tara tool.

      Vraag FixBot

      Voeg opmerking toe

    6. Tara Handle Replacement: stap 6, afbeelding 1 van 2 Tara Handle Replacement: stap 6, afbeelding 2 van 2
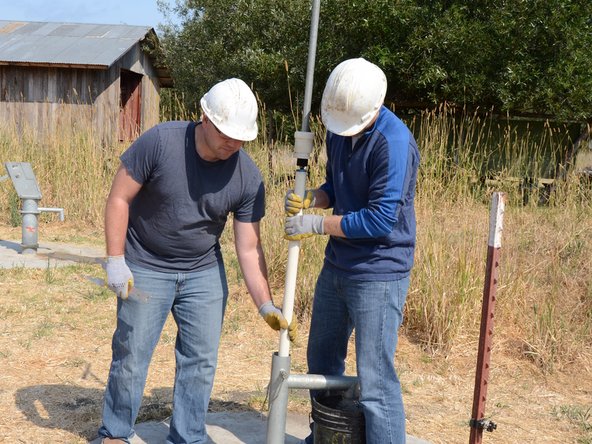
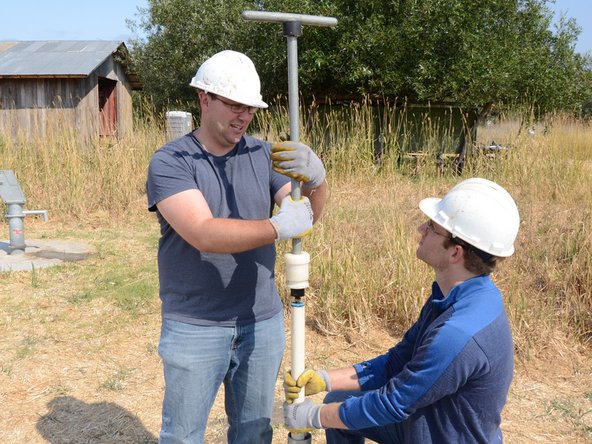
      • Unscrew the pump handle from the top of the riser main.

      • Make sure someone is tightly holding the lower portion of the riser main to prevent losing it down the well.

      Vraag FixBot

      Voeg opmerking toe

    7. Tara Handle Replacement: stap 7, afbeelding 1 van 2 Tara Handle Replacement: stap 7, afbeelding 2 van 2
      • Lift and remove the handle from the pump. Store the handle in a sanitary place to prevent contamination.

      Vraag FixBot

      Voeg opmerking toe

Conclusie

To reassemble your device, follow these instructions in reverse order.

Annuleren: ik heb deze handleiding niet afgemaakt.

Sam Goldheart

Lid sinds: 10/18/12

477.928 Reputatie

538 handleidingen geschreven

Team

iFixit Lid van iFixit

Staff

123 Leden

68.911 handleidingen geschreven

0Gids Commentaar

Voeg opmerking toe

Weergavestatistieken:

Afgelopen 24 uren: 1

Afgelopen 7 dagen: 8

Afgelopen 30 dagen: 31

Altijd: 538