Ga door naar hoofdinhoud
Word lid van de reparatiegemeenschap - Account aanmaken

Swann Doorphone Video Intercom Wire Replacement

Wat je nodig hebt

    1. Swann Doorphone Video Intercom Wire Replacement, Wire: stap 1, afbeelding 1 van 3 Swann Doorphone Video Intercom Wire Replacement, Wire: stap 1, afbeelding 2 van 3 Swann Doorphone Video Intercom Wire Replacement, Wire: stap 1, afbeelding 3 van 3
      • Flip the monitor of the Swann Doorphone over so that the underside is facing up.

      • Grip the sides of the black rectangular frame where they extend outwards and pull down.

      • After pulling down, pull the frame towards you to remove it from the monitor.

      Vraag FixBot

      Voeg opmerking toe

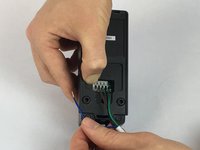
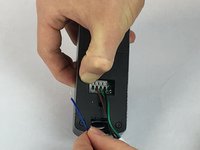
    2. Swann Doorphone Video Intercom Wire Replacement: stap 2, afbeelding 1 van 3 Swann Doorphone Video Intercom Wire Replacement: stap 2, afbeelding 2 van 3 Swann Doorphone Video Intercom Wire Replacement: stap 2, afbeelding 3 van 3
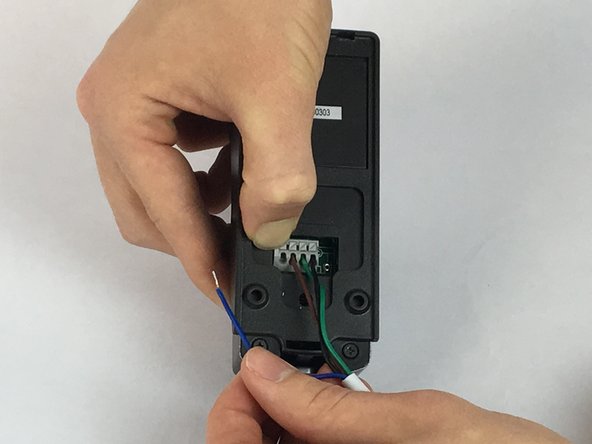
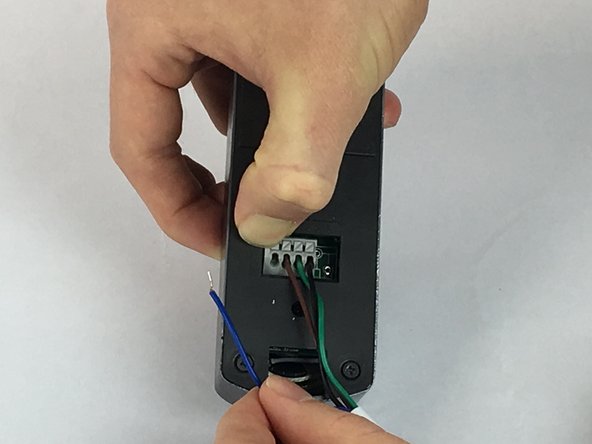
      • Using the JIS #0 screwdriver, unscrew the 2 mm screw in terminal 1 with the blue wire underneath.

      • Pull the blue wire out from beneath the metal plate.

      • Be careful when removing the screw from terminal 1, the metal plate behind the screw is not connected and may fall off.

      Vraag FixBot

      Voeg opmerking toe

    3. Swann Doorphone Video Intercom Wire Replacement: stap 3, afbeelding 1 van 3 Swann Doorphone Video Intercom Wire Replacement: stap 3, afbeelding 2 van 3 Swann Doorphone Video Intercom Wire Replacement: stap 3, afbeelding 3 van 3
      • Flip the outdoor camera over so that the underside is facing up.

      • Remove the back cover by grabbing the sides of the camera and pulling towards your body.

      Vraag FixBot

      Voeg opmerking toe

    4. Swann Doorphone Video Intercom Wire Replacement: stap 4, afbeelding 1 van 3 Swann Doorphone Video Intercom Wire Replacement: stap 4, afbeelding 2 van 3 Swann Doorphone Video Intercom Wire Replacement: stap 4, afbeelding 3 van 3
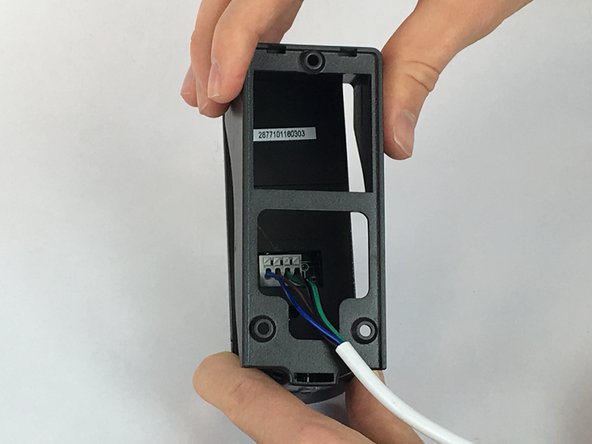
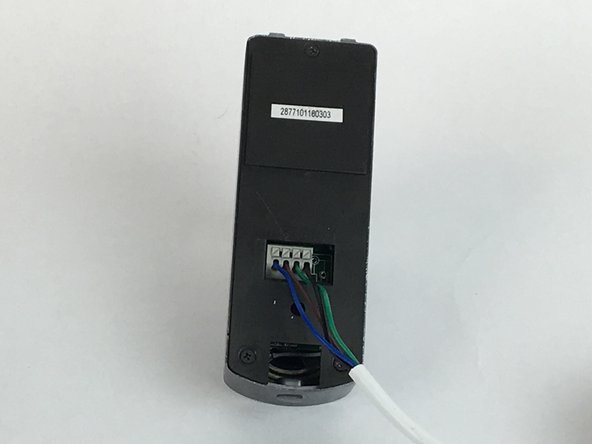
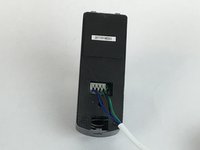
      • With the back cover of the outdoor camera off, press the first gray square button with blue wire down.

      • While pressing the gray square button, remove the blue wire from the first opening under the button.

      • Be sure to remove the same color wire for the outdoor camera as was used for the indoor video intercom.

      • In this guide, we are using the blue wire in terminal 1 for the audio. As a recommendation; * Use the blue wire in terminal 1 for the audio wire. * Use the brown wire in terminal 2 for the ground wire. * Use the green wire in terminal 3 for the video wire. * Use the black wire in terminal 4 for the power wire.

      Vraag FixBot

      Voeg opmerking toe

Conclusie

To reassemble your device, follow these instructions in reverse order.

Annuleren: ik heb deze handleiding niet afgemaakt.

2 andere personen hebben deze handleiding voltooid.

Emily Stenke

Lid sinds: 02/14/18

555 Reputatie

4 handleidingen geschreven

Team

USF Tampa, Team S2-G4, Eyestone Spring 2018 Lid van USF Tampa, Team S2-G4, Eyestone Spring 2018

USFT-EYESTONE-S18S2G4

4 Leden

10 handleidingen geschreven

5Gids Commentaar

Have found wires what do I do now to fix the problem?

Norman Stuckey - Antwoord Deel

Not much good telling me which wiresEmily. I need to know what to do next

Norman Stuckey - Antwoord Deel

Emily, Anyone home? Still no answer EMILY where are you???

Norman Stuckey - Antwoord Deel

Is the unit stuffed or can it be repaired

Norman Stuckey - Antwoord Deel

Emily Emily where are you?

Just when i thought you were going to be useful you have disappeared

Norman Stuckey - Antwoord Deel

Voeg opmerking toe

Weergavestatistieken:

Afgelopen 24 uren: 1

Afgelopen 7 dagen: 9

Afgelopen 30 dagen: 47

Altijd: 2,522