Inleiding
In this guide you will remove the back cover of the device and disconnect the motherboard from the surrounding components. You will then unscrew the motherboard from the device and replace it if need be.
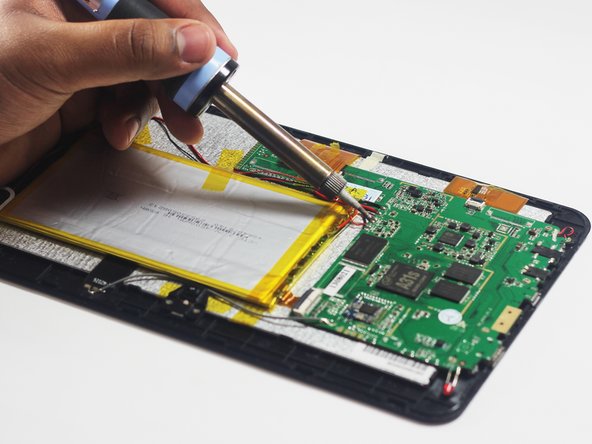
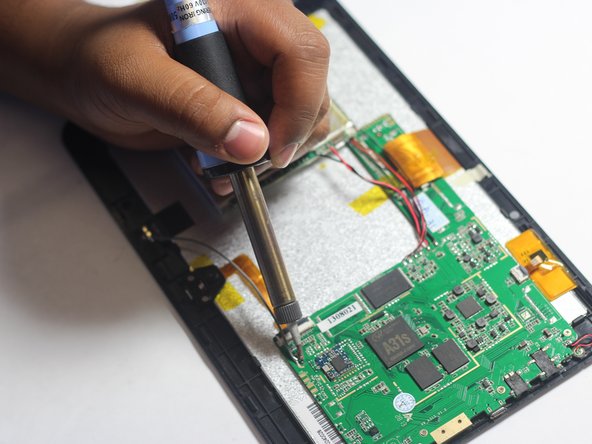
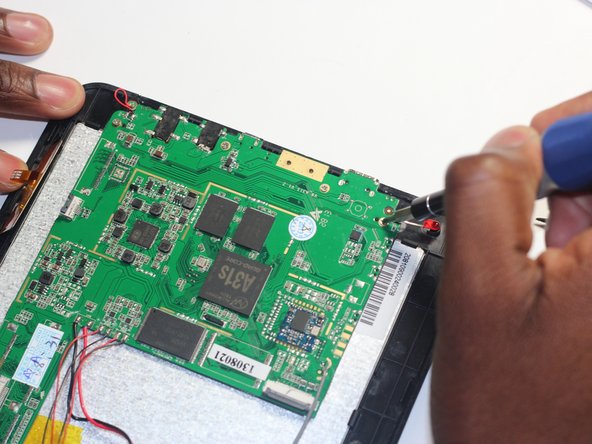
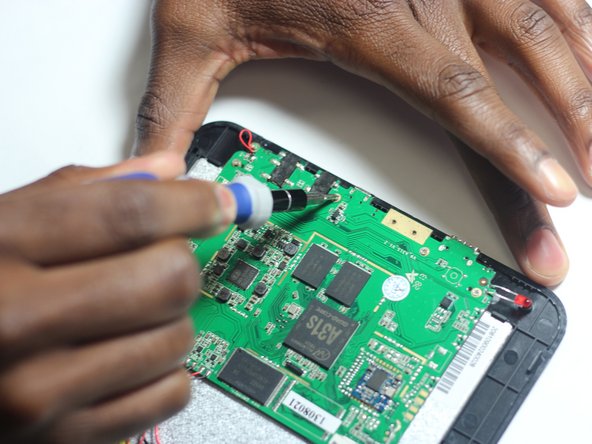
Because this task requires the use of a soldering iron, prior experience with soldering/desoldering will be beneficial.
Wat je nodig hebt
-
-
Wedge the plastic opening tool between the back cover of the device and the front panel.
-
You will hear a snapping sound as the cover is separated from the body of the device.
-
-
-
Remove the Battery
-
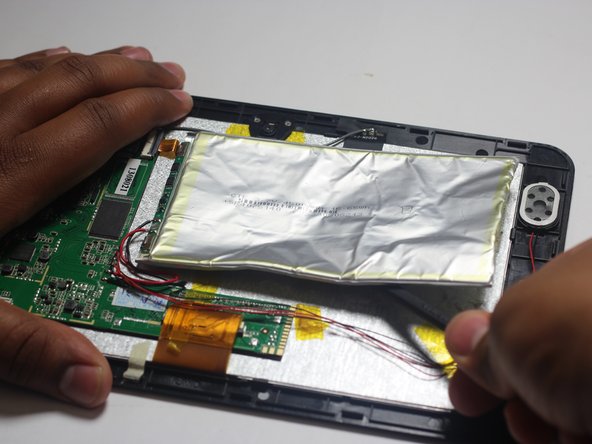
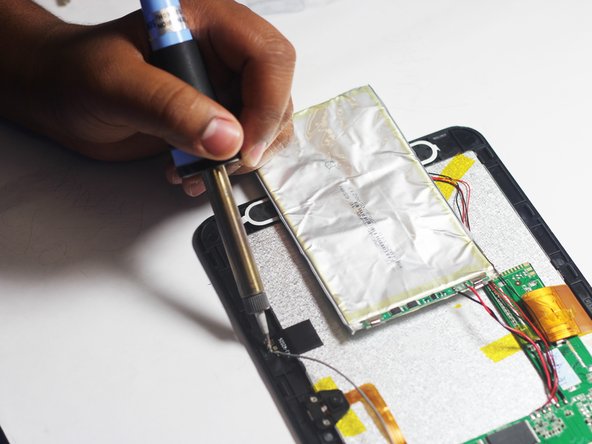
The battery is secured to the back panel with tape and glue.
-
Peel back the tape around the battery and discard it.
-
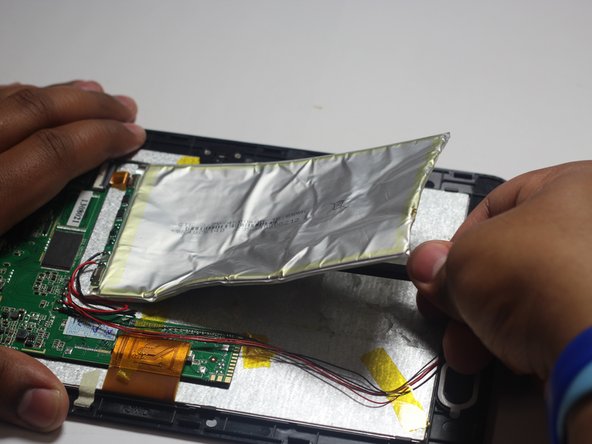
Tear through the adhesive holding the battery by using the spudger tool.
-
-
-
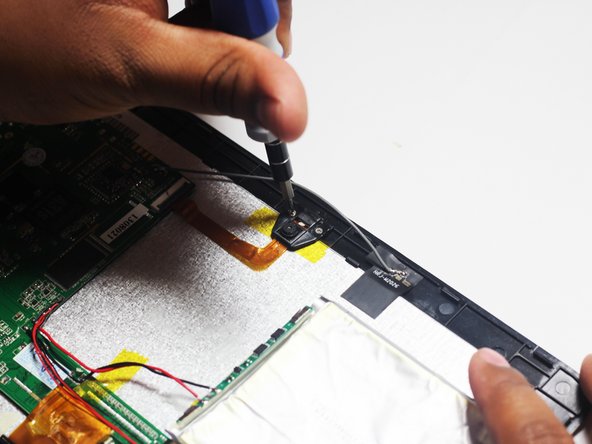
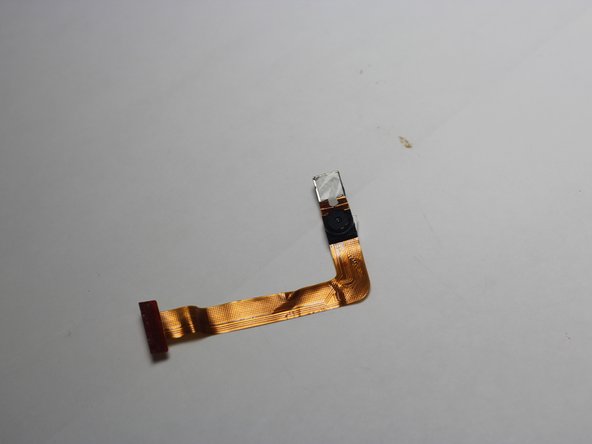
Remove the two Phillips #00 screws attaching the housing of the camera to the device.
-
-
-
-
Remove the Speakers
-
Use the tweezers to remove the speakers from their compartments.
-
-
-
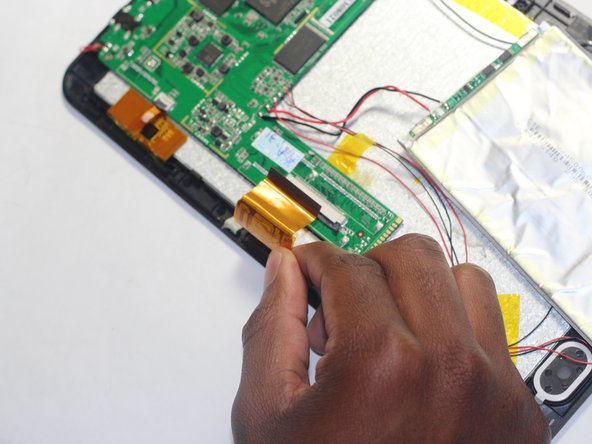
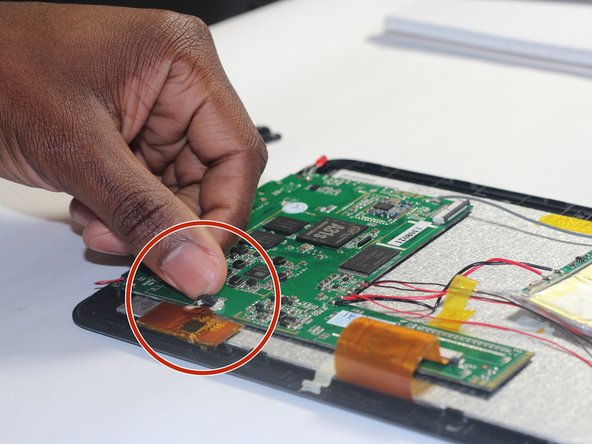
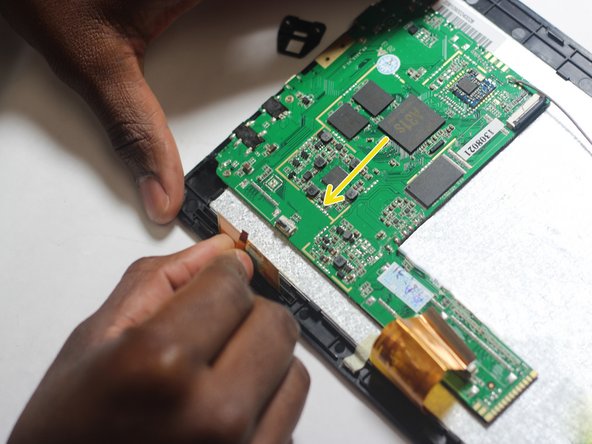
Remove the large ribbon cable from the socket that attaches it to the motherboard.
-
Pull down on the dark grey sliders located on both sides of the ribbon cable to release it.
-


To reassemble your device, follow these instructions in reverse order.
To reassemble your device, follow these instructions in reverse order.
Annuleren: ik heb deze handleiding niet afgemaakt.
Één andere persoon heeft deze handleiding voltooid.
Team
