Wat je nodig hebt
-
-
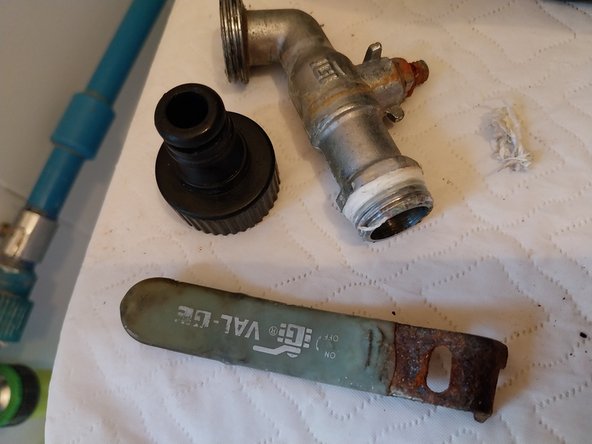
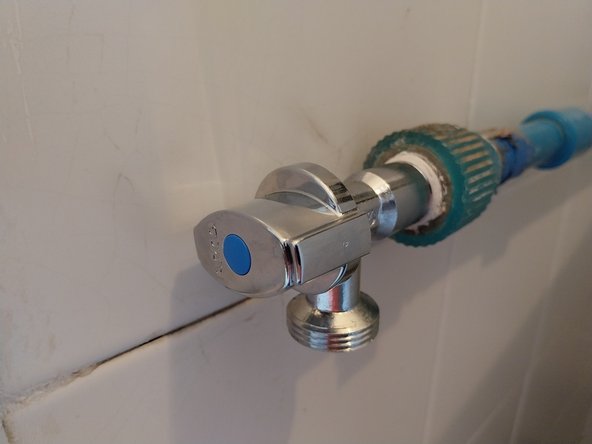
This laundry faucet, aged and worn, had been in use for almost 20 years, it was decided to change it, it is the faucet that feeds a hose for cleaning the clothesline area and watering plants.
-
-
-
To replace the tap we can proceed as follows, they are very easy taps to replace in this case I change a lever tap for a washing machine model.
-
1º We close the water inlet valve "general stopcock" of the house.
-
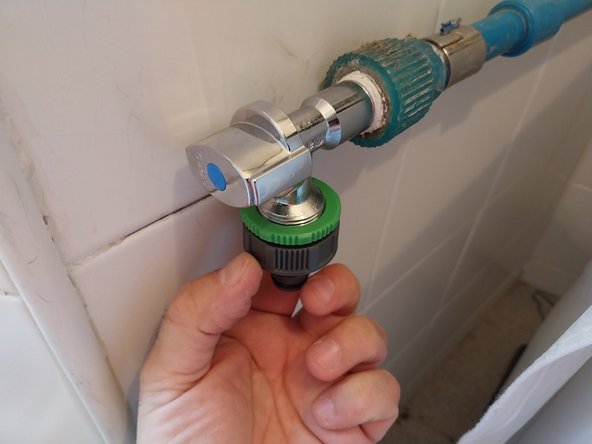
2º We open the tap by placing a bucket or container underneath it.
-
3º Inside the house, we go to the furthest point from this tap, where we have another tap and we open it, so that the water from the pipe is emptied. If the furthest tap was that of a bidet, it would be ideal, since It is located lower than this tap, and the water will drain better.
-
4º When water stops coming out of the tap to be replaced, we close the remote tap.
-
5º We can proceed to disassembly when it barely drips.
-
-
-
For disassembly, we will use a plumber's pliers or "Adjustable" parrot beak pliers to hold the pipe so that it is not damaged. We hold the faucet with a fixed wrench or a roller wrench, placing the wrench at the height of the stem where we will have the greatest support surface.
-
We are turning counterclockwise.
-
-
-
-
1º We present the tap on the pipe, to check that it is the same size 1/2" in this case and that it will not collide with the wall.
-
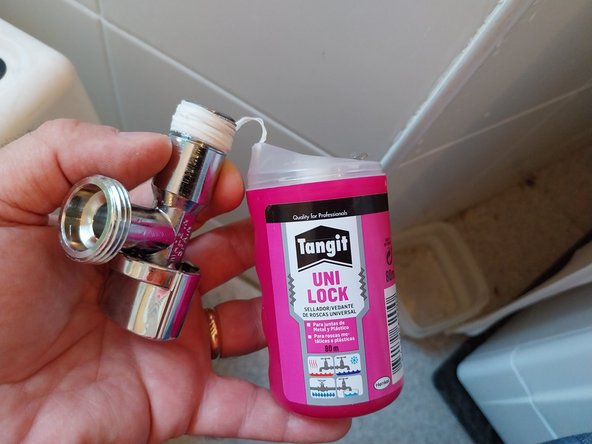
2º On the thread of the faucet so that it does not lose water, we can apply different elements, depending on what each of you has or can purchase, such as tow (already somewhat out of use), Teflon tape (you have to apply many turns so that acquires a suitable body or surface and has the problem that if we overturn.
-
We cannot reposition it, we must disassemble it again, re-tape it with Teflon and start again.
-
Since I discovered it, I almost always only use Teflon thread with an added component that is in the form of grease. The truth is that I was reluctant to use it, but it works very well, it seals perfectly, I have never used Teflon again.
-
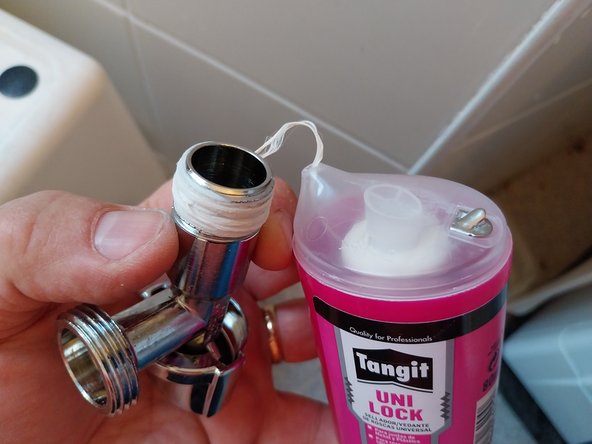
We will make about 2 to 2.5 passes of thread along the entire thread, cutting it with the cutter that already includes the cap.
-
-
-
Holding the pipe with our hand, we will begin to thread by hand in a clockwise direction, as much as possible. When we can no longer thread by hand, we will use pliers and a roller wrench as in step 3.
-
We will leave the tap centered, if we have turned it too far, the Teflon thread allows us to do a slight touch-up in reverse.
-
-
-
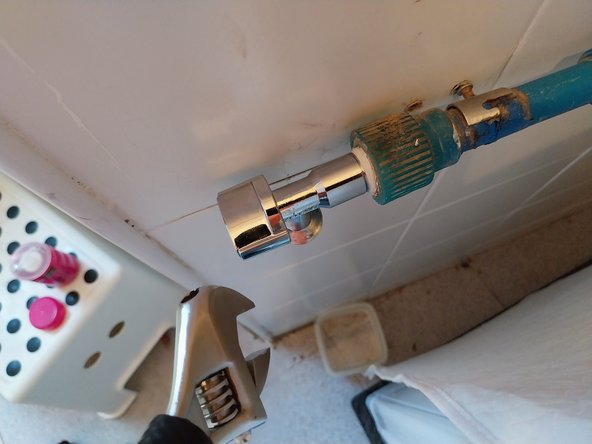
Views of how the whole looks.
-
We will open the stopcock or general water tap in the home and open all the taps in the home one by one, so that the air that has accumulated in the pipe is purged and released.
-
We will leave the tap that we have replaced for last, if it leaks water through the thread, we will have to go back to step 2, turn off the water again, empty, disassemble, and apply a greater amount of Teflon thread to the thread, but let's hope that this step does not you have to repeat it.
-


Annuleren: ik heb deze handleiding niet afgemaakt.
Één andere persoon heeft deze handleiding voltooid.
Met dank aan deze vertalers:
100%

Russell Repair Co. helpt ons de wereld te herstellen! Wil je bijdragen?
Begin met vertalen ›

Team
