Ga door naar hoofdinhoud
Word lid van de reparatiegemeenschap - Account aanmaken

Sony Vaio VPCW211AX RAM Replacement

Wat je nodig hebt

  1. Sony Vaio VPCW211AX RAM  Replacement, Keyboard: stap 1, afbeelding 1 van 1
    • Start with the laptop face up on a flat surface.

    Vraag FixBot
  2. Sony Vaio VPCW211AX RAM  Replacement: stap 2, afbeelding 1 van 1
    • Open the laptop with the keyboard facing you.

    Vraag FixBot
  3. Sony Vaio VPCW211AX RAM  Replacement: stap 3, afbeelding 1 van 2 Sony Vaio VPCW211AX RAM  Replacement: stap 3, afbeelding 2 van 2
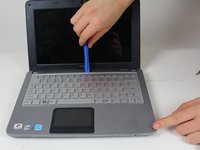
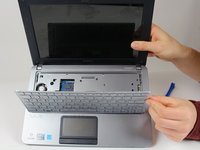
    • Use a plastic opening tool to pry up the keyboard. Start at the end closest to the screen.

    • Be careful around the edges; work your way around the keyboard until all of it is detached.

    • There will be a ribbon cable attached to the bottom of the keyboard. Be sure not to rip the cable when lifting the keyboard from the laptop frame.

    Vraag FixBot
  4. Sony Vaio VPCW211AX RAM  Replacement: stap 4, afbeelding 1 van 2 Sony Vaio VPCW211AX RAM  Replacement: stap 4, afbeelding 2 van 2
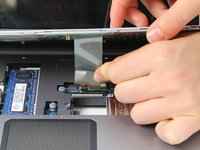
    • Carefully detach the ribbon from the base of the computer with your hands.

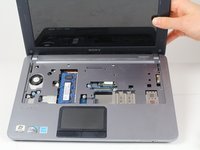
    • Remove the keyboard.

    Vraag FixBot
  5. Sony Vaio VPCW211AX RAM  Replacement, RAM: stap 5, afbeelding 1 van 1
    • Use a Philips #0 screwdriver to remove the 7 top case screws.

    Vraag FixBot
  6. Sony Vaio VPCW211AX RAM  Replacement: stap 6, afbeelding 1 van 1
    • Using a metal spudger, pry open at the seams.

    • Open the gray top of the laptop from the base black portion.

    • Slide the spudger along the seam, and then carefully open the top.

    Vraag FixBot
  7. Sony Vaio VPCW211AX RAM  Replacement: stap 7, afbeelding 1 van 2 Sony Vaio VPCW211AX RAM  Replacement: stap 7, afbeelding 2 van 2
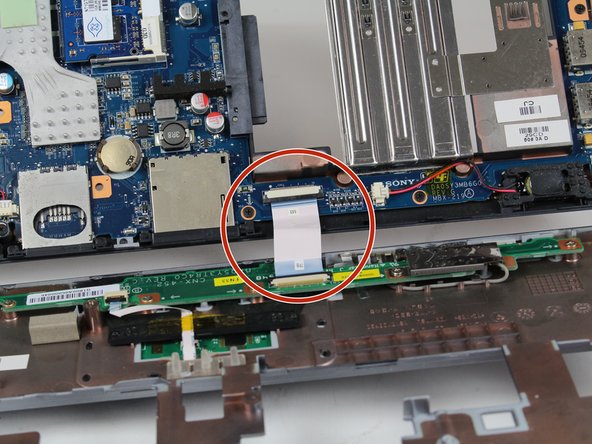
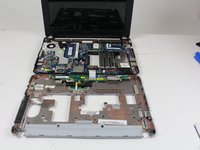
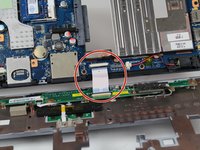
    • Open the top carefully without disconnecting the two parts.

    • Be mindful and careful of the ribbon cable attaching the two parts together.

    Vraag FixBot
  8. Sony Vaio VPCW211AX RAM  Replacement: stap 8, afbeelding 1 van 2 Sony Vaio VPCW211AX RAM  Replacement: stap 8, afbeelding 2 van 2
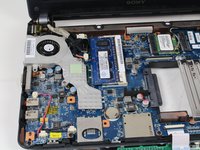
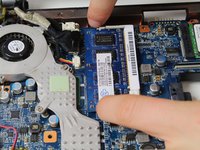
    • Using your fingers, pry apart the two side metal pieces that hold the part in place as shown on the picture.

    Vraag FixBot
  9. Sony Vaio VPCW211AX RAM  Replacement: stap 9, afbeelding 1 van 1
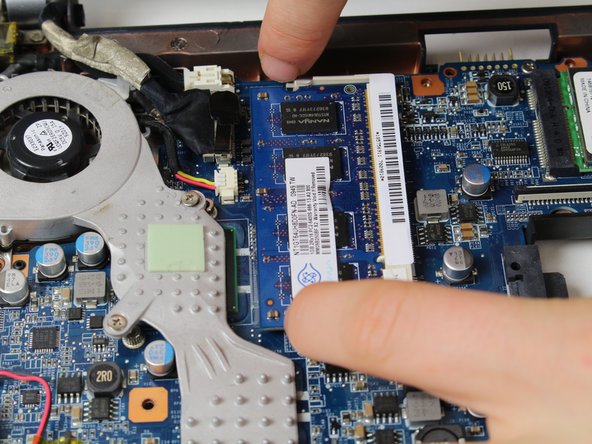
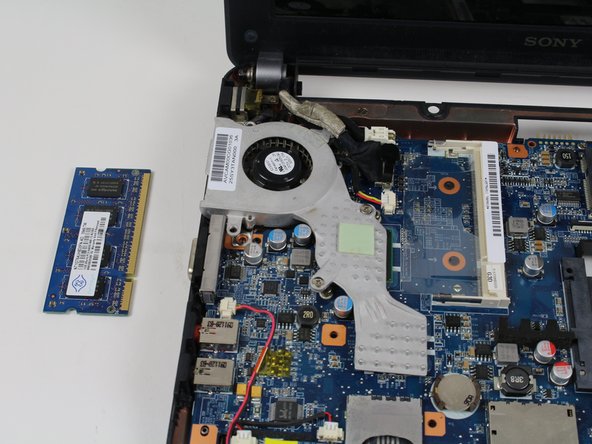
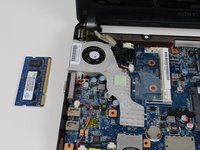
    • After that step, the RAM should pop up on its own as shown in the picture.

    Vraag FixBot
  10. Sony Vaio VPCW211AX RAM  Replacement: stap 10, afbeelding 1 van 2 Sony Vaio VPCW211AX RAM  Replacement: stap 10, afbeelding 2 van 2
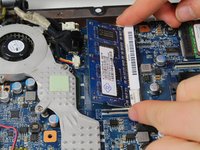
    • Carefully press the sides near the right edge of the part and remove it from it's base.

    Vraag FixBot
Conclusie

To reassemble your device, follow these instructions in reverse order.

Giselle Dougan

Lid sinds: 01/31/18

760 Reputatie

5 handleidingen geschreven

1Gids Commentaar

I have a 21212L and you have to remove the screws under the flap to remove the keyboard firstm you also do not have to remove the top assembly at all.

Samuel Gottschall - Antwoord Deel

Voeg opmerking toe

Weergavestatistieken:

Afgelopen 24 uren: 0

Afgelopen 7 dagen: 10

Afgelopen 30 dagen: 62

Altijd: 1,143