Deze vertaling is door een computer gegenereerd en is nog niet door iemand nagekeken. Spreek je deze taal? Bekijk het hier.
Inleiding
De PCG-F360 wordt geleverd met een diskettestation in een uitbreidingsbay. Dit kan worden vervangen of worden omgewisseld voor een batterij of een gewichtsbespaarder.
-
-
-
Plaats de laptop met het scherm naar beneden zoals weergegeven.
-
In deze positie bevindt de accubehuizing zich aan de rechterkant.
 Vraag FixBot
-
-
-
-
De batterij is nu verwijderd en het is veilig om door te gaan met het demonteren van andere onderdelen.
-
-
-
-
-
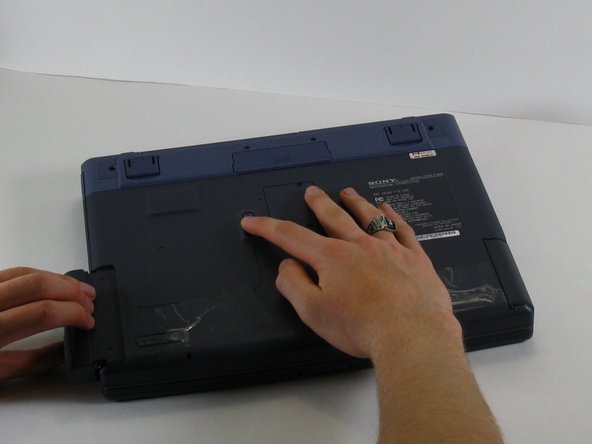
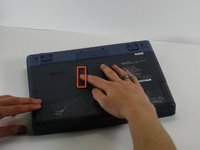
Schuif met één hand de afgebeelde treklip opzij en houd deze vast.
-
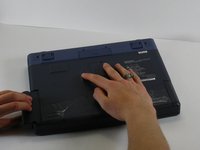
Trek met je andere hand de floppy drive uit de floppy drive-bay.
-
-


Volg deze instructies in omgekeerde volgorde om uw apparaat weer in elkaar te zetten.

Team

Cal Poly, Team 16-3, Maness Spring 2010 Lid van Cal Poly, Team 16-3, Maness Spring 2010
CPSU-MANESS-S10S16G3
3 Leden
96 handleidingen geschreven
