Inleiding
This Sony speaker is the model SRS-XB43. This guide is to replace a faulty or malfunctioning battery within the system. Please refer to the Troubleshooting Page to ensure that the battery is truly faulty before beginning the replacement guide steps. Faulty batteries can become bloated/inflated, produce corrosion on metal pins, and even leak traces of battery acid. If you are sure that the battery inside your device is defective, do not continue to charge the device or power it on to prevent further damages. Ensure that you make necessary precautions to keep yourself safe such as wearing PPE like gloves and safety glasses.
Wat je nodig hebt
-
-
Insert the metal spudger into the mesh's seam/opening located at the bottom of the speaker.
-
Begin applying pressure, prying along the run of the seam until the mesh cover begins to come loose.
-
Fully open the hinged mesh cover and pry it off the unit.
-
-
-
-
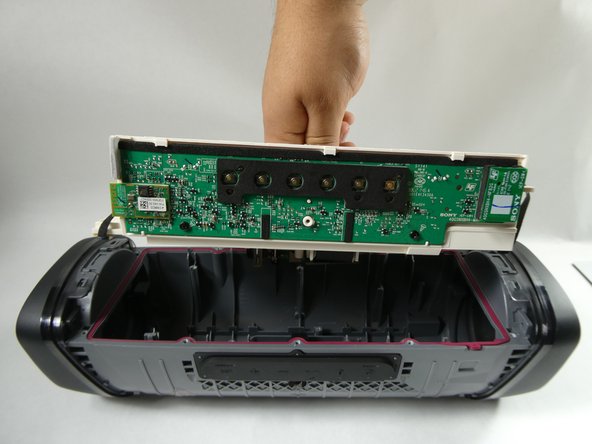
Orient the speaker's backplate so that the plastic chassis and internal electronics are facing upwards.
-
Remove the eight 10 mm screws securing the motherboard chassis to the backplate using a Phillips #1 screwdriver.
-
Grab the motherboard chassis and gently remove it from the backplate of the speaker.
-
-
-
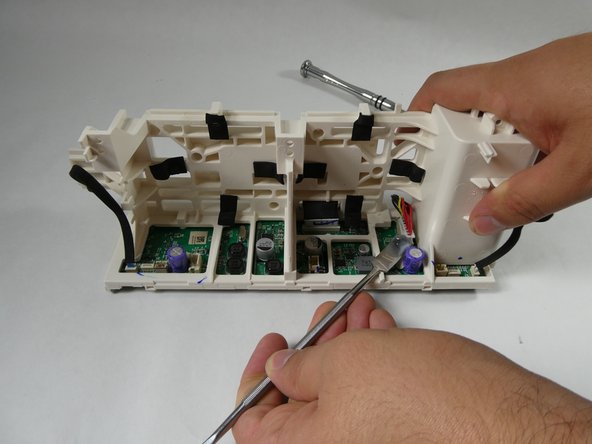
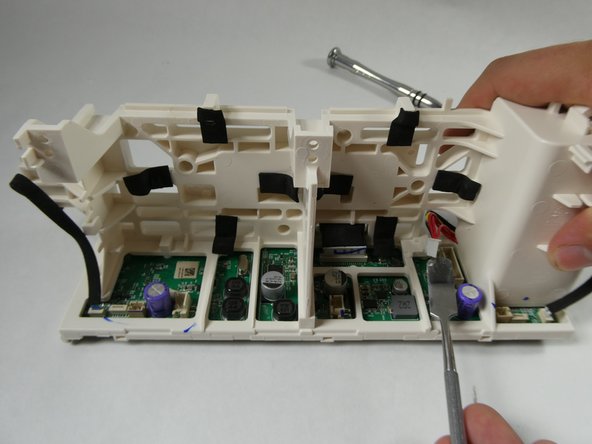
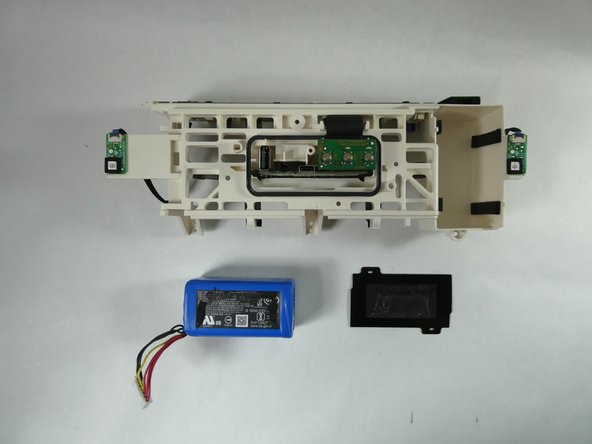
Orient the motherboard chassis so that the side with the six buttons is facedown on the table and the opposite side is visible to you.
-
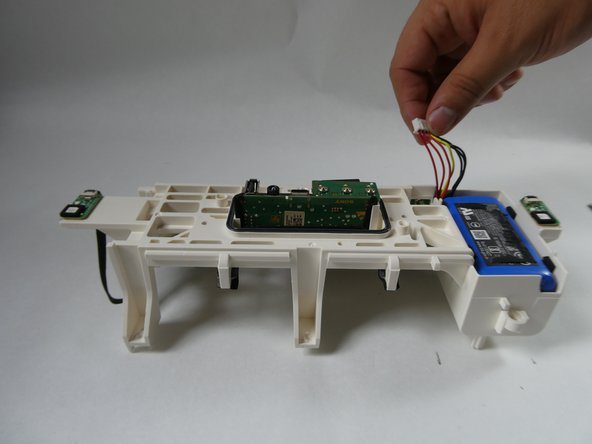
Disconnect the seven-prong cable (the one with red, yellow, and black wires) plugged into the motherboard by prying on its edge/extruding lip with a spudger.
-


To reassemble your device, follow these instructions in reverse order.
To reassemble your device, follow these instructions in reverse order.
Annuleren: ik heb deze handleiding niet afgemaakt.
2 andere personen hebben deze handleiding voltooid.

Team

UMass Dartmouth, Team 3-5, Botvin Fall 2022 Lid van UMass Dartmouth, Team 3-5, Botvin Fall 2022
UMASSD-BOTVIN-F22S3G5
4 Leden
5 handleidingen geschreven