Inleiding
The removal of the motherboard involves removing a significant portion of the rear casing, the internal casing, and the removal of component connections. Care and safe handling is advised in this guide.
Wat je nodig hebt
-
-
-
Open the battery pack door by moving the slider to "OPEN".
-
Remove the 3.25 mm silver screw inside the battery pack with a Phillips screwdriver.
 Vraag FixBot
-
-
-
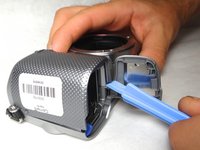
Use the spudger to raise the corner of the case from the camera.
-
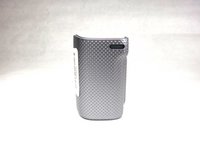
One component of the front case should now be separate from the camera.
-
-
-
-
-
Remove the three (3.5 mm) screws from the bottom of the camera with the Phillips screwdriver.
-
-
-
Open the HDMI port, and remove the the two (3.5 mm) Phillips screws exposed on that side.
-
-
-
Remove the two 4mm screws from the interior of the battery pack, and one 3.5mm screw from beside it.
-
-
-
Looking at the bottom of the camera, use the spudger to lift the rear case away from the camera body.
-
-
-
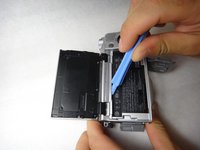
Using the spudger again, carefully pry from the top of the camera to remove the back frame.
-
The back frame is fragile, so use the spudger gently.
-
-
-
-
-
-
Remove the two copper 2.25mm phillips head screws from the bottom of the camera.
-
-
-
Remove the copper 2.25mm phillips head screw from the side of the camera.
-
-
-
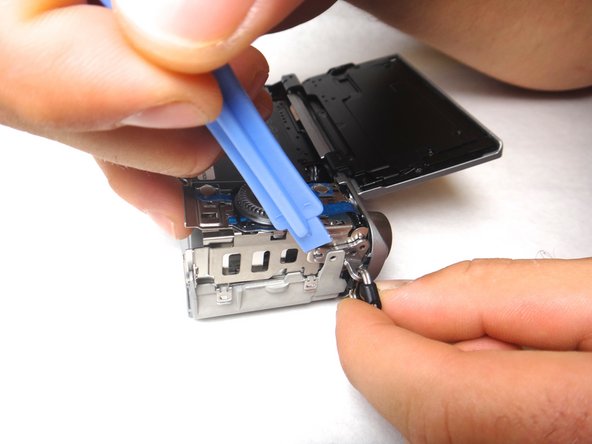
Use the spudger tool to unhook the neck strap anchor from the side of the camera with the navigation buttons.
-
-
-
Remove the six copper 2.25mm phillips head screws from the top of the motherboard assembly on the camera
-
-
-
Flip the main navigation button up behind the camera to further expose the frame
-
-
-
Lift the LCD screen straight up and off of the camera. The motherboard frame is attached and the assembly will easily separate from the camera.
-
-
Gereedschap gebruikt in deze stap:Tweezers$4.99
-
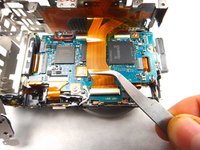
Remove the lead connecting the LCD screen and frame assembly to the motherboard. Using tweezers, pull straight out from the lead to disconnect
-
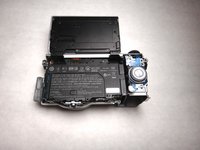
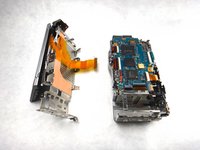
The LCD screen and frame should now be separate from the main camera and appear as shown in the image
-
-
-
Remove the small wire lead from the motherboard using the tweezers. Firmly grasp the lead wire near the connection and pull up from the motherboard at an angle. The lead will snap off of the mount.
-
-
-
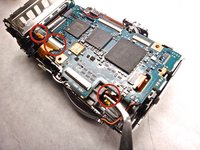
On the top left corner of the motherboard, unhook the black grommet from the housing by pinching the small tab with the tweezers and lifting up.
-
-
-
On the top left side of the motherboard, remove the first lead from housing using the tweezers. Firmly grasp the lead with tweezers and pull straight out from the housing.
-
-
-
Next, remove the first lead on the right side of the motherboard. Using tweezers, tightly grasp the lead and pull straight out from the housing.
-
-
-
Remove the next lead on the side of the motherboard. For this lead, you may have to grasp it on either side with the tweezers as shown due to the lack of room beneath the lead. When securely grasped, pull straight out of the housing to remove the lead.
-
-
-
Remove the final lead on the opposite side of the motherboard with tweezers. Tightly hold and the lead on either side and pull straight out of the housing to disconnect.
-
-
-
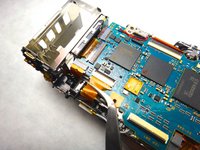
On the lower side of the motherboard, you must remove the small metal frame that covers the socket-lead. Pinch the frame on each side with the tweezers and lift up to easily remove it.
-
-
-
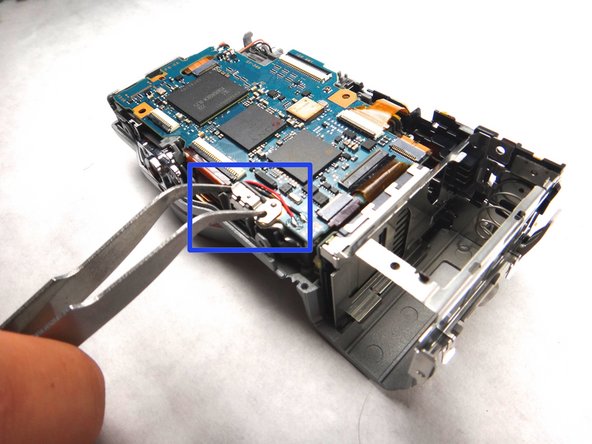
Pinch the cylindrical socket lead on each side with tweezers and lift out from its housing to remove the socket-lead.
-
-
-
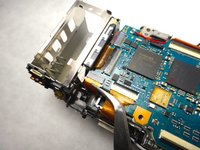
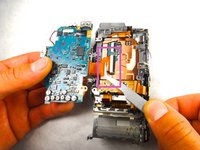
With all secondary leads removed, lift the motherboard away from the camera to expose the primary lead underneath. While holding the motherboard lightly in one hand, tightly pinch the primary lead near the housing with the tweezers. Pull the lead straight out from the housing to completely separate the motherboard from the camera.
-
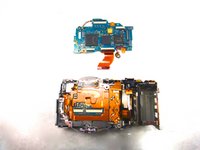
The removed motherboard and camera body should now appear as shown.
-
-
















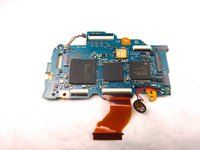
To reassemble your device, follow these instructions in reverse order.
Annuleren: ik heb deze handleiding niet afgemaakt.
6 andere personen hebben deze handleiding voltooid.

Team

Cal Poly, Team 8-9, Regan Spring 2014 Lid van Cal Poly, Team 8-9, Regan Spring 2014
CPSU-REGAN-S14S8G9
4 Leden
14 handleidingen geschreven
3Gids Commentaar
My sony nex c have a problem every time i ‘m opened it with a message of “camera error”. May i know what is the major problem of this?
One of the common failing part of this model
is the memory card board which is quite difficult to replace. This model requires a guide for that.
